As a child, I loved climbing trees and building dens. My parents had a modest-sized garden with a few mature trees that I was always building platforms in and almost falling out of. There was something irresistible to seeing how high I could climb before the branches became too thin to continue.
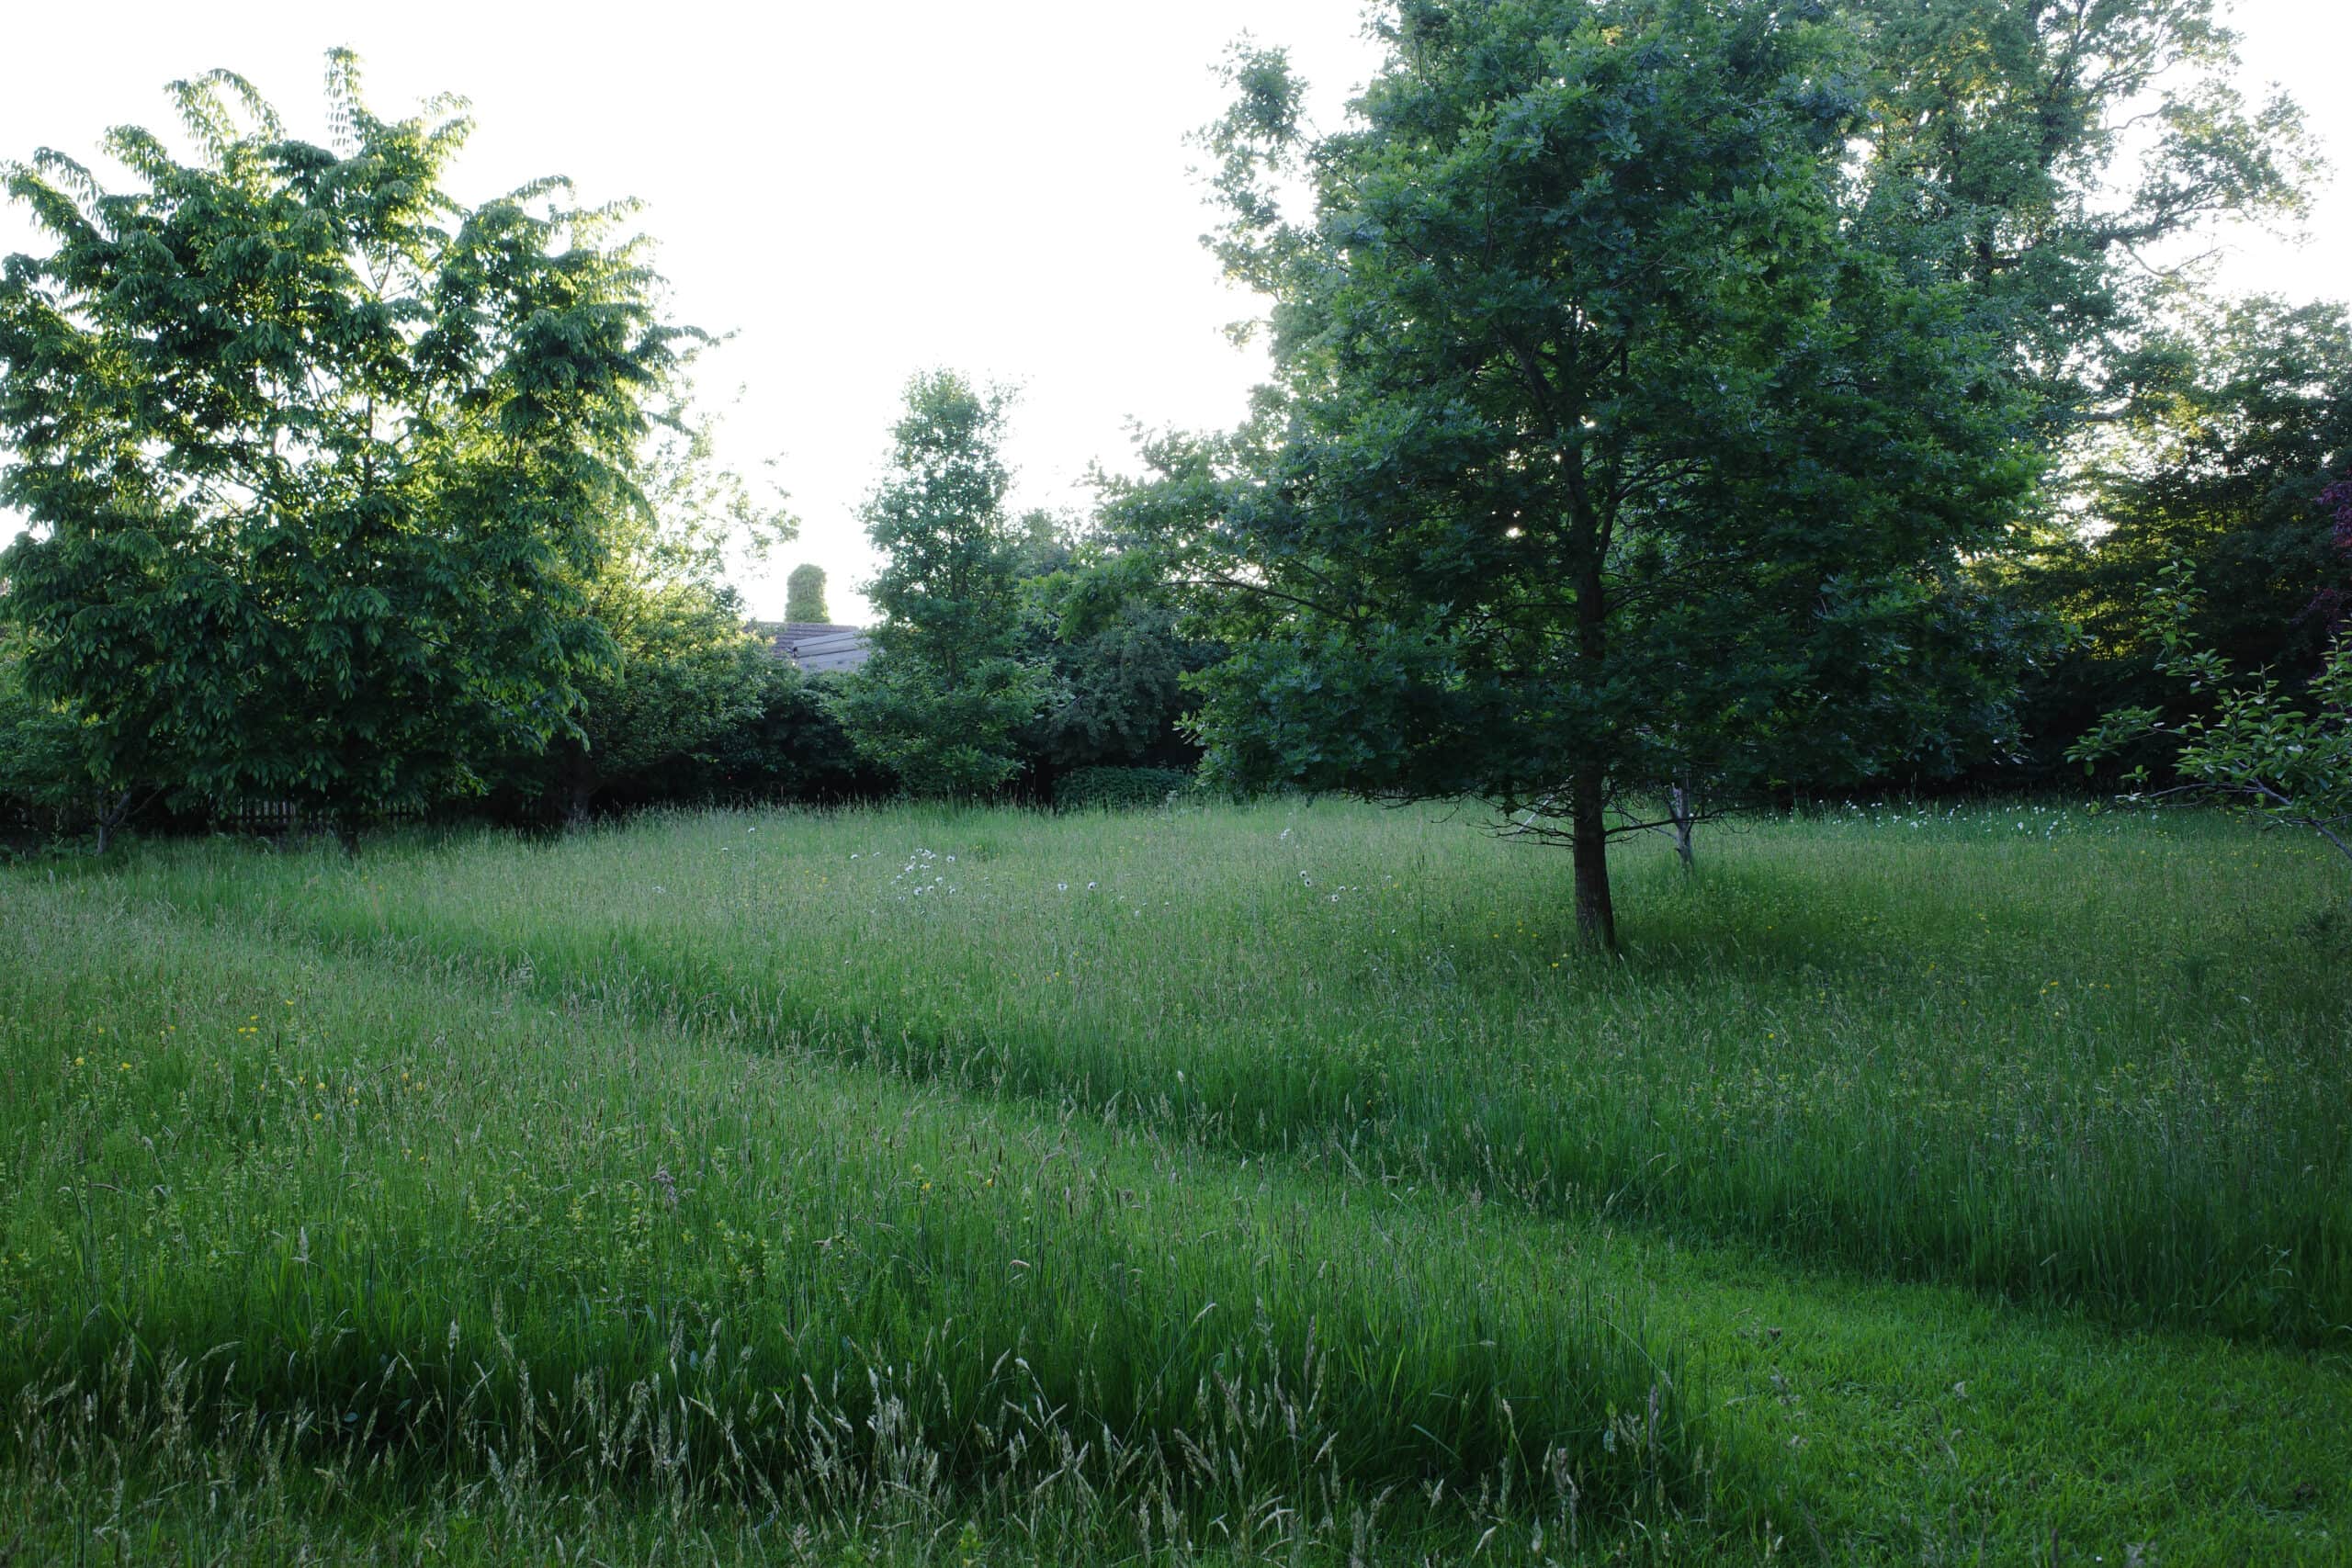

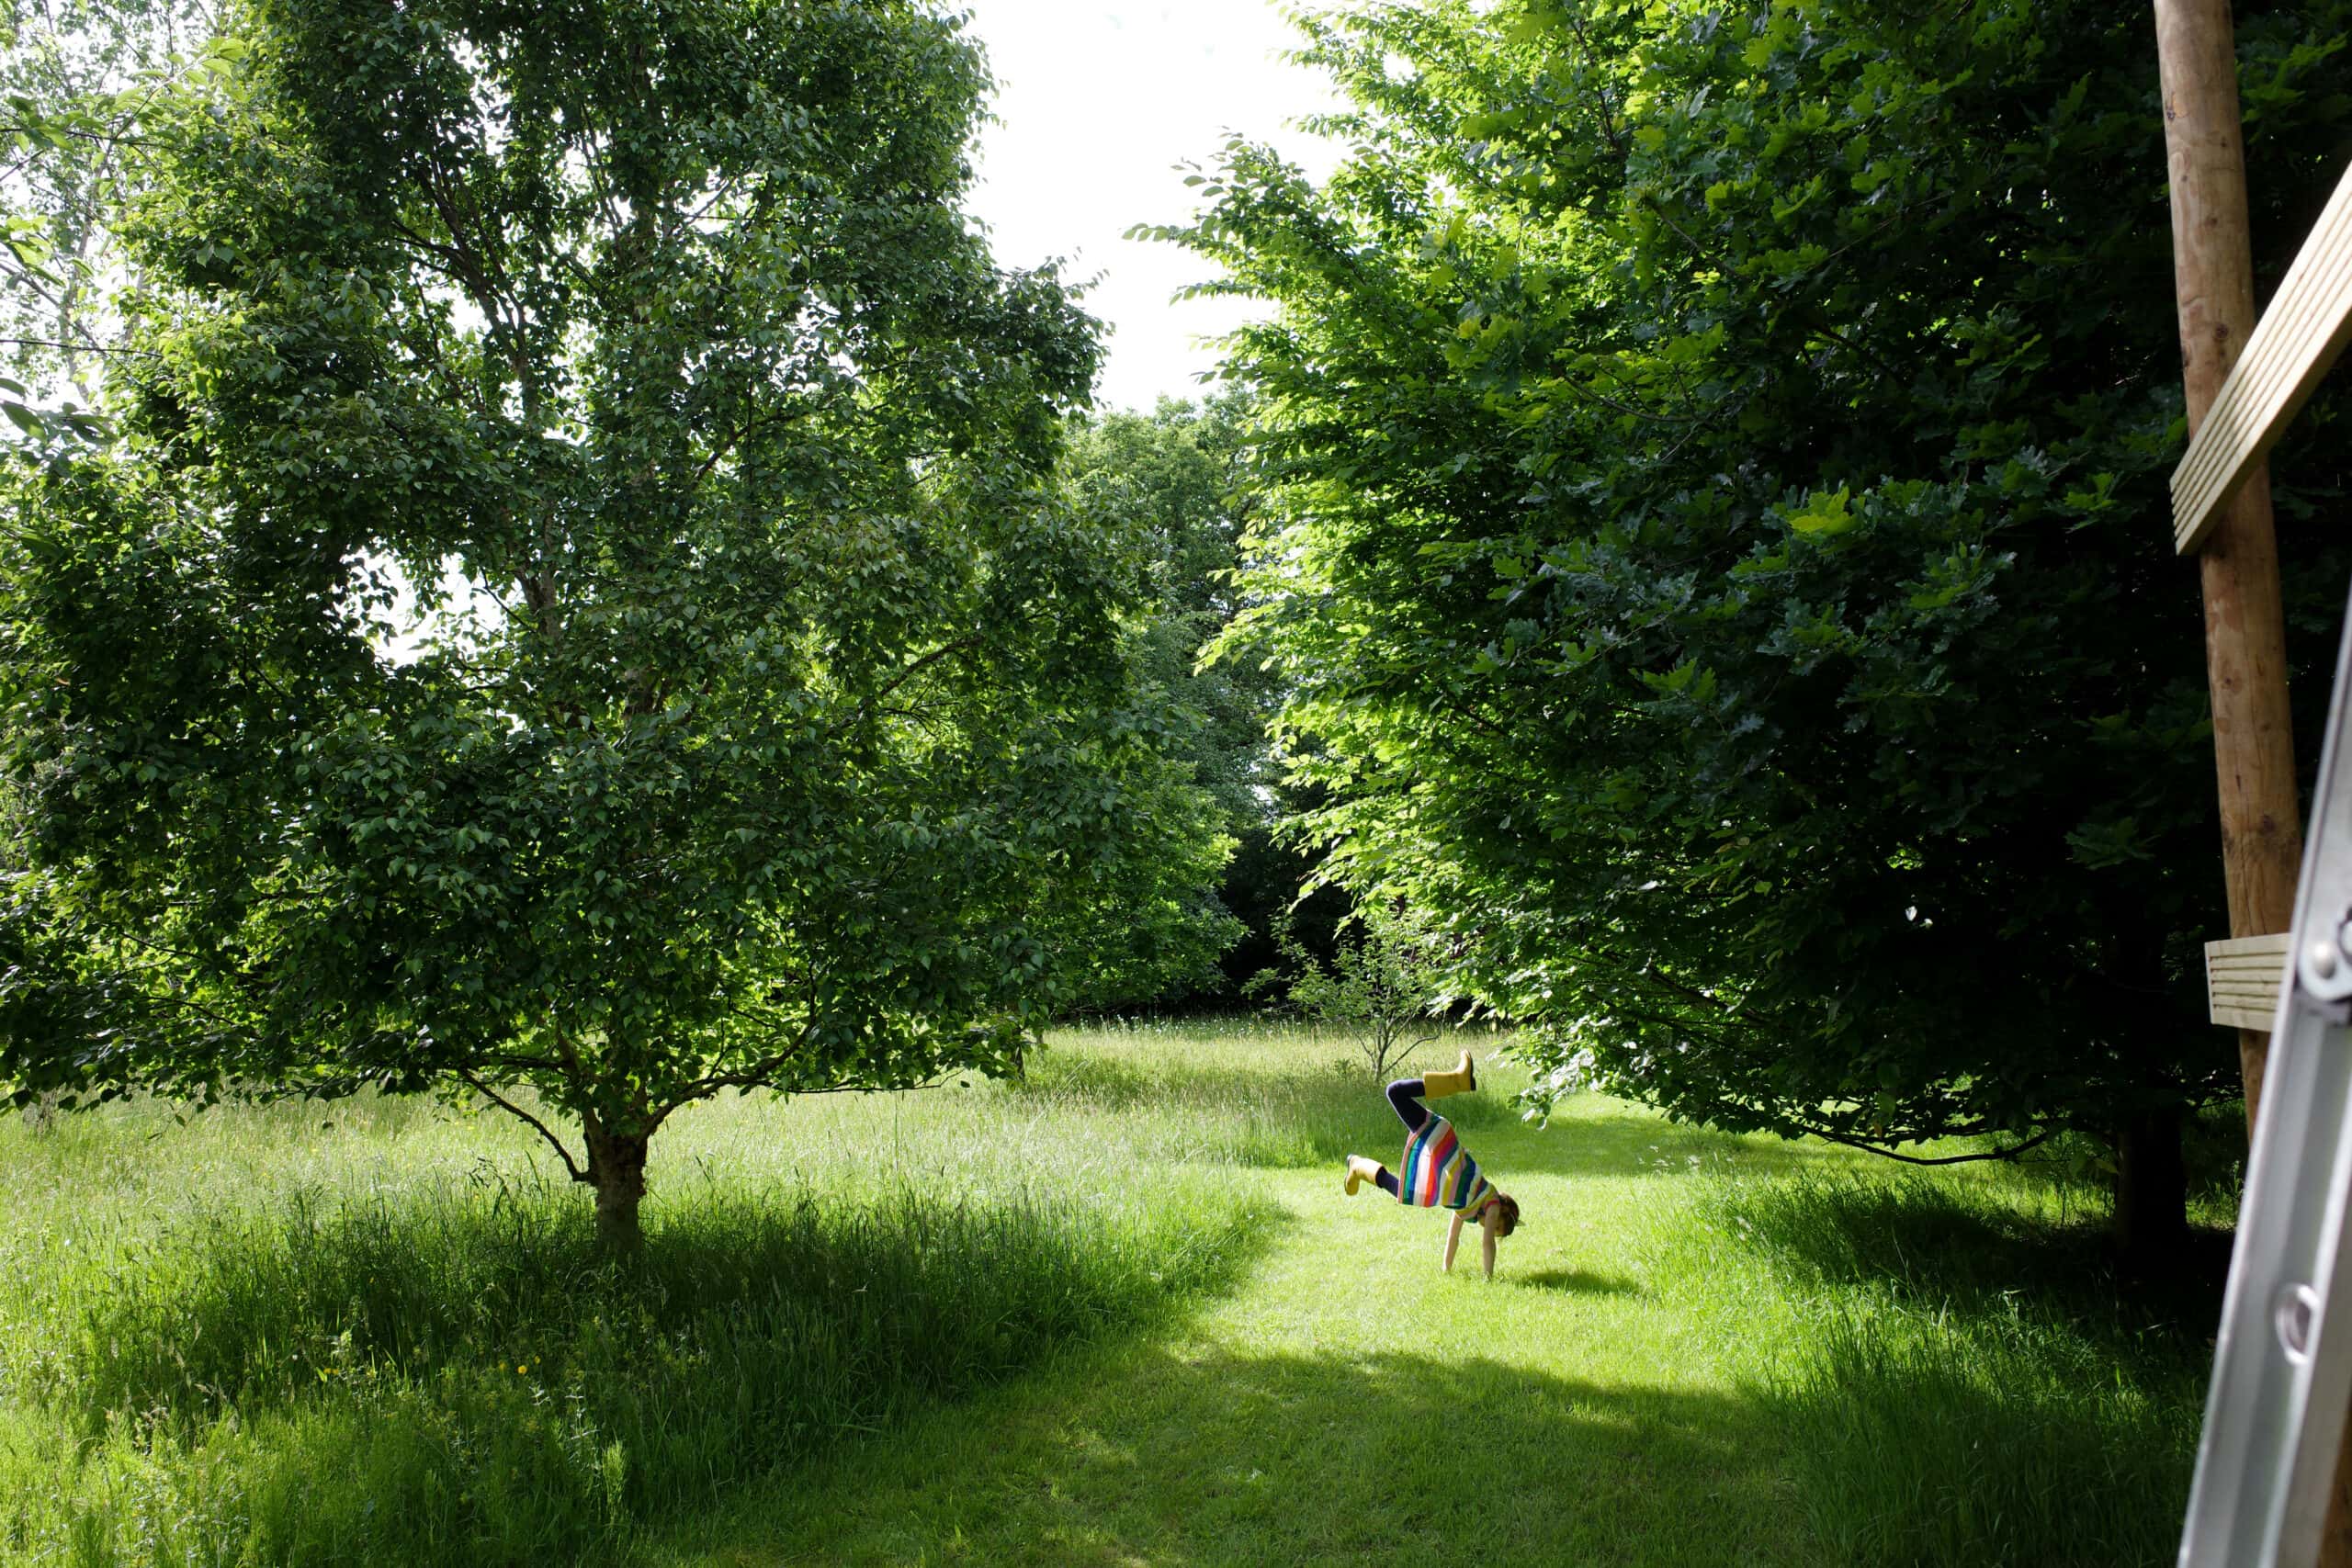
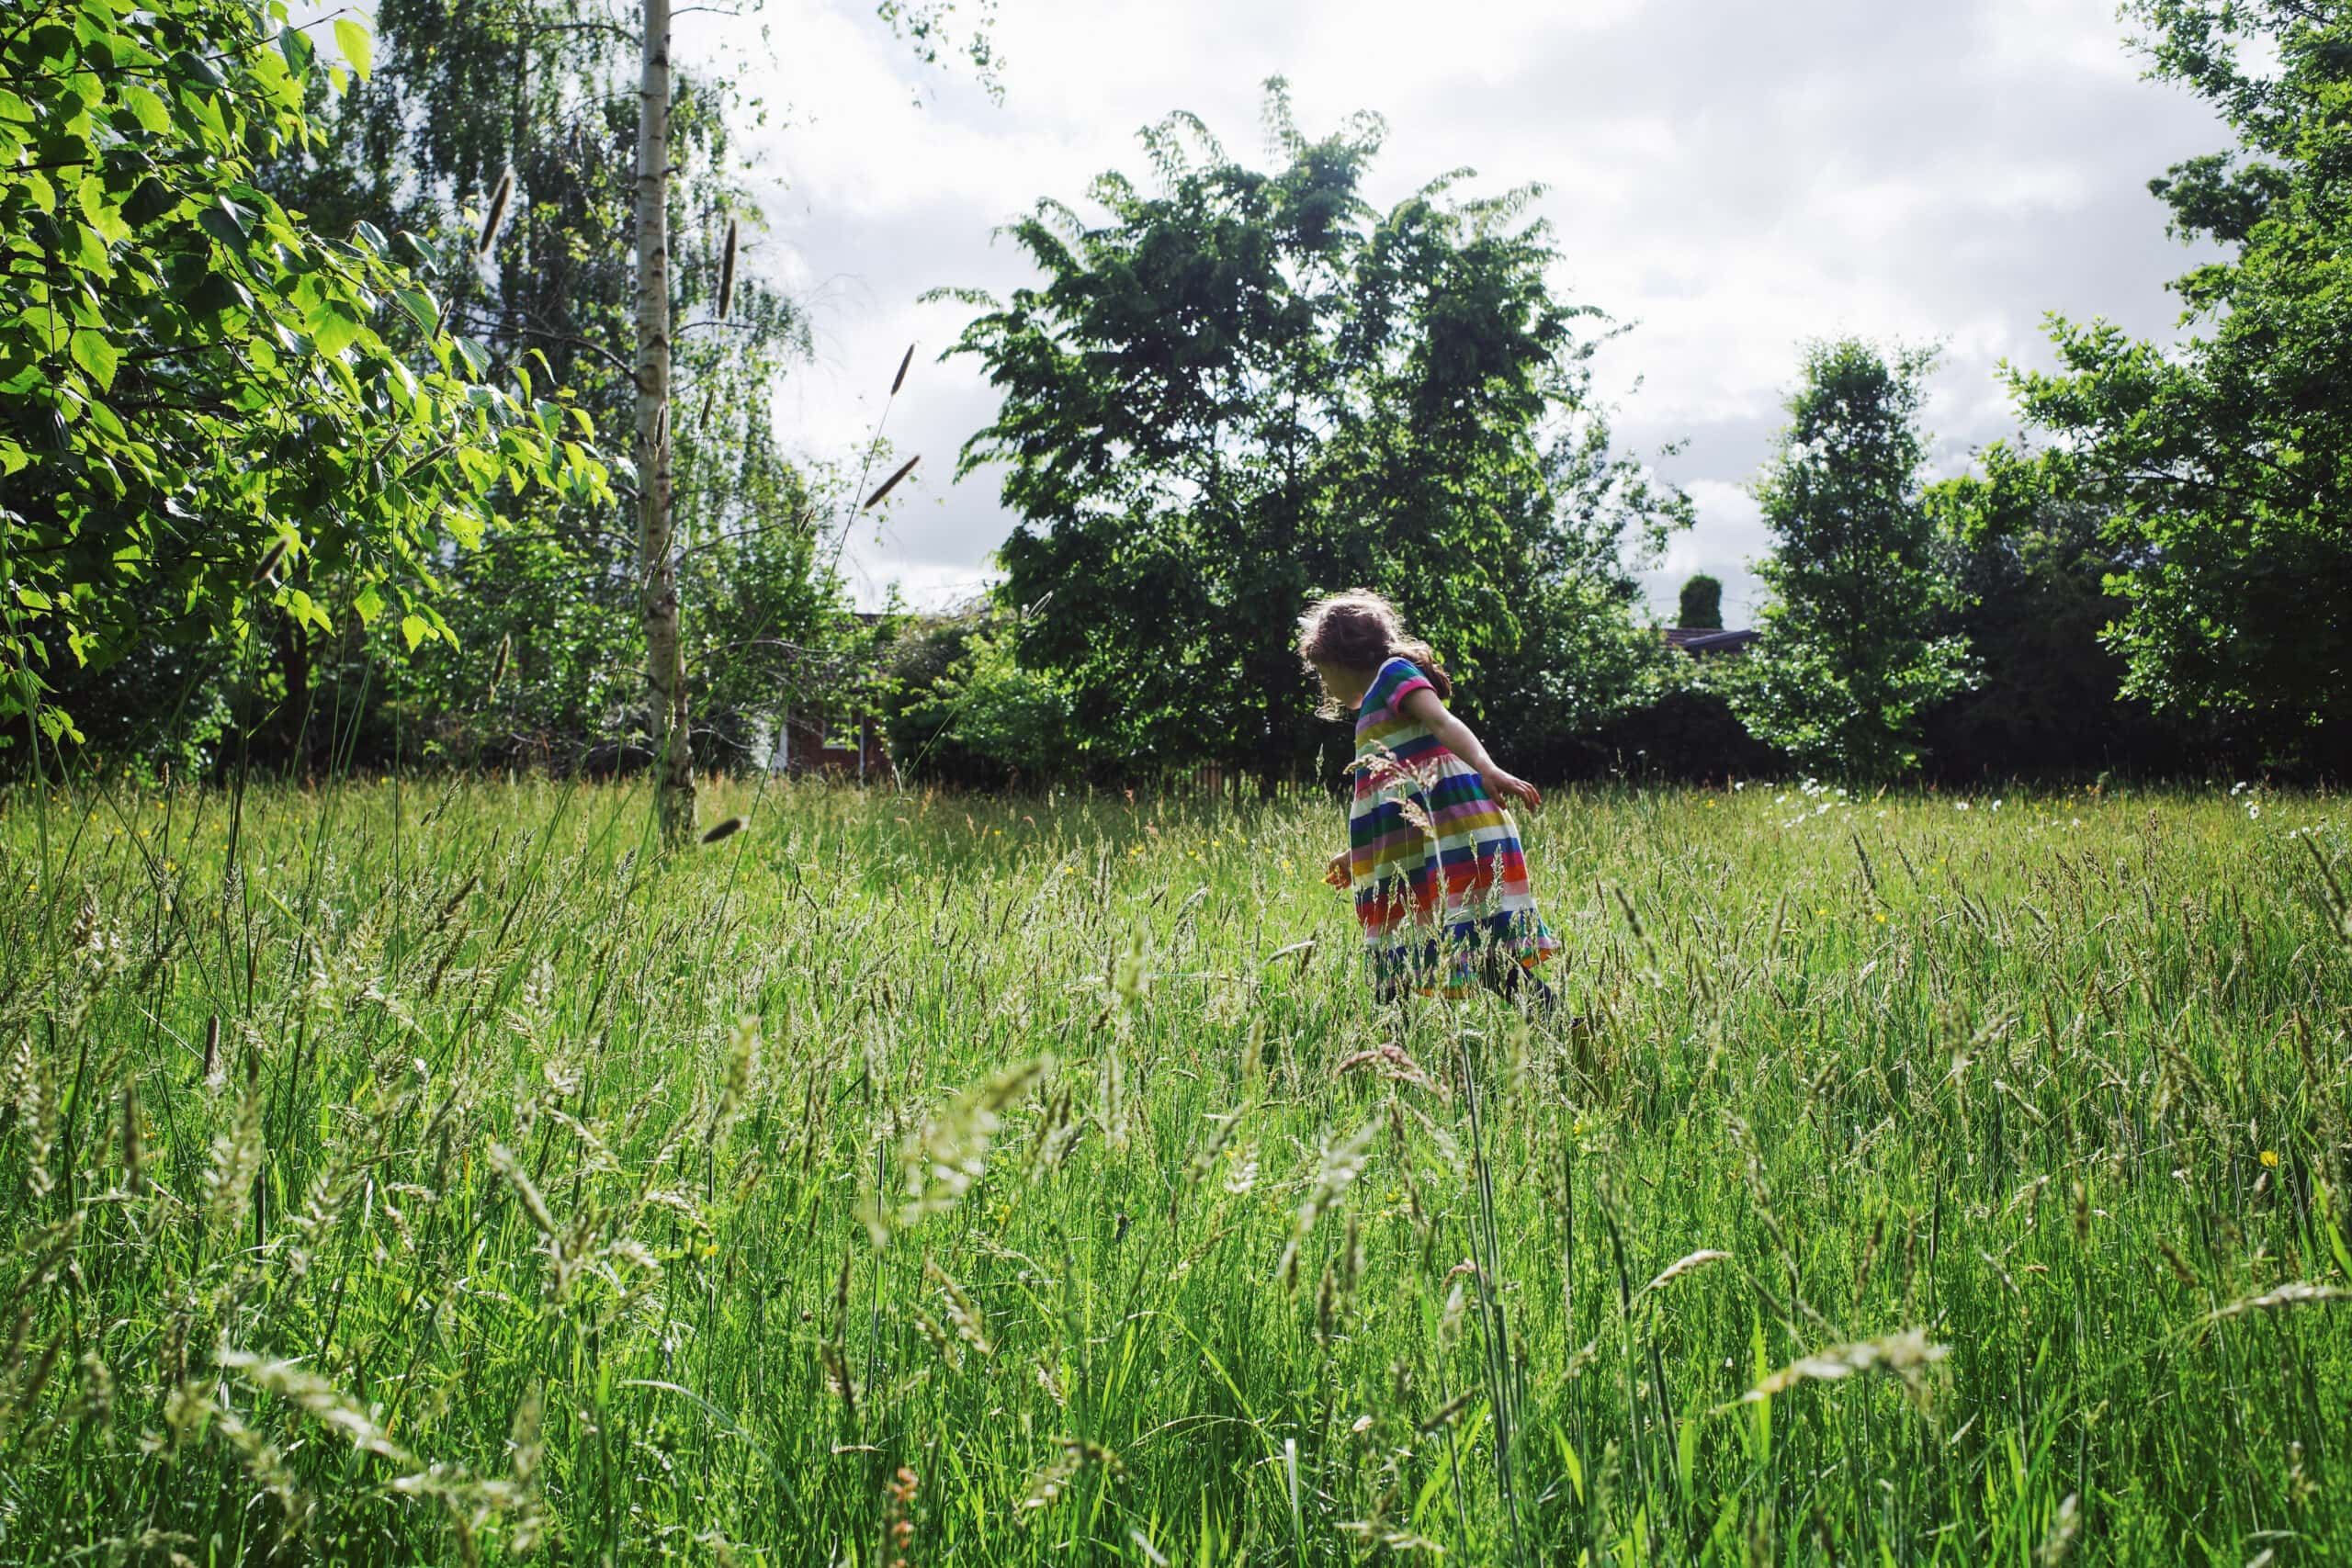
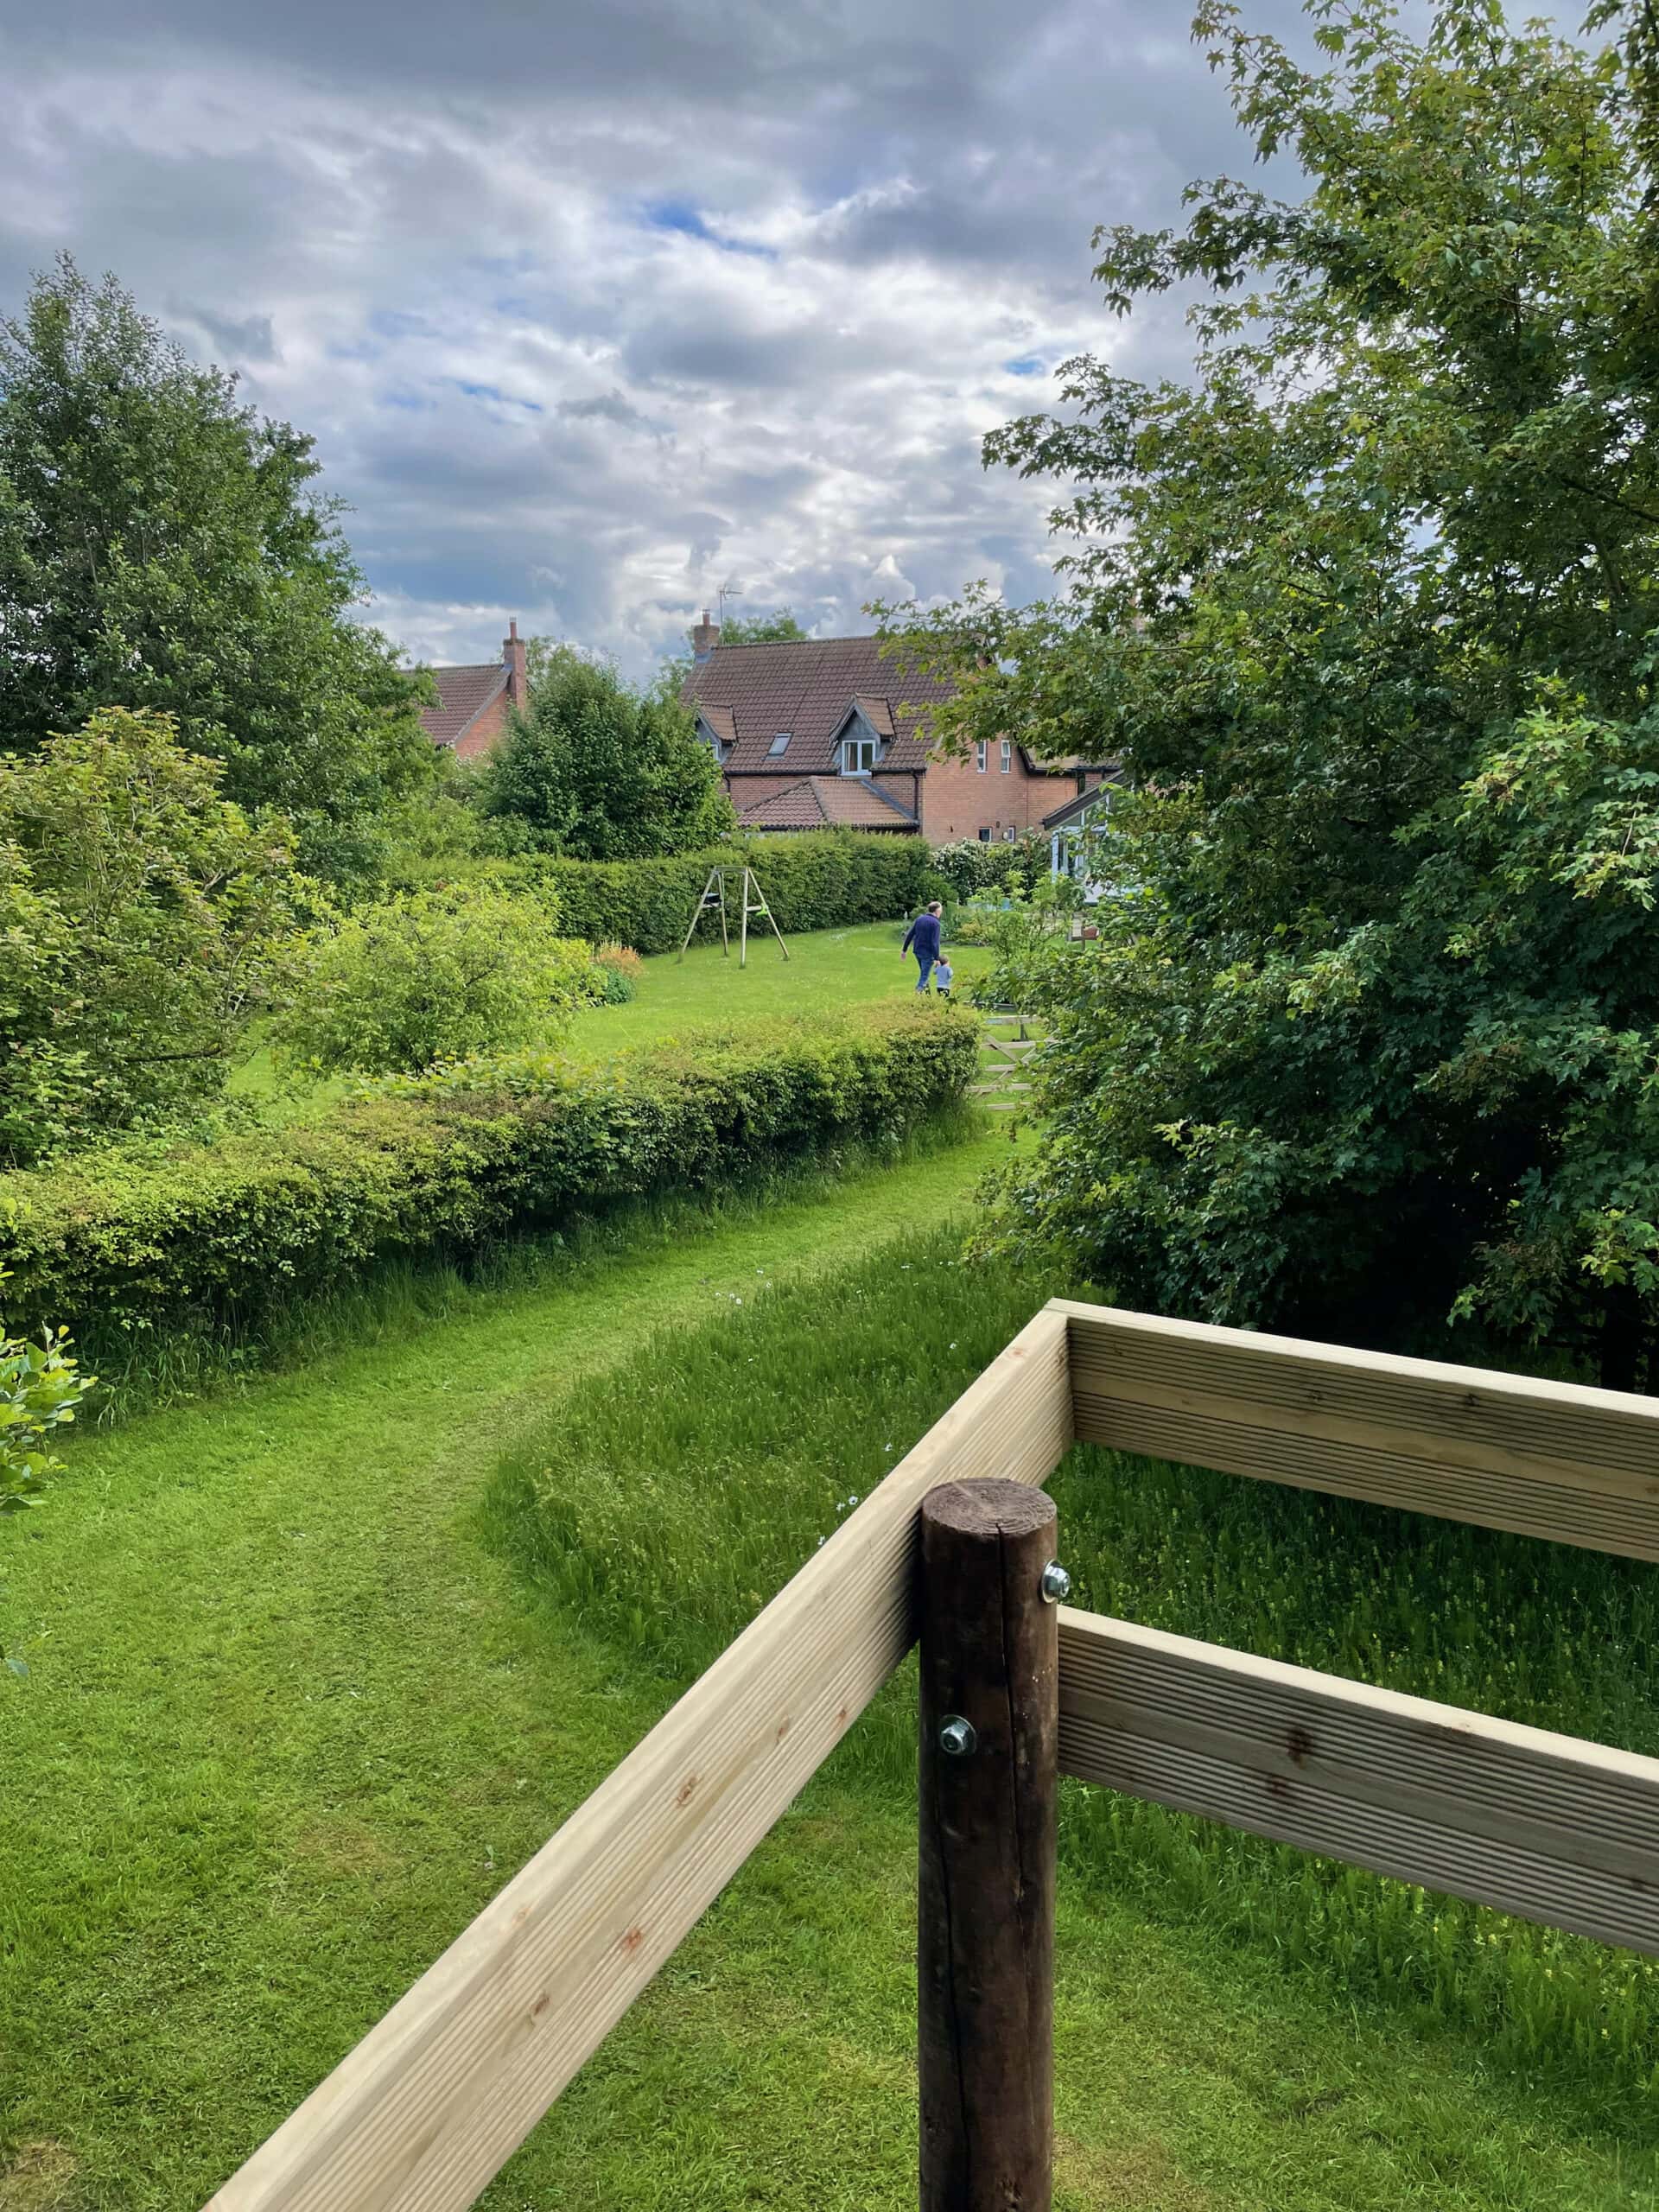
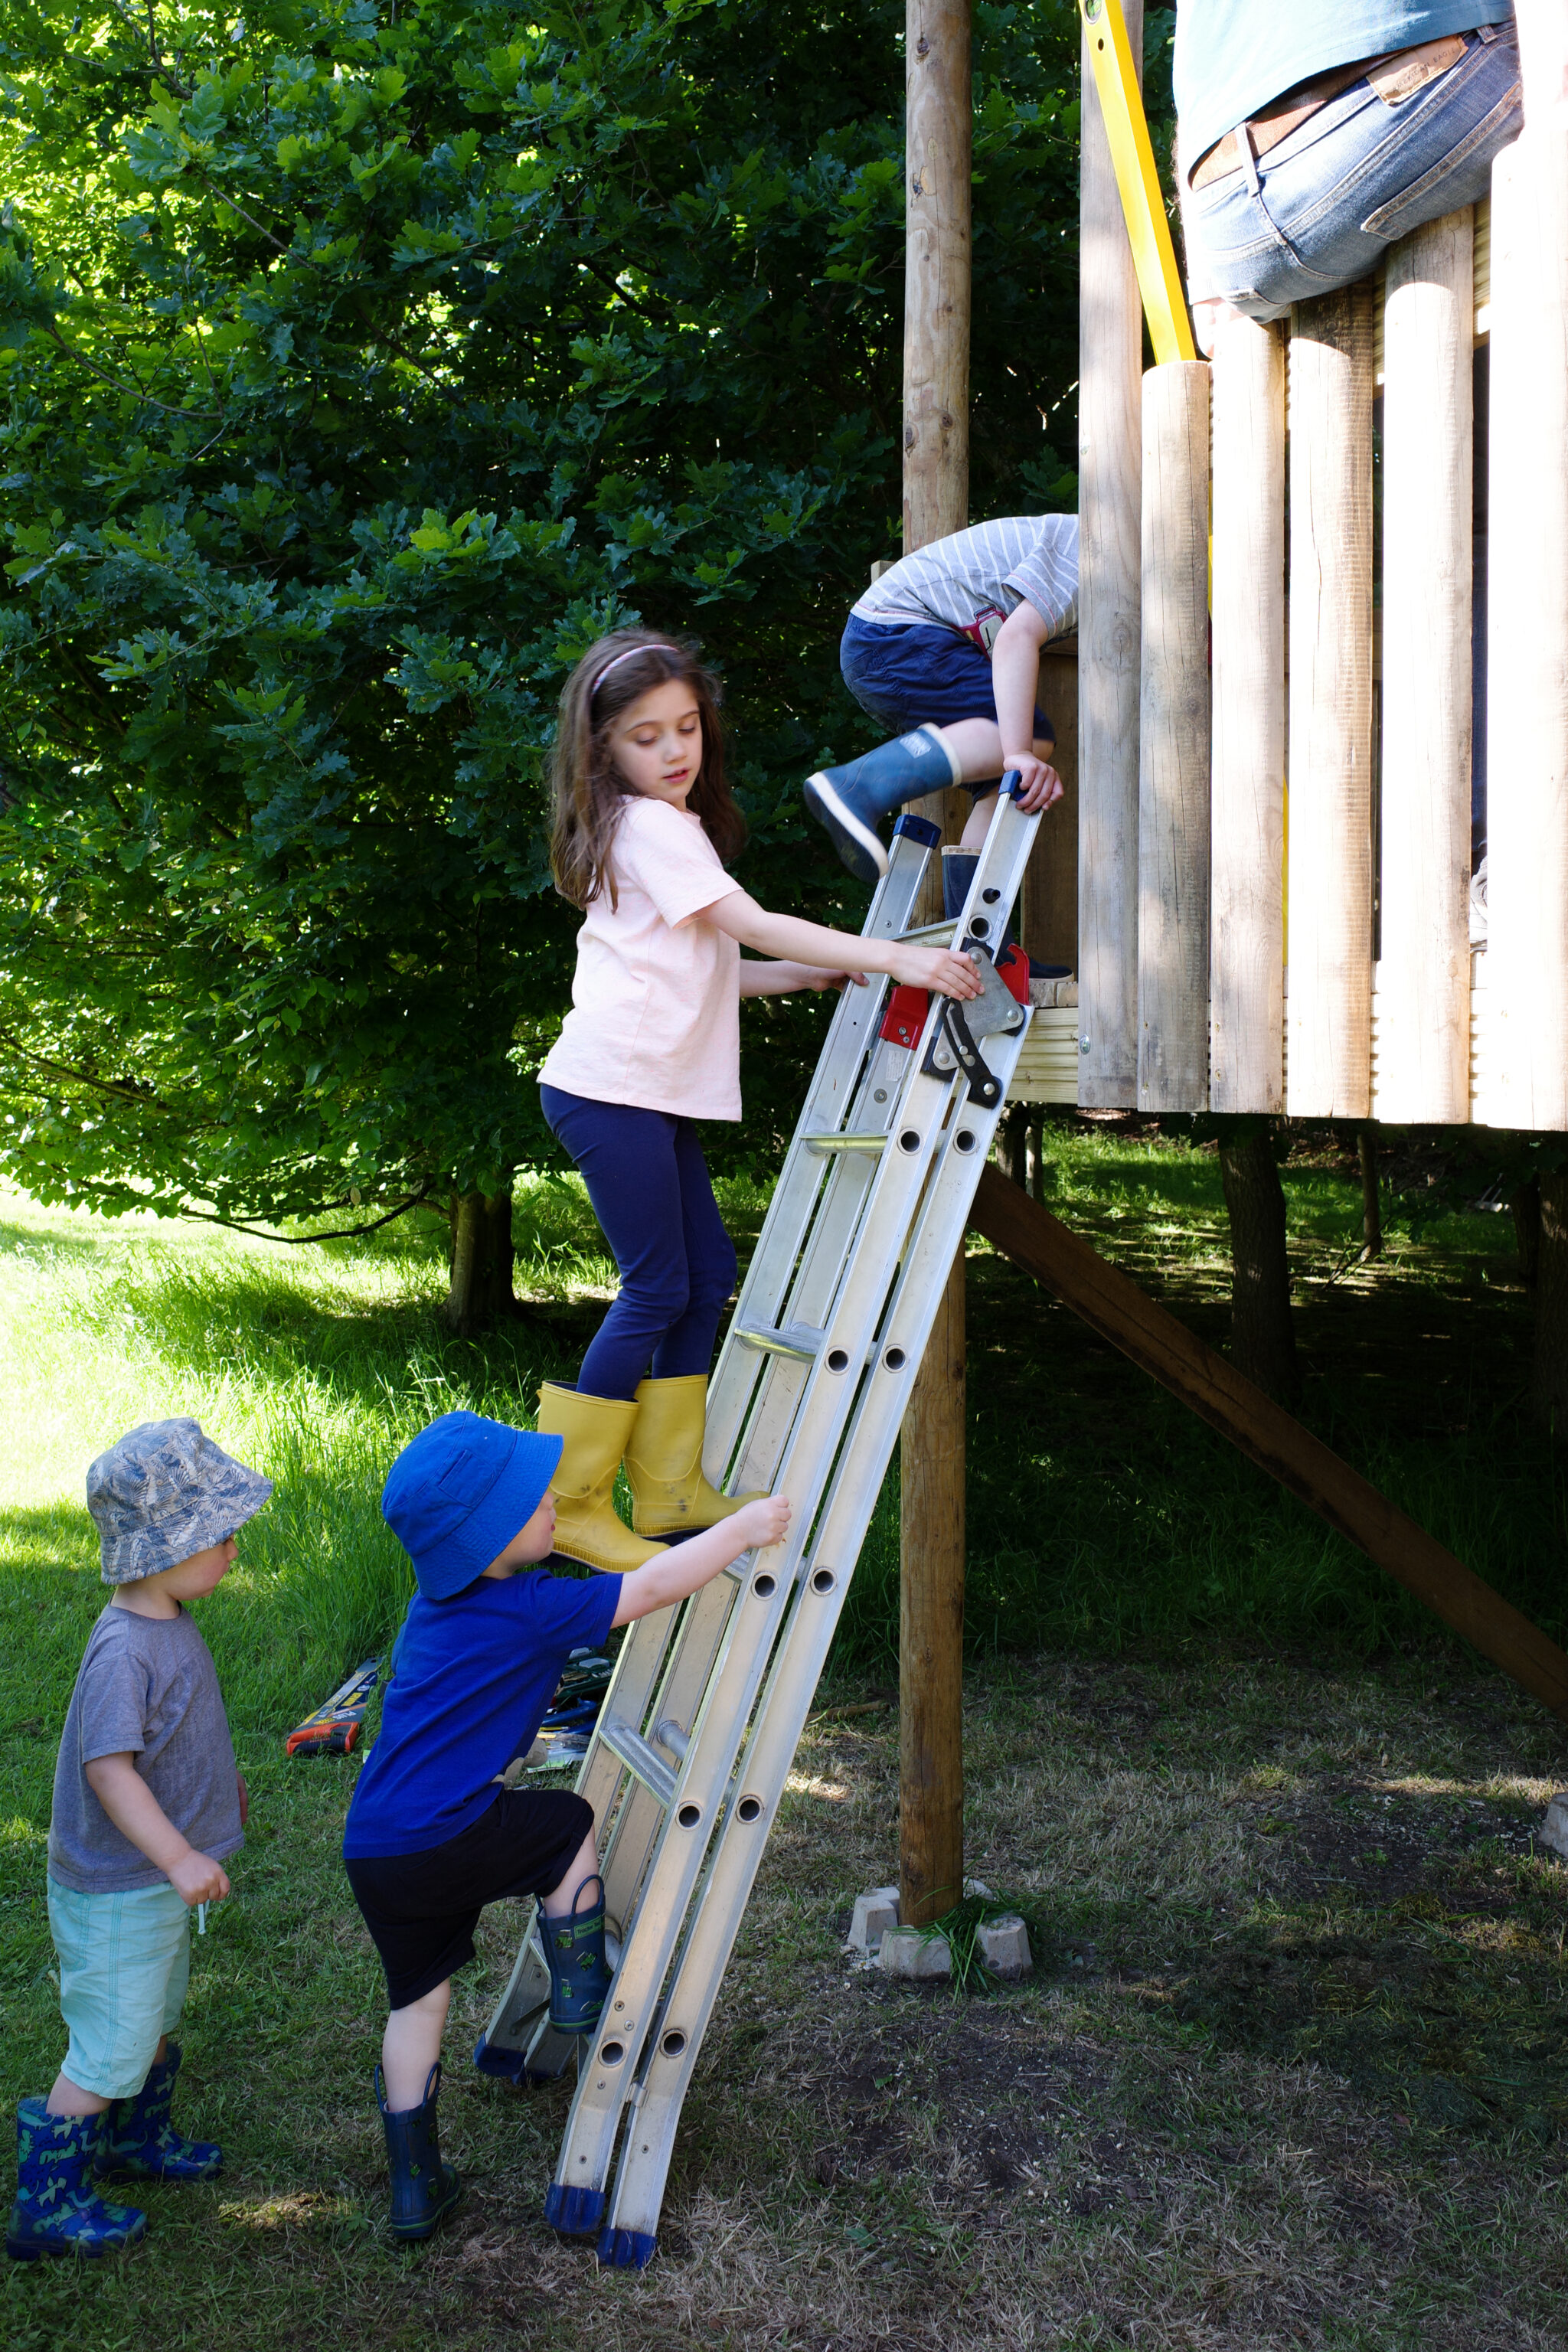
Fast forward a few decades and my parents are fortunate enough to have a house with an adjacent field which they maintain as a beautiful wildflower meadow. I also now have a niece and four nephews aged 0-6 who have an unfathomable amount of energy and love to run riot every time they visit.
Pre-pandemic I had been planning to build them a treehouse in the field but this was put on hold for a couple of years while we were marooned in Japan. After our trip to Singapore in May, we finally made it back to the U.K. and we immediately got to work realising the dream!
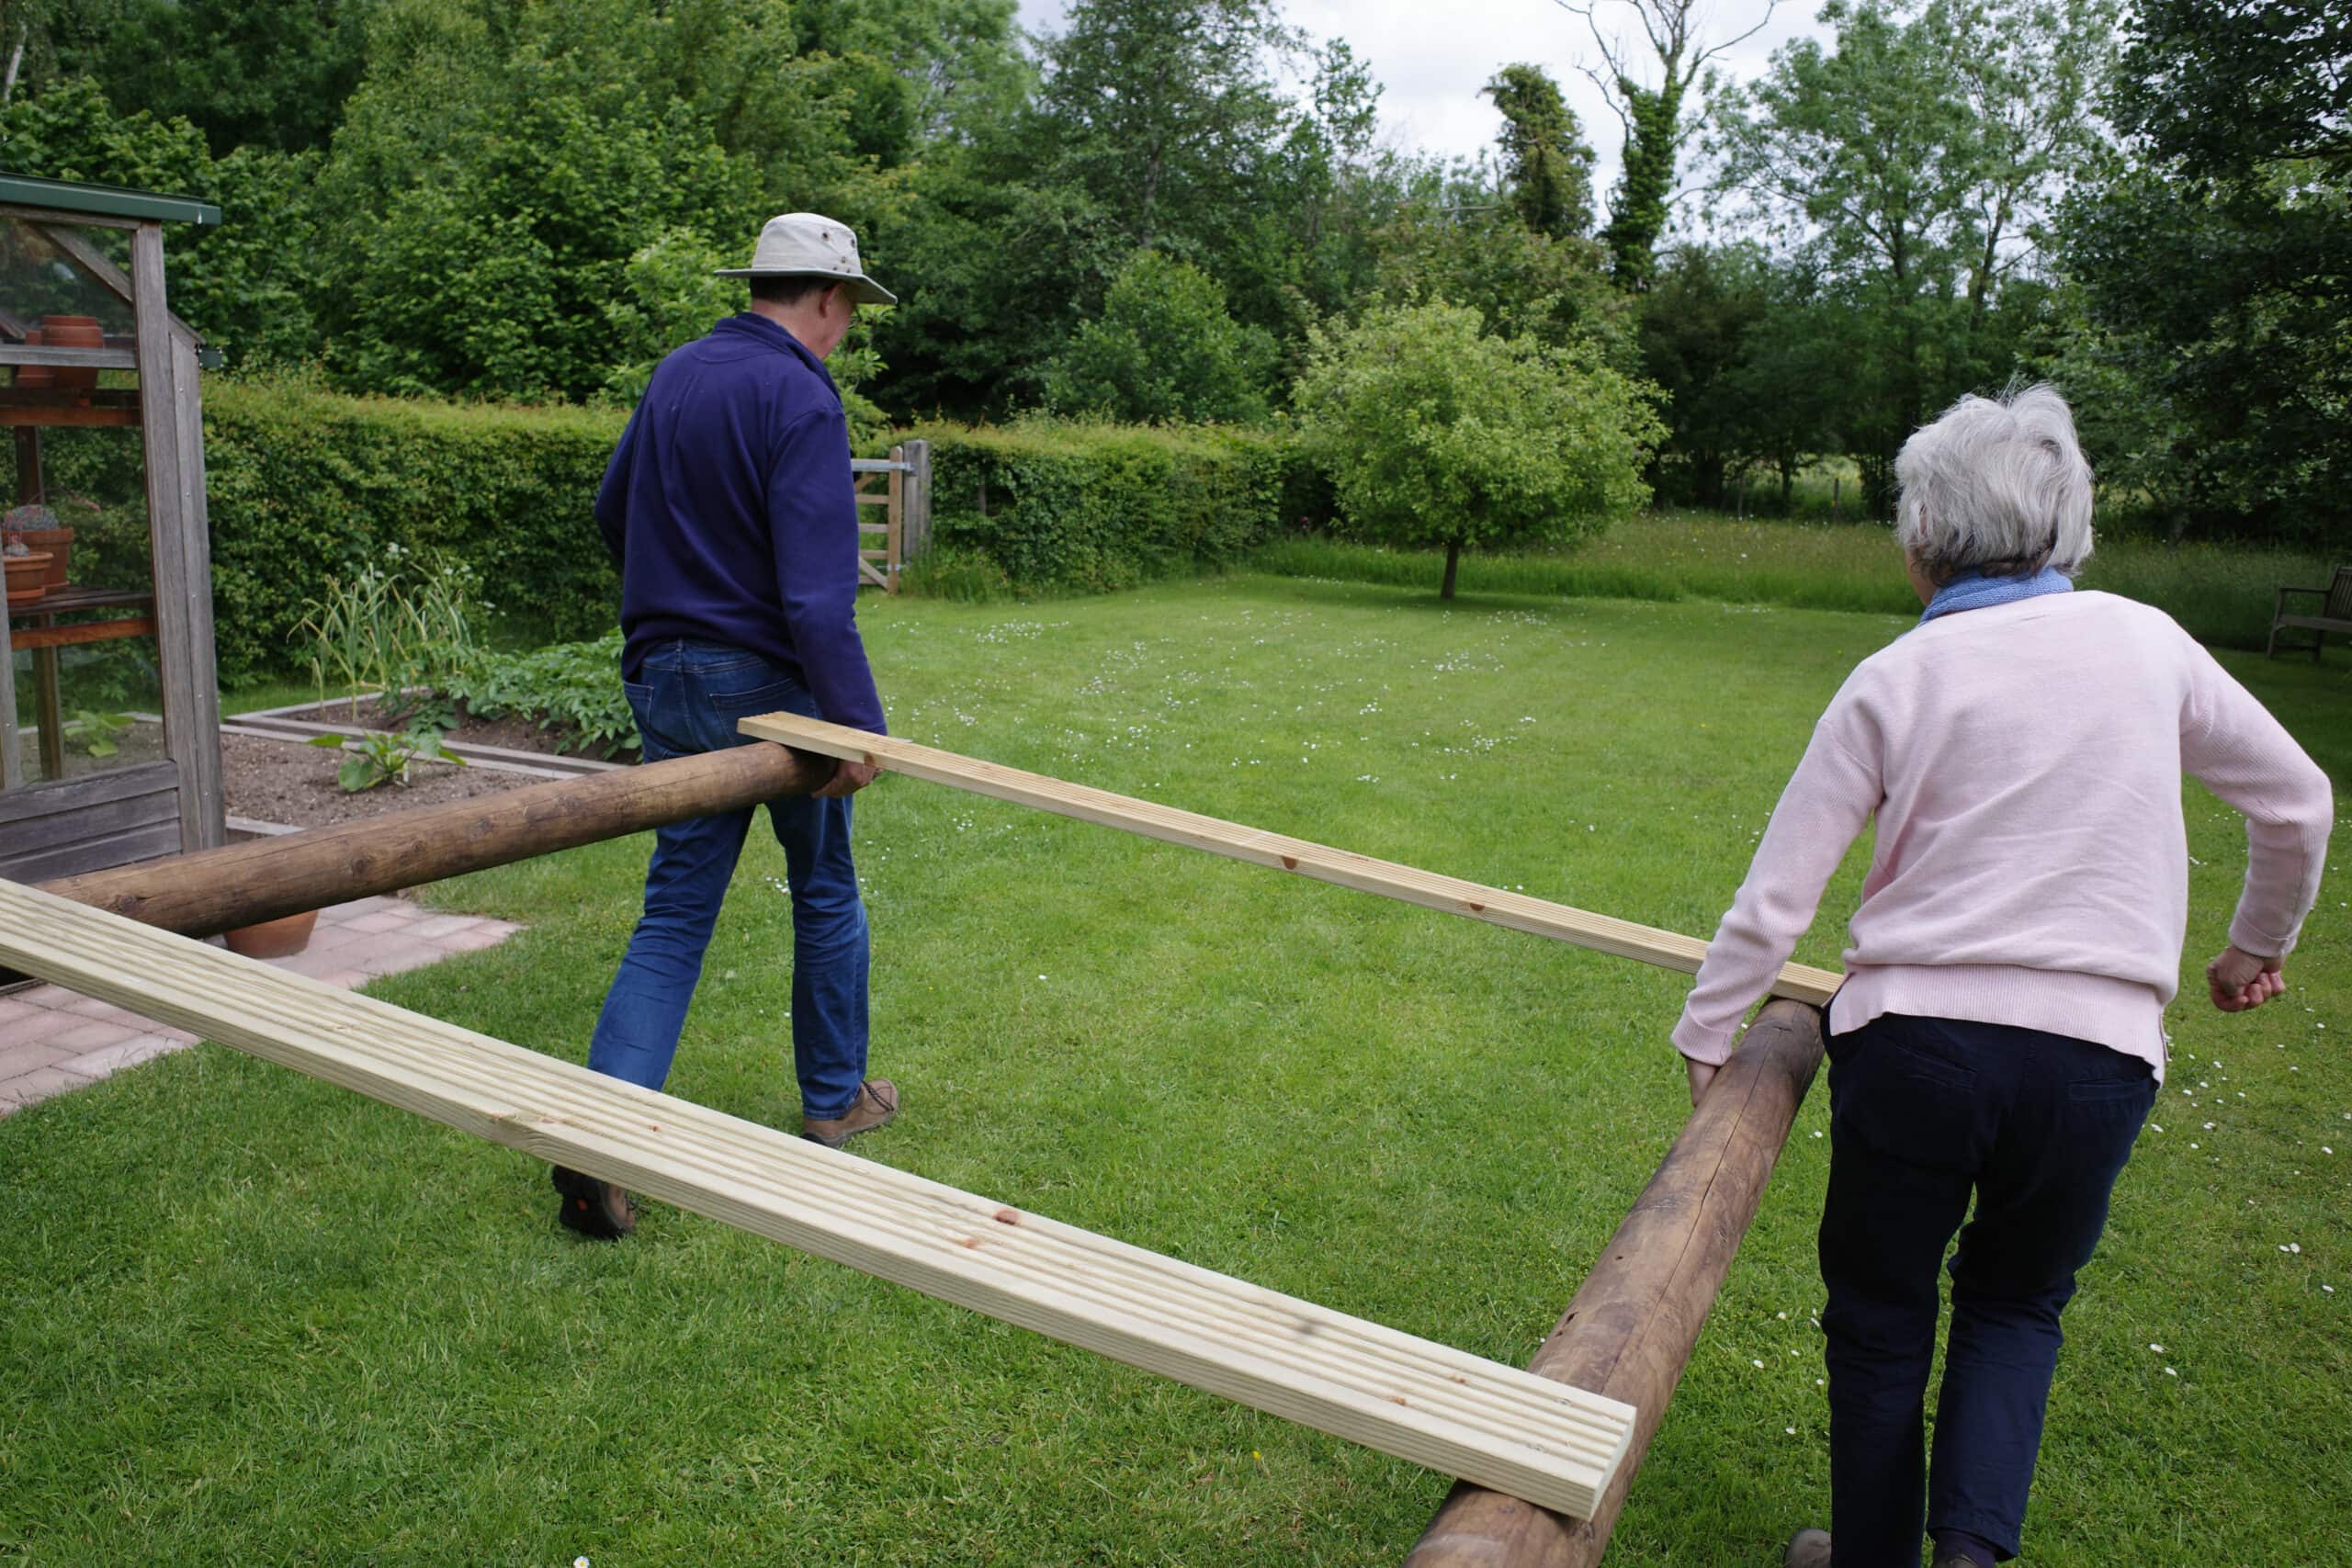
Prior to our arrival, my uncle had given my dad a huge pile of old wood decking and poles which ironically he had saved from an old treehouse they used to have in their garden. Despite being stored for many years it was still in pretty good condition and saved us a small fortune in lumber costs as well as being more environmentally friendly.
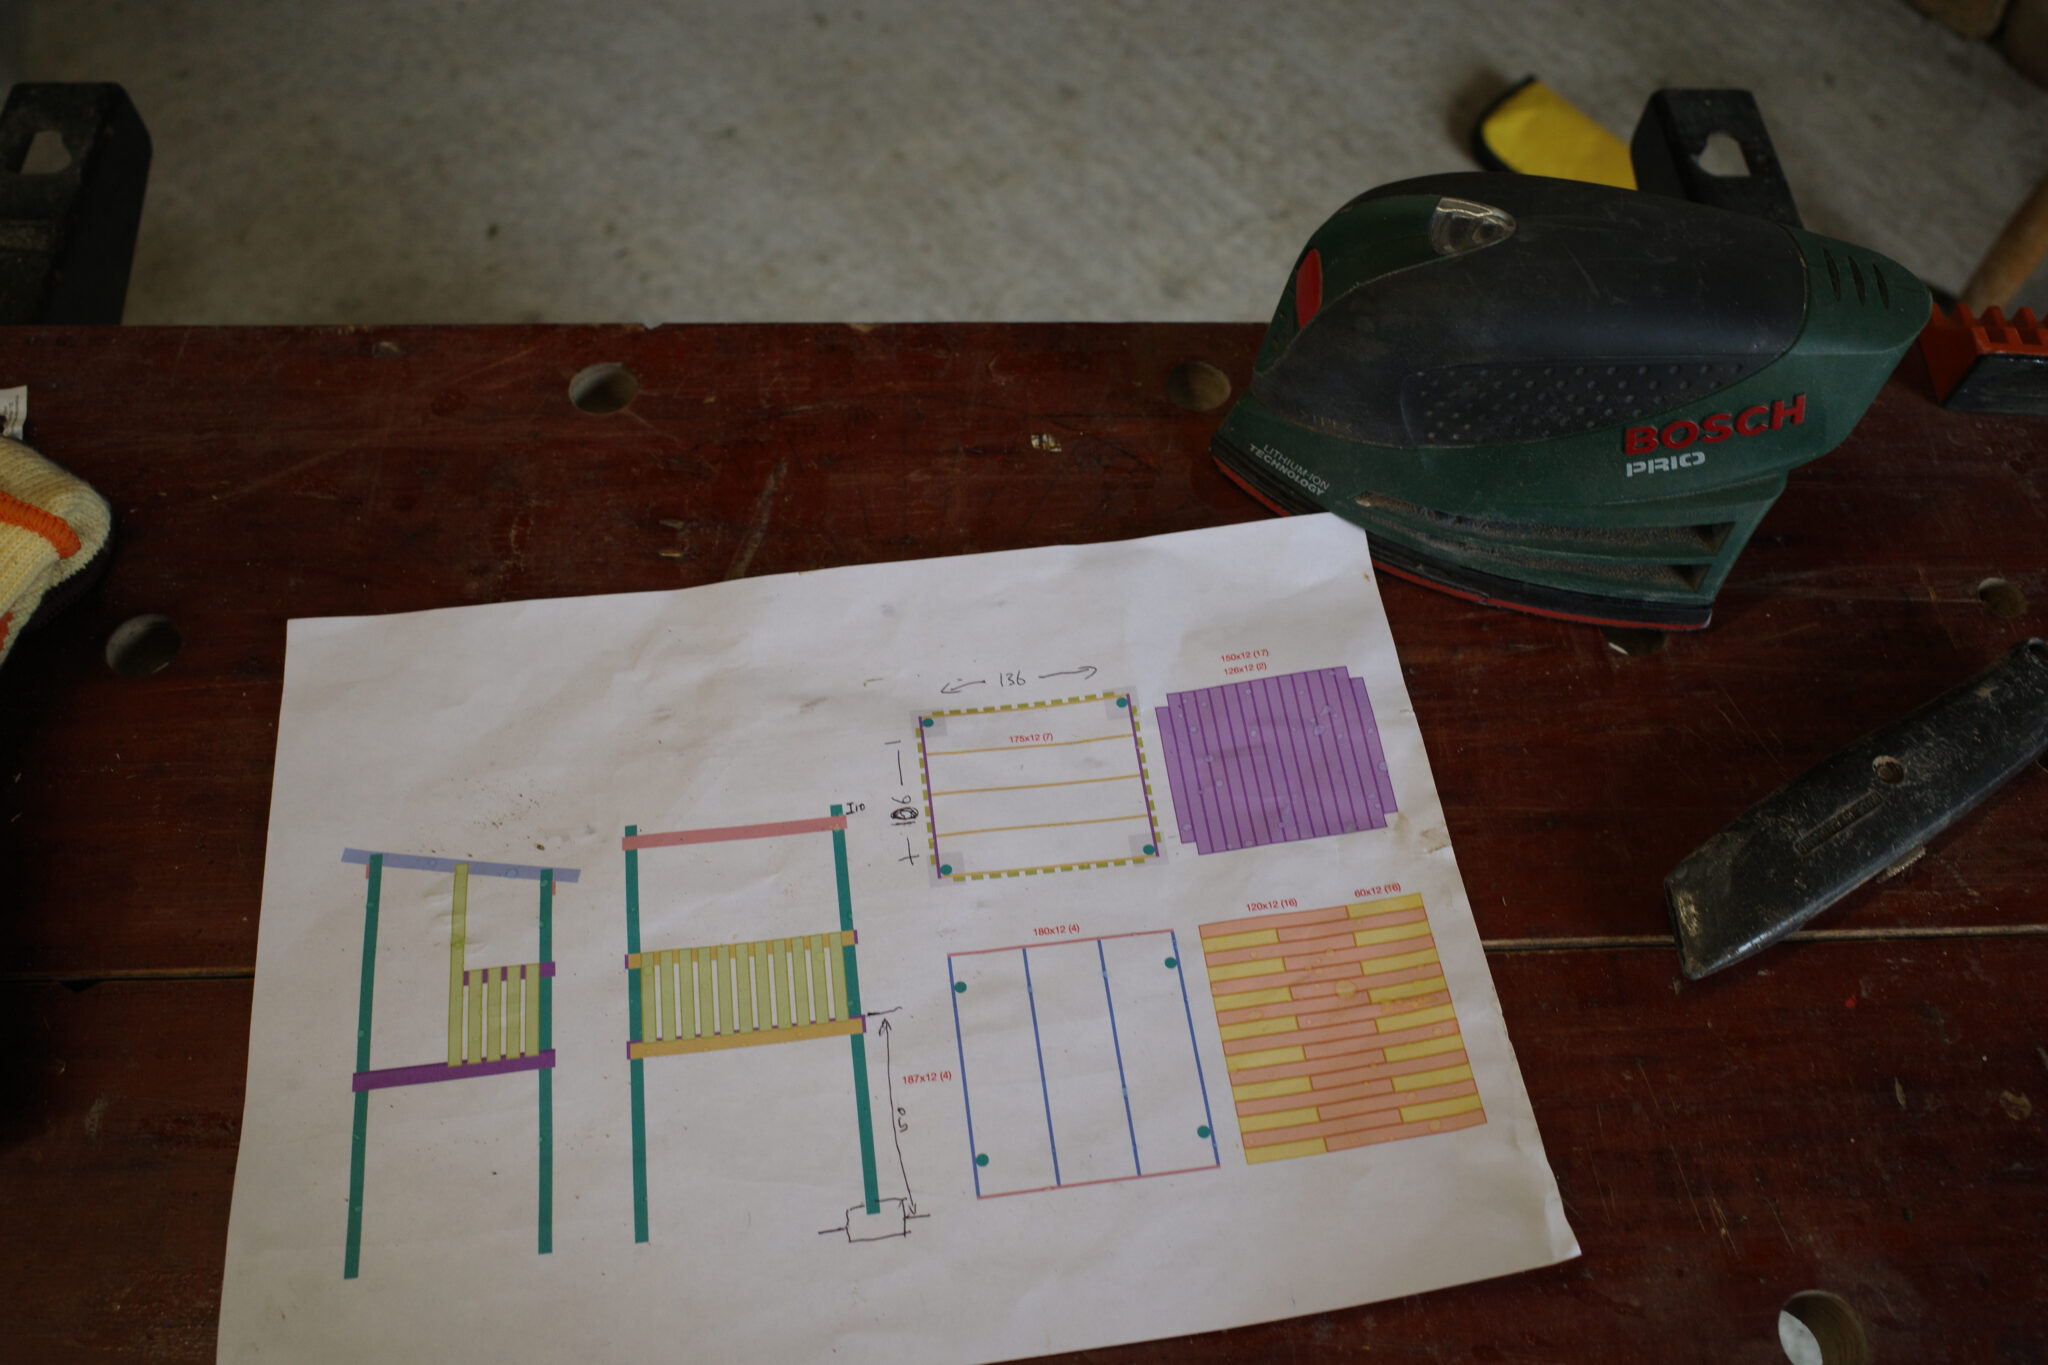
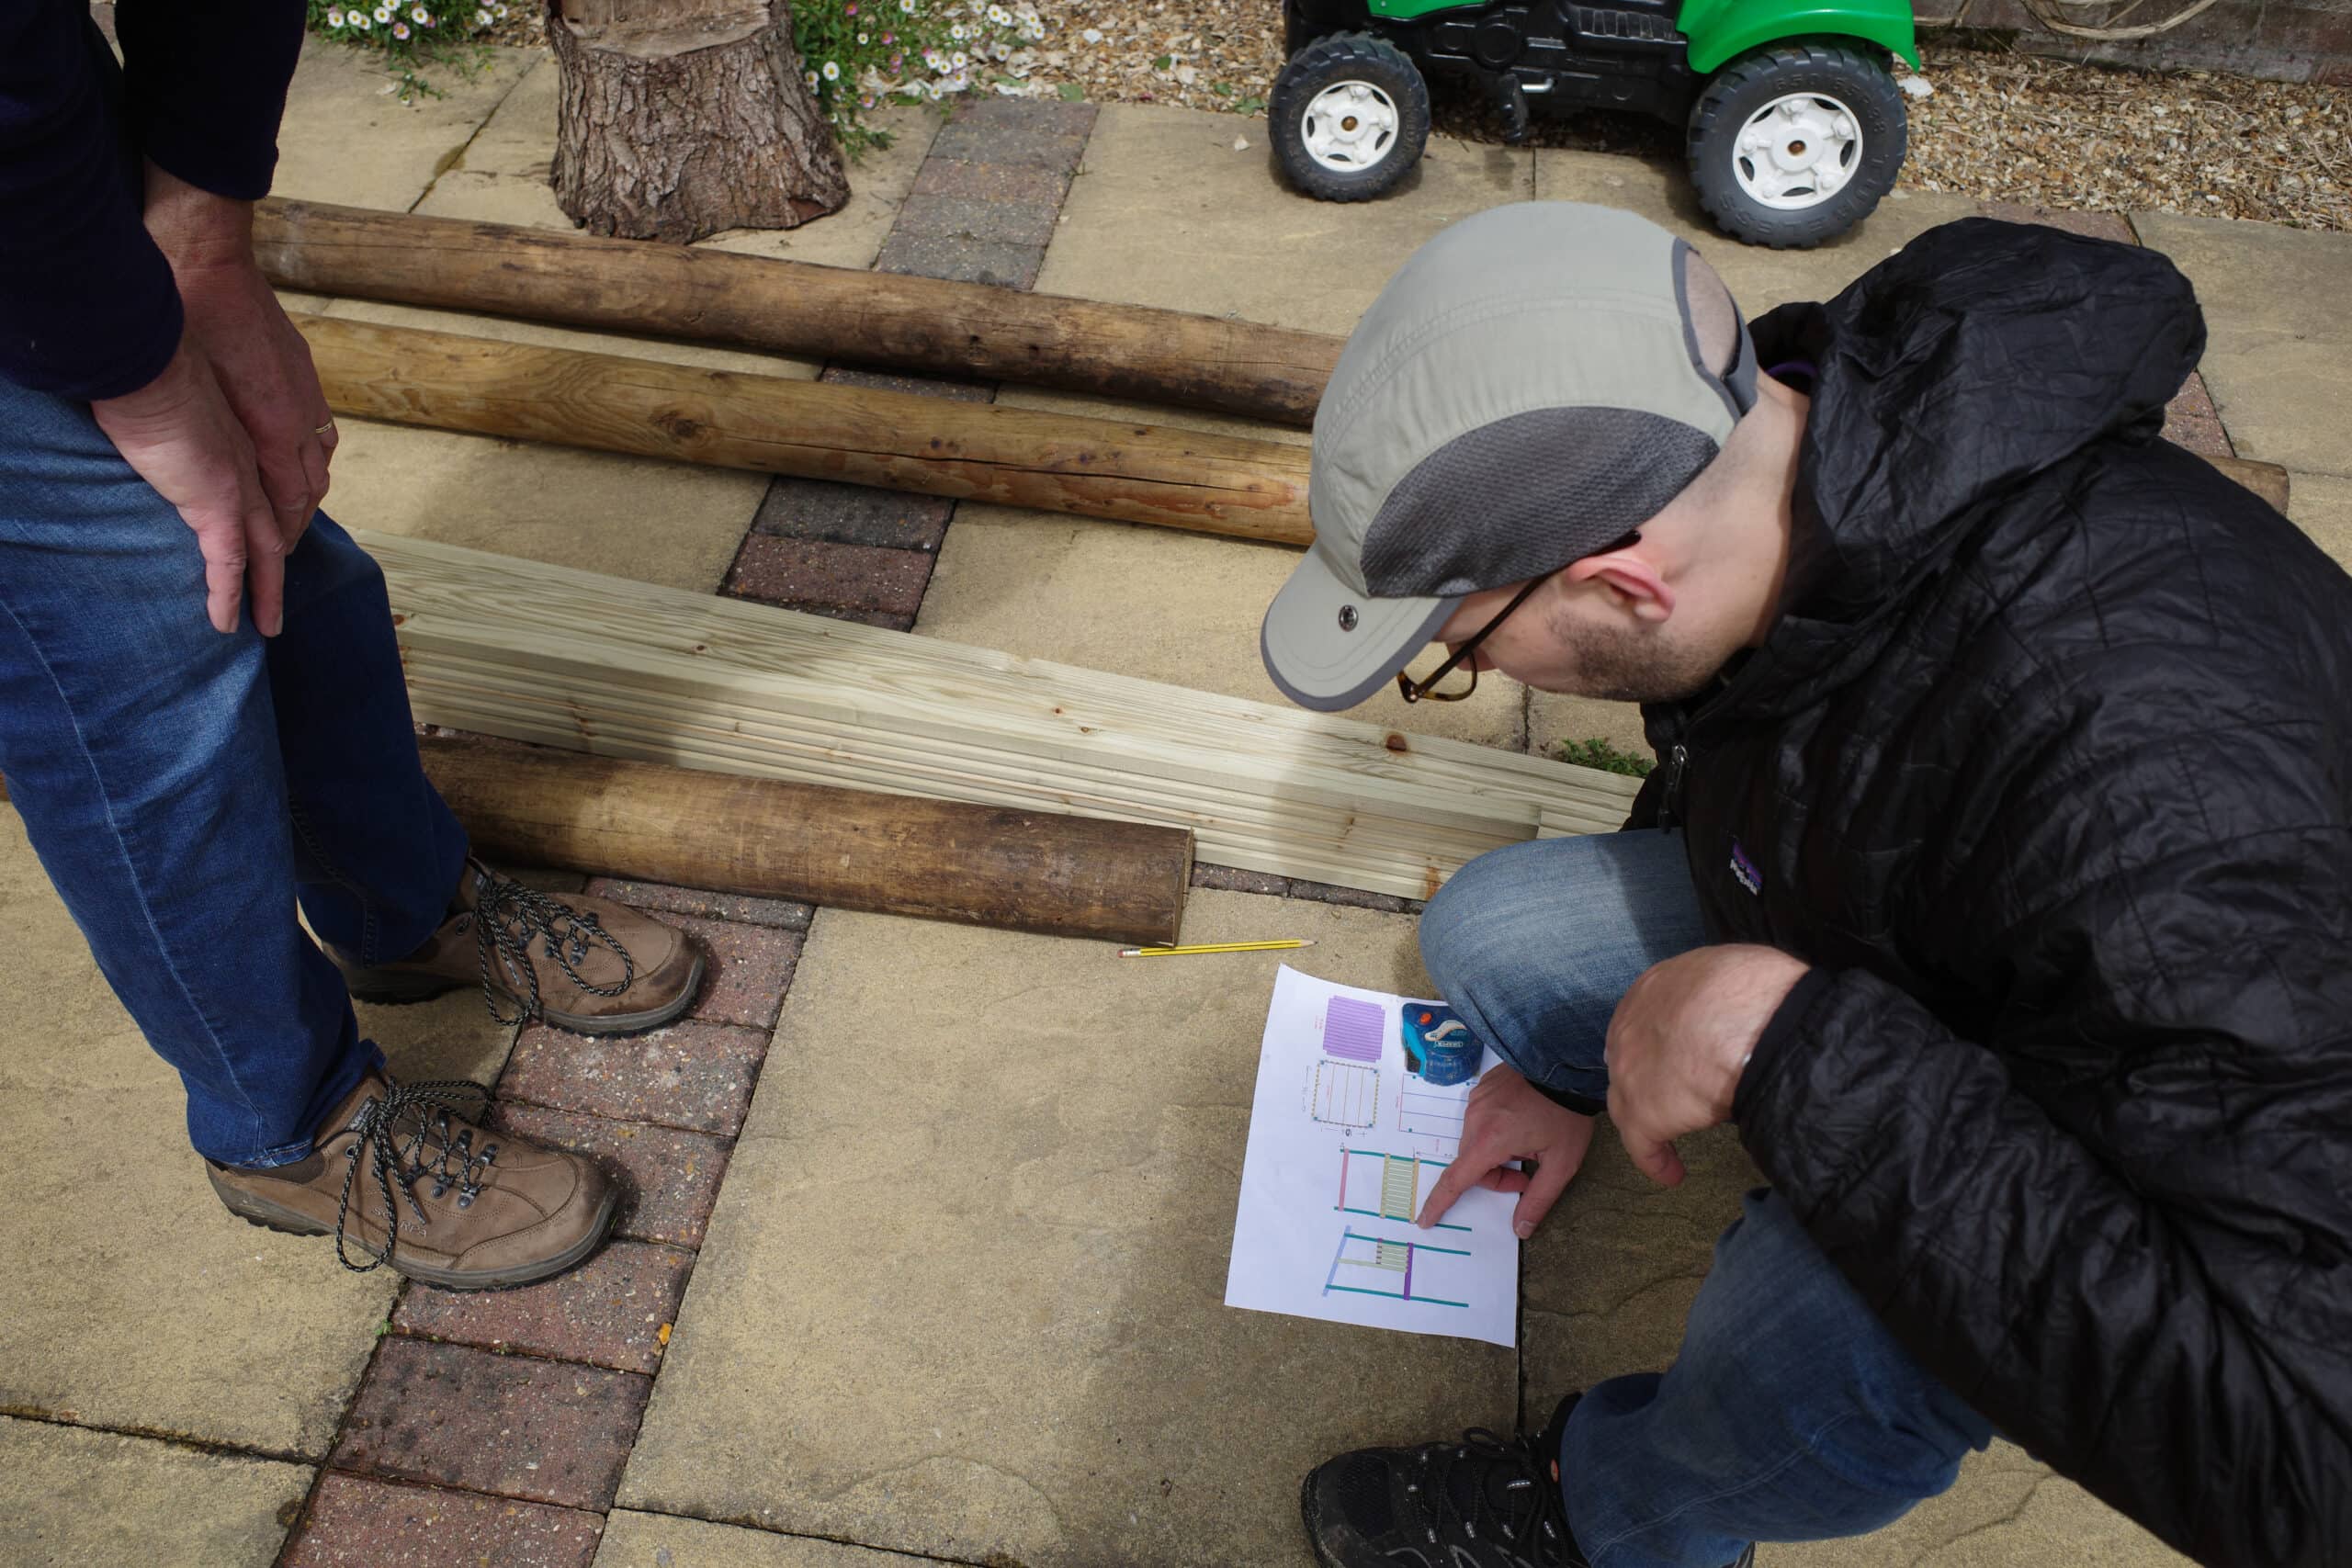
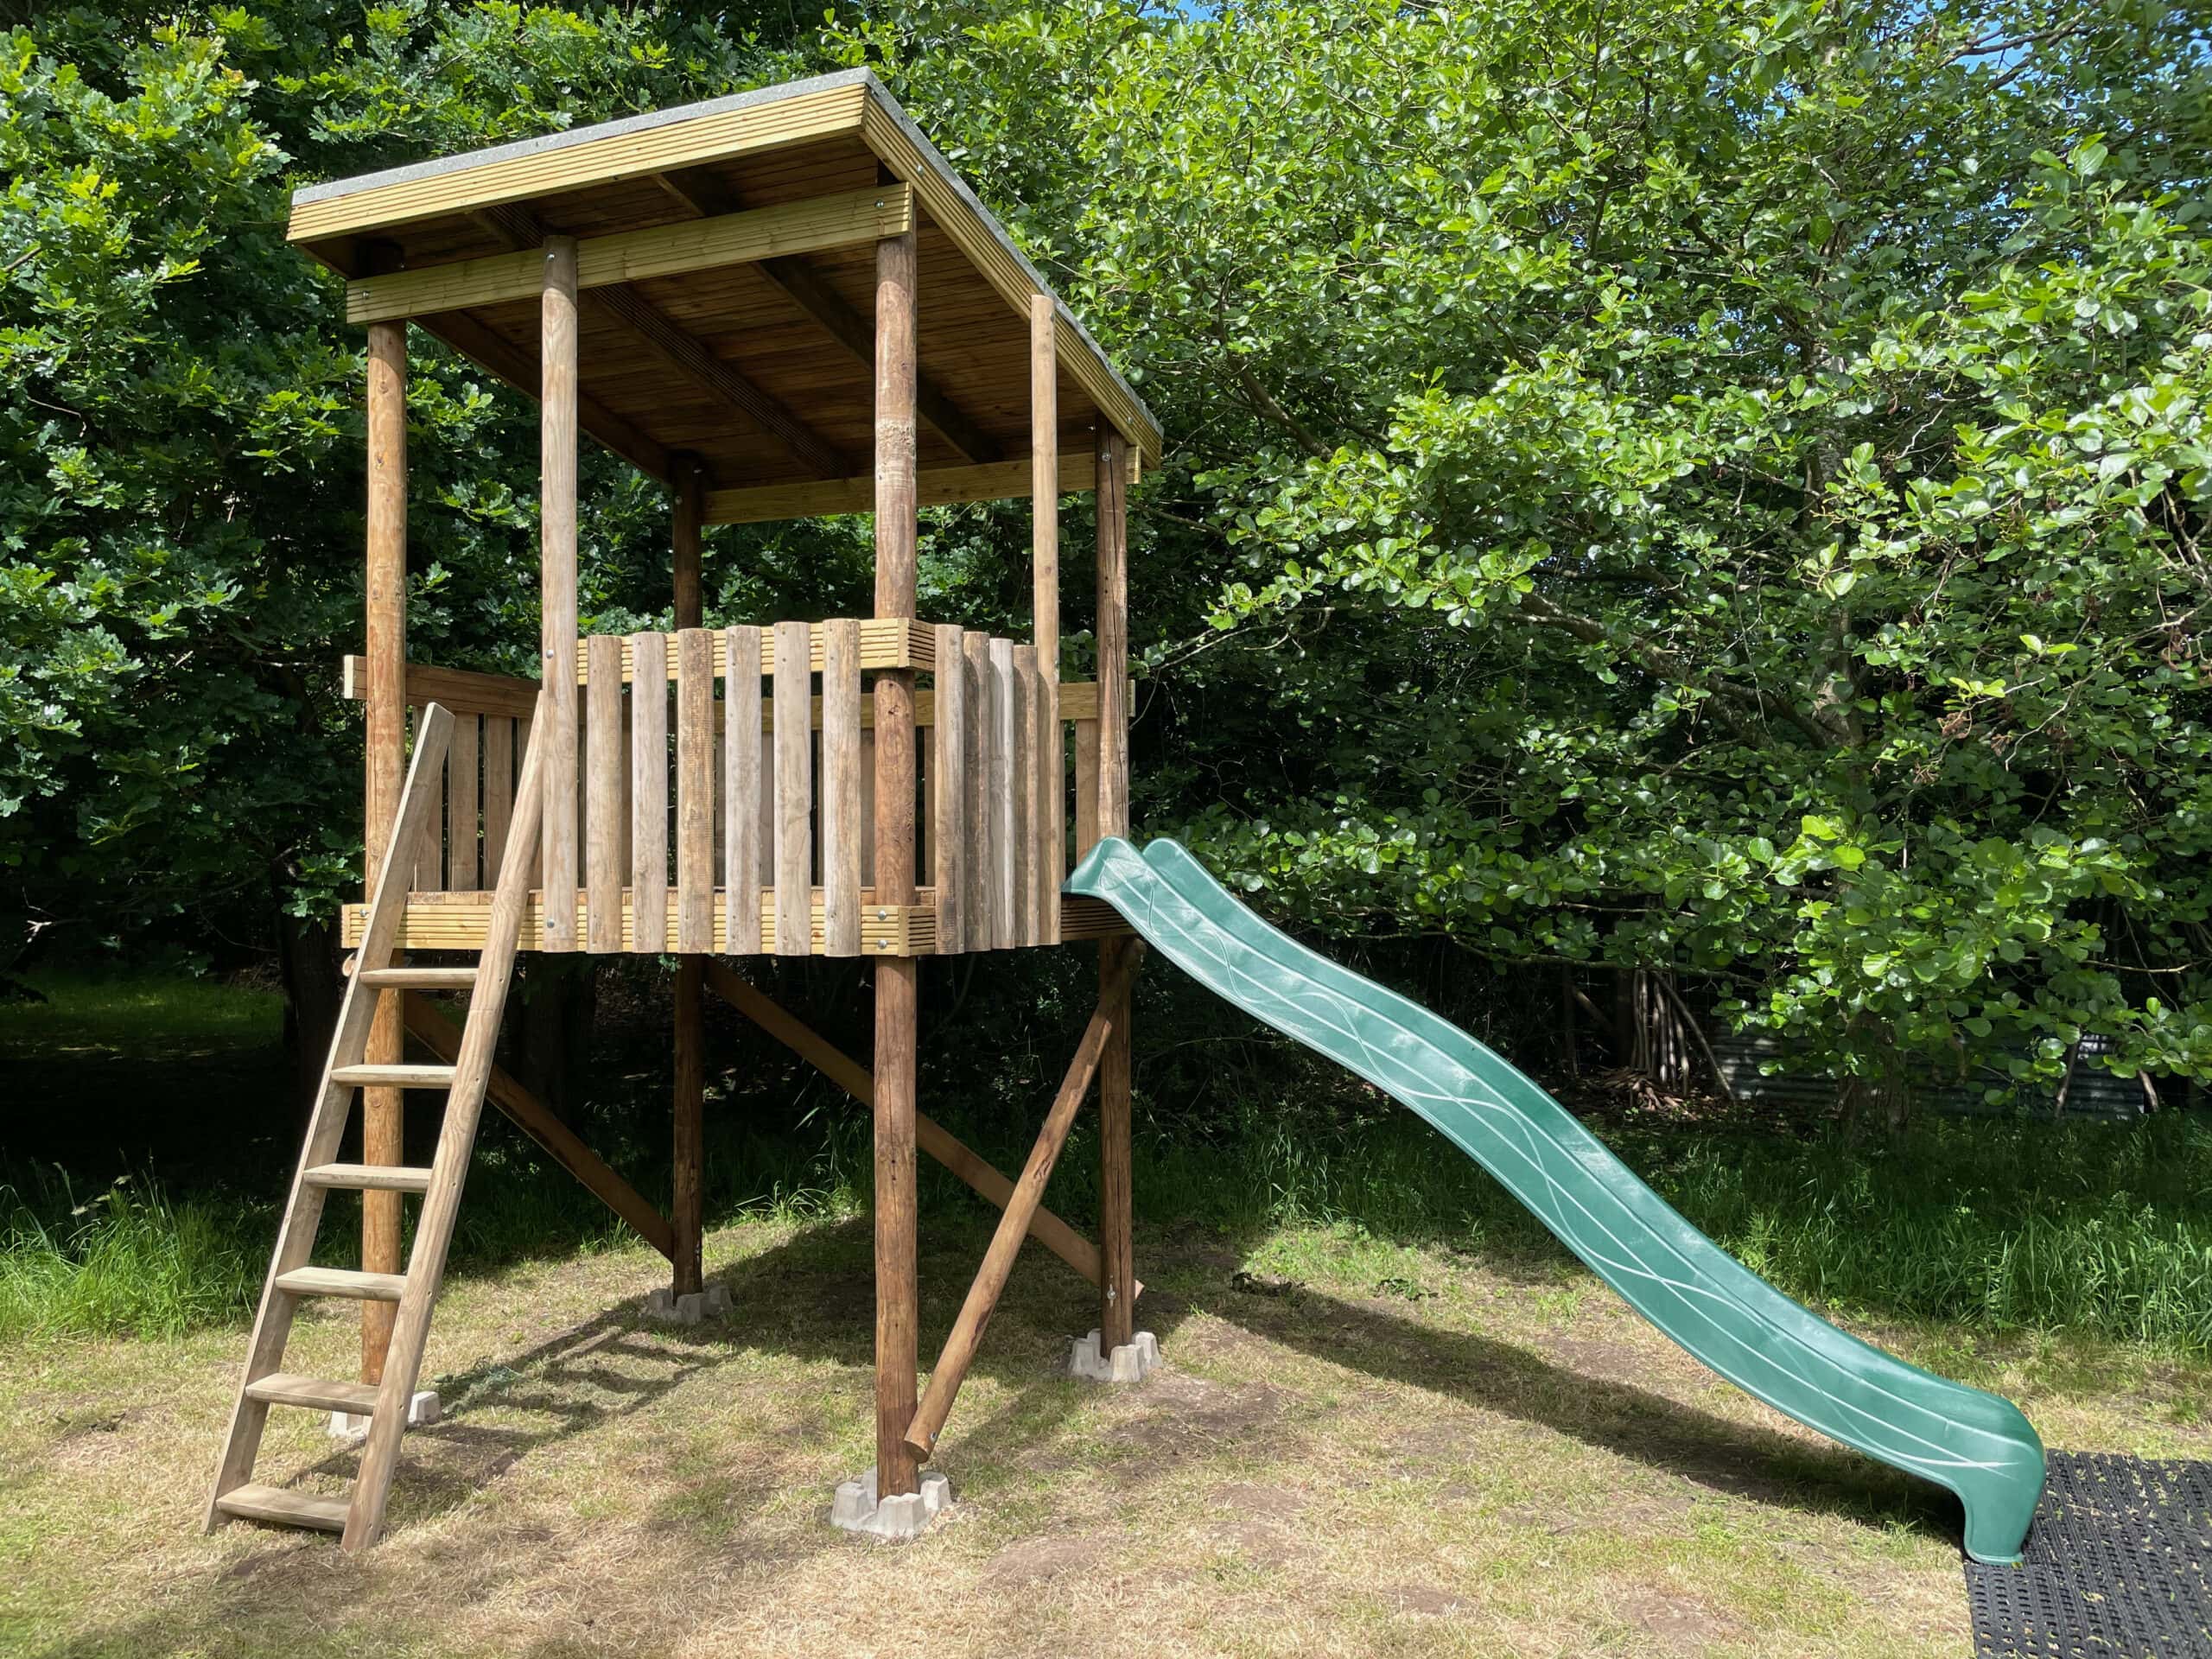
Using the lengths of timber we had available as my primary constraint, I designed a simple 3D model in SketchUp that I thought would be realistic to build in about a week and be safe for the little ones. The basic idea was to use four circular posts to hold up a sloping roof and deck to which a slide and ladder could be attached.
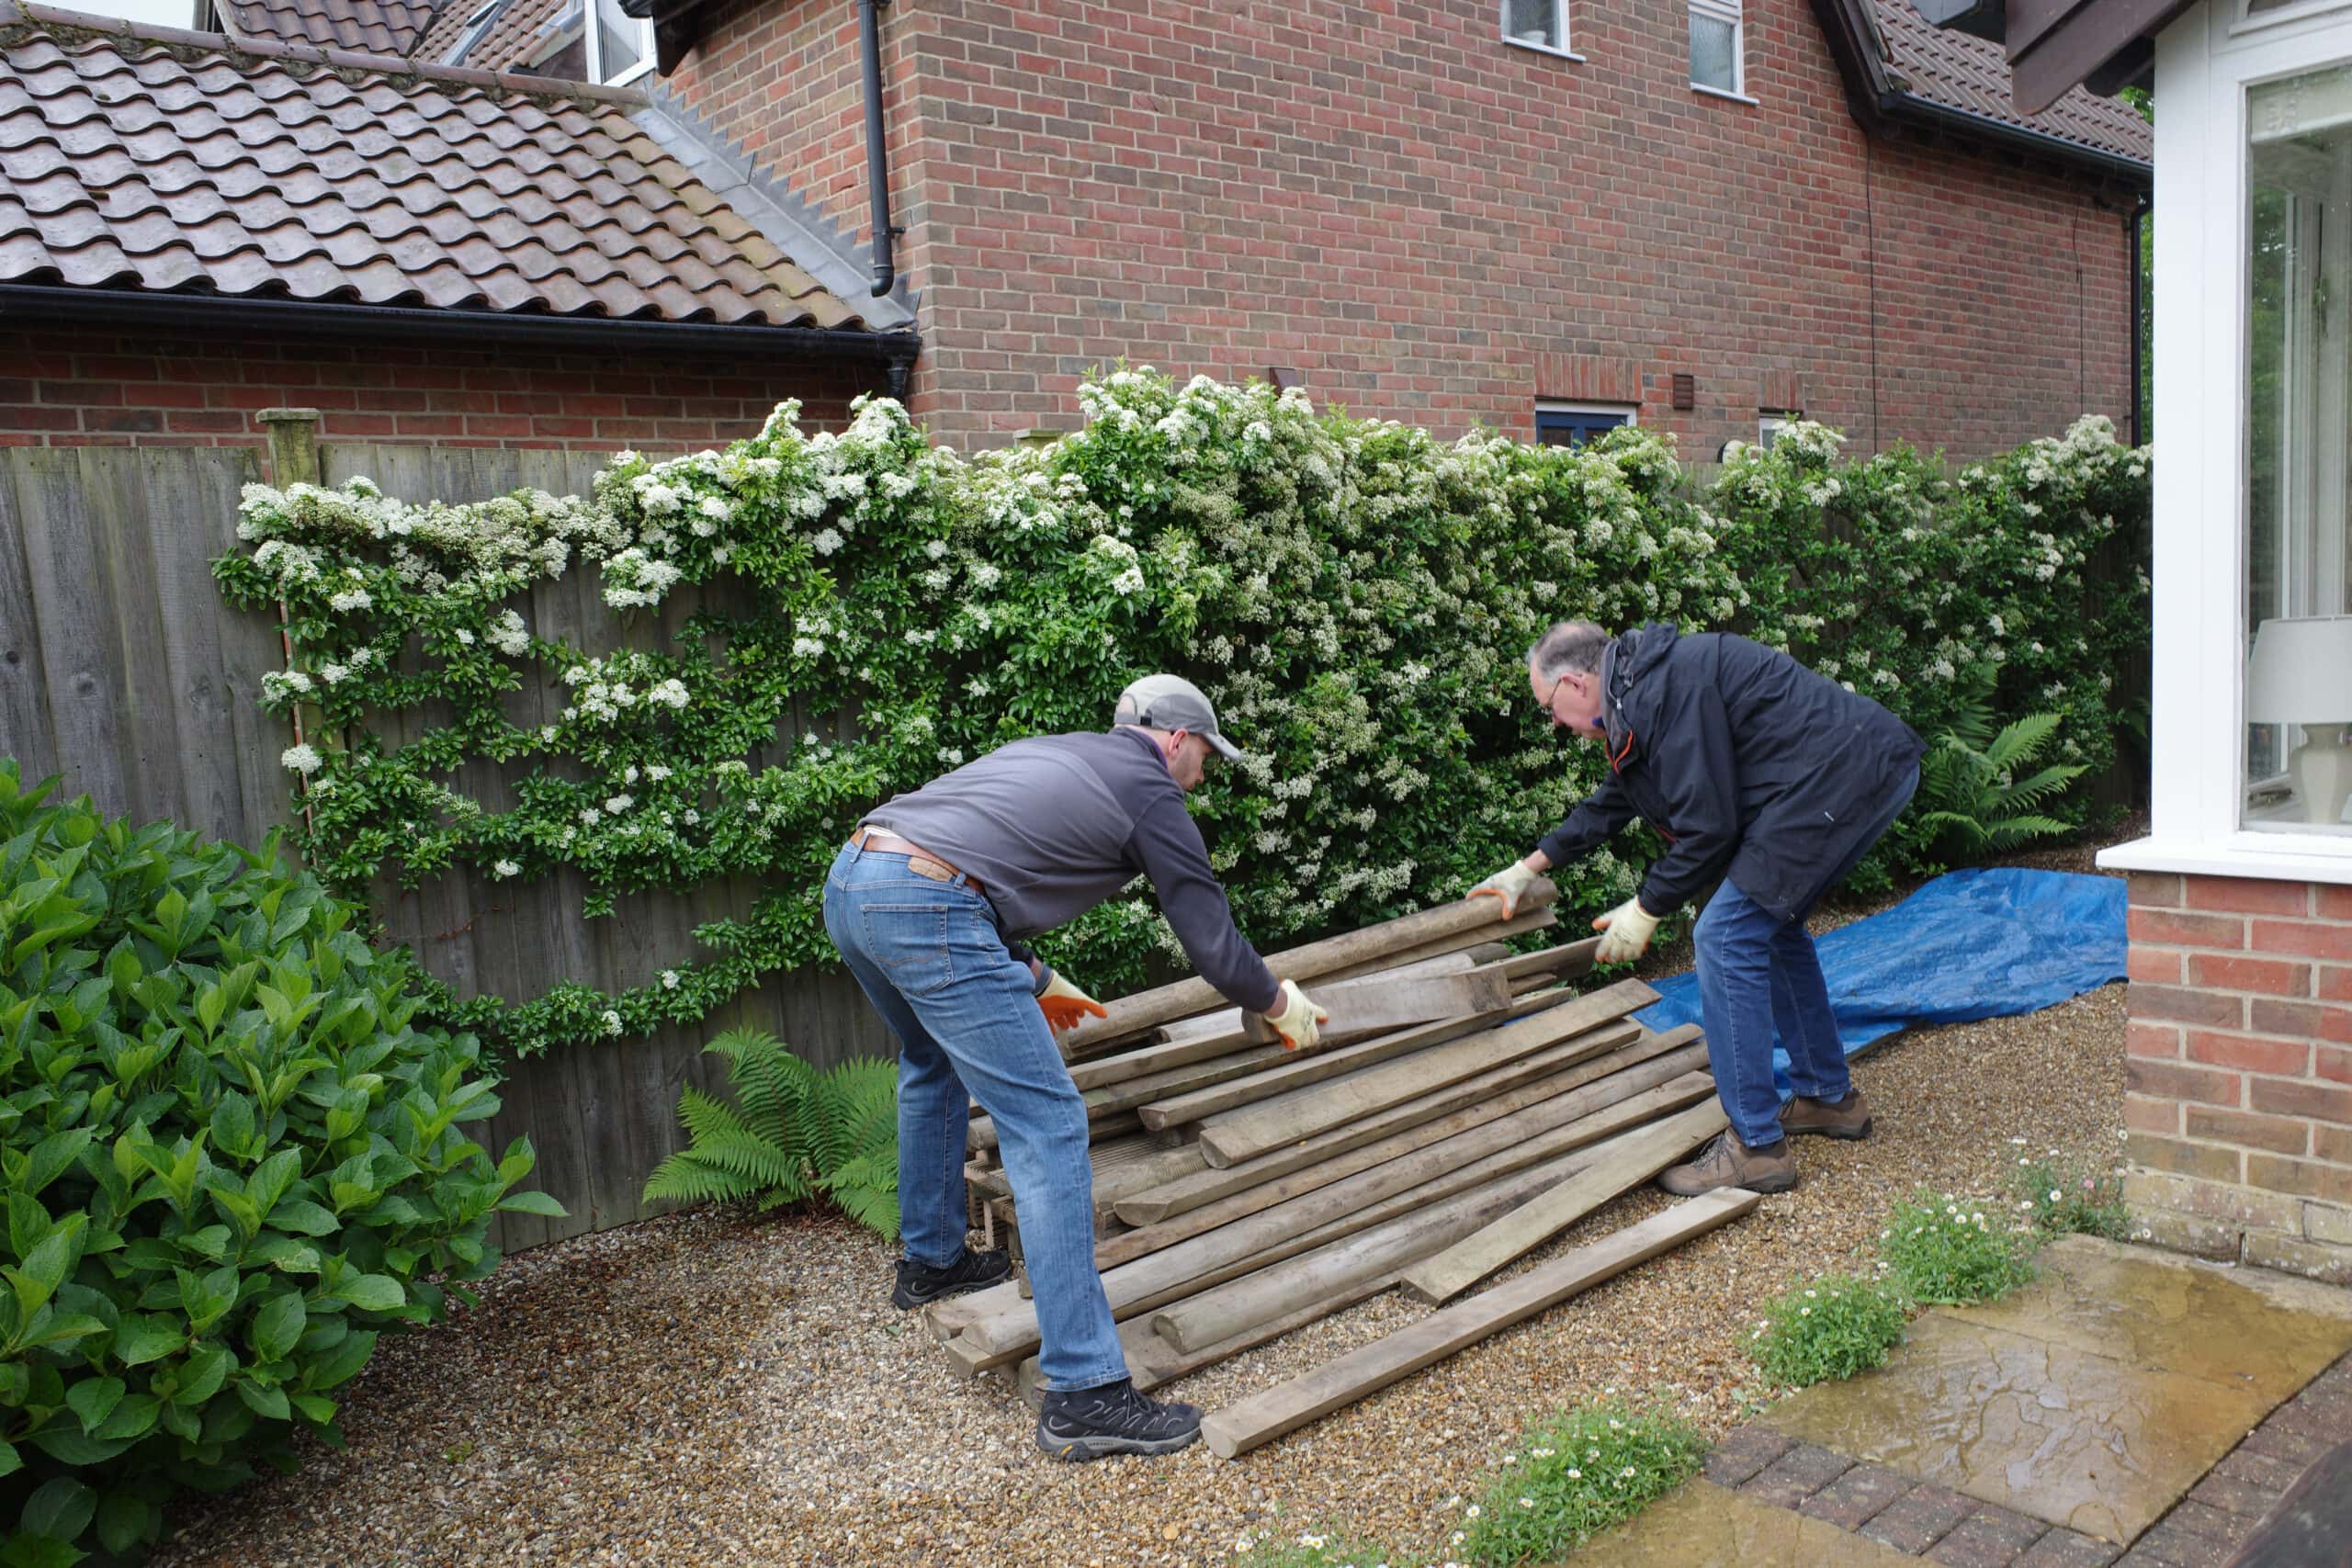
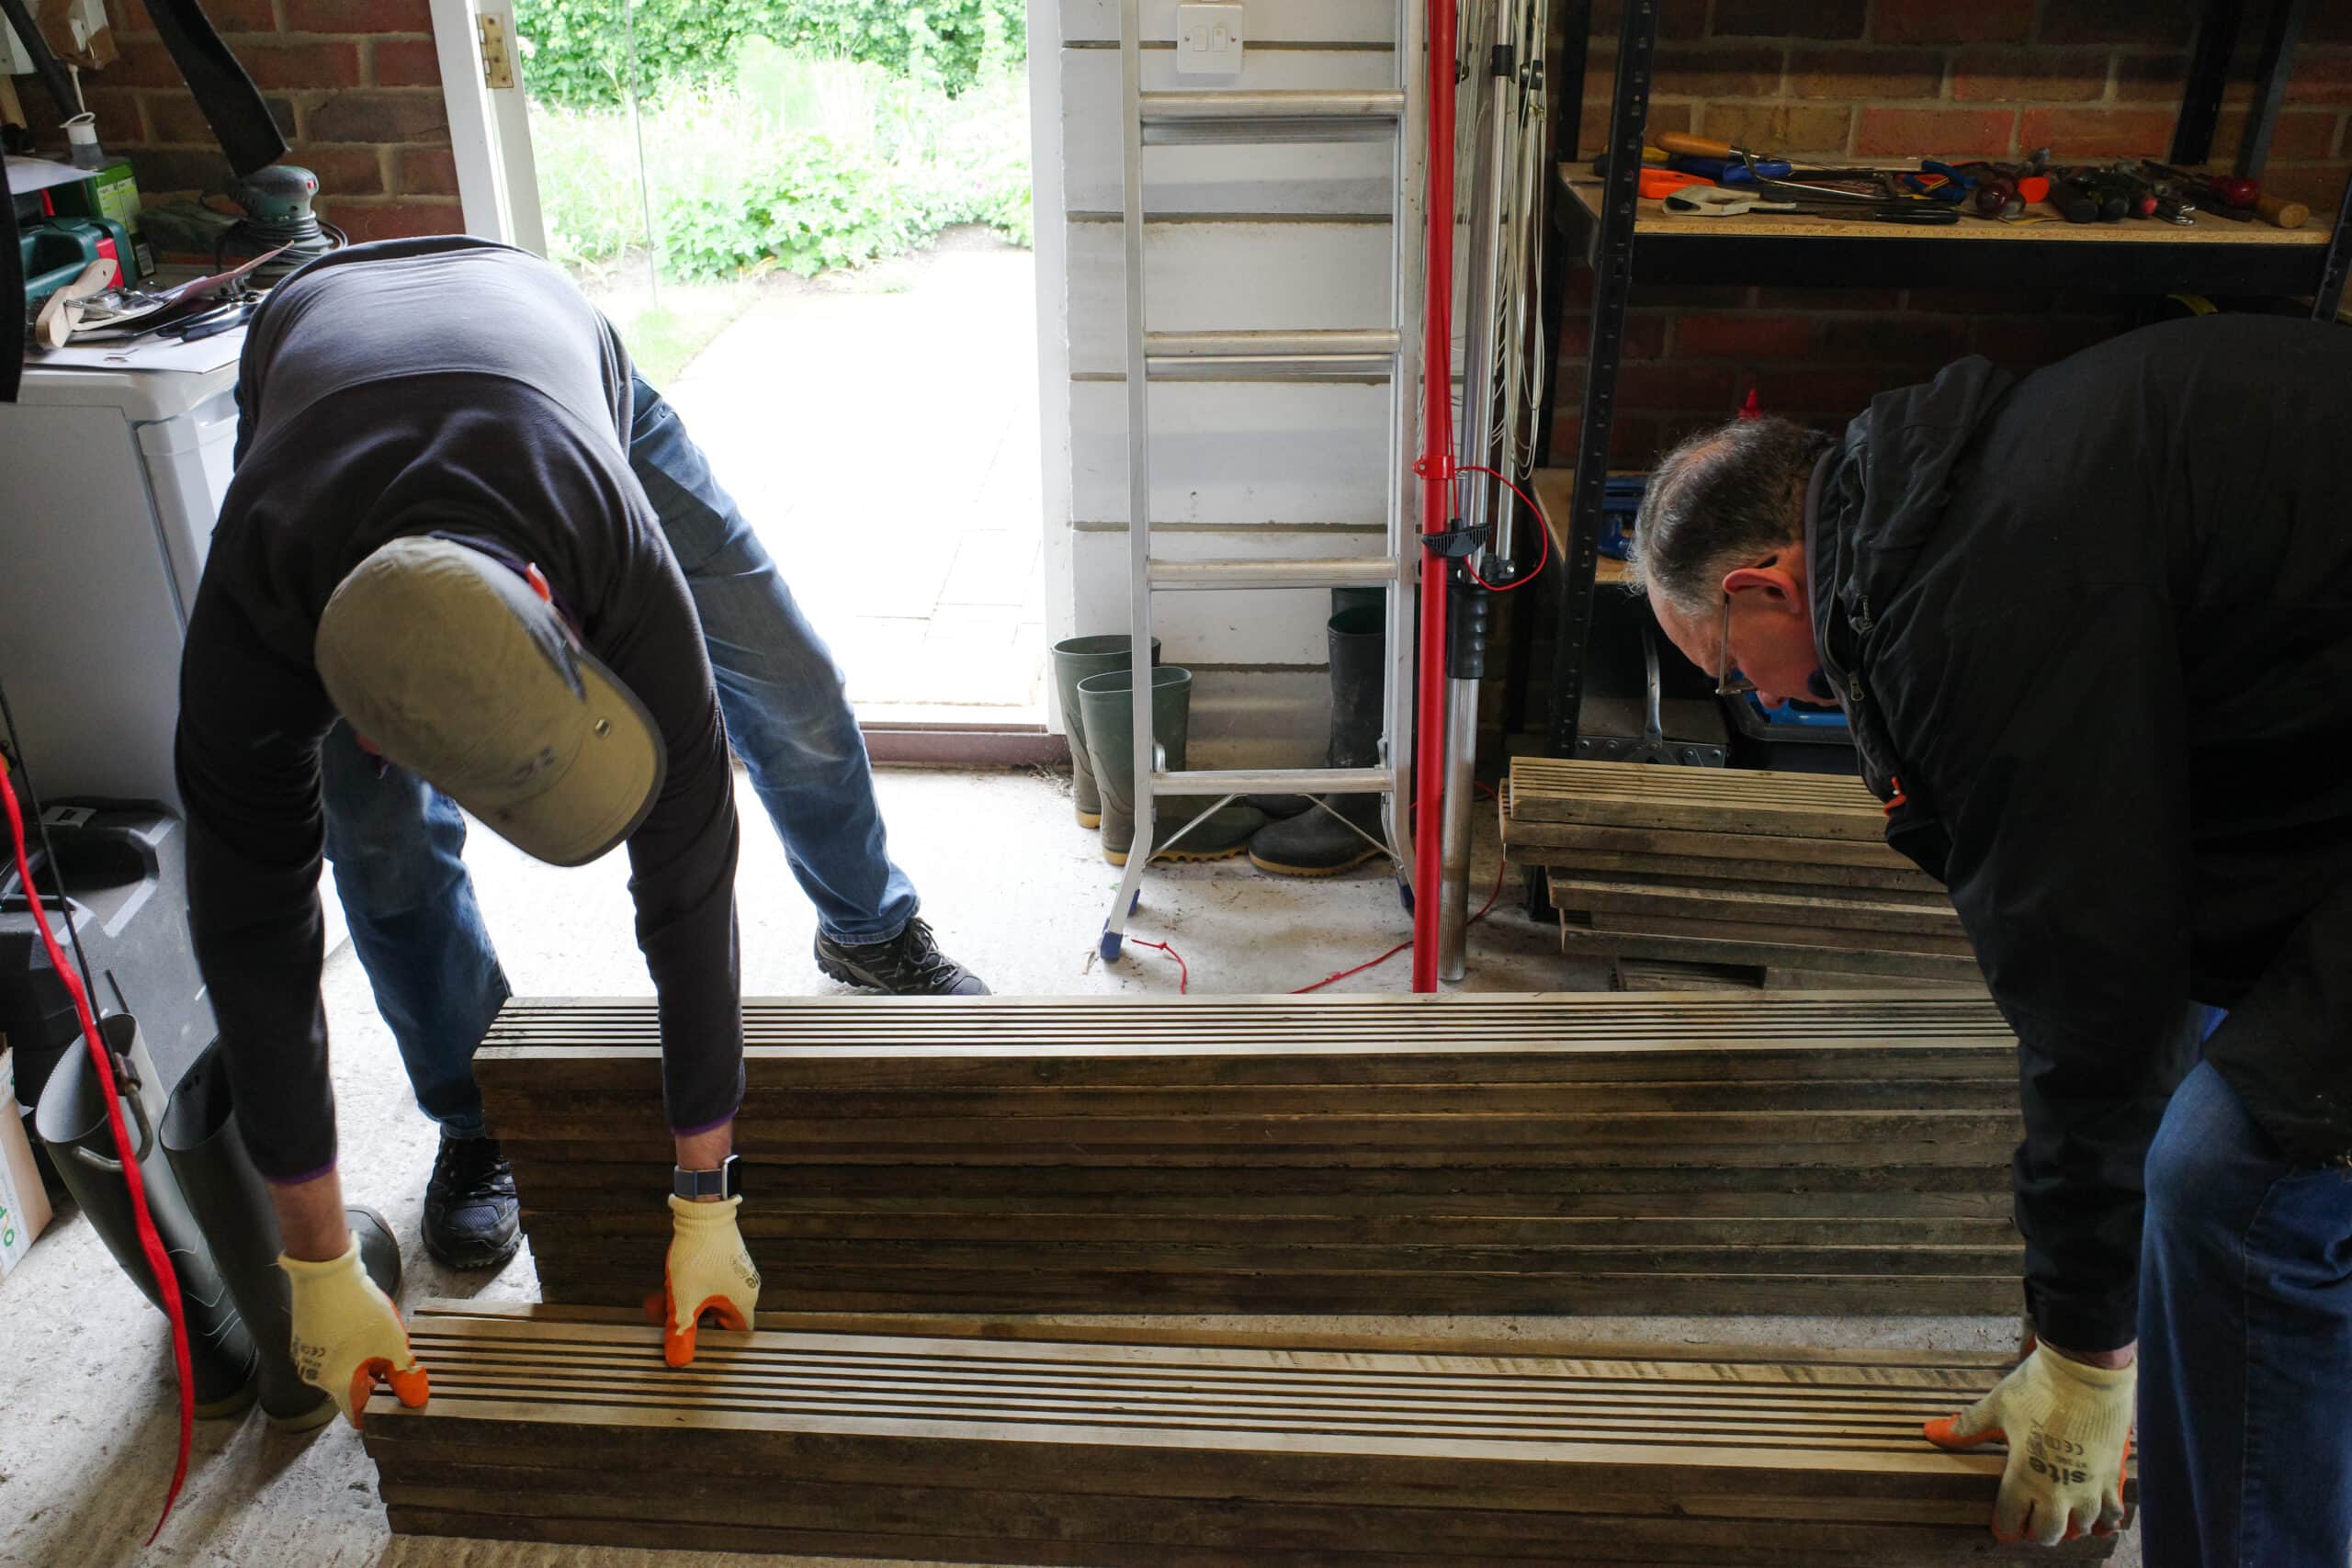
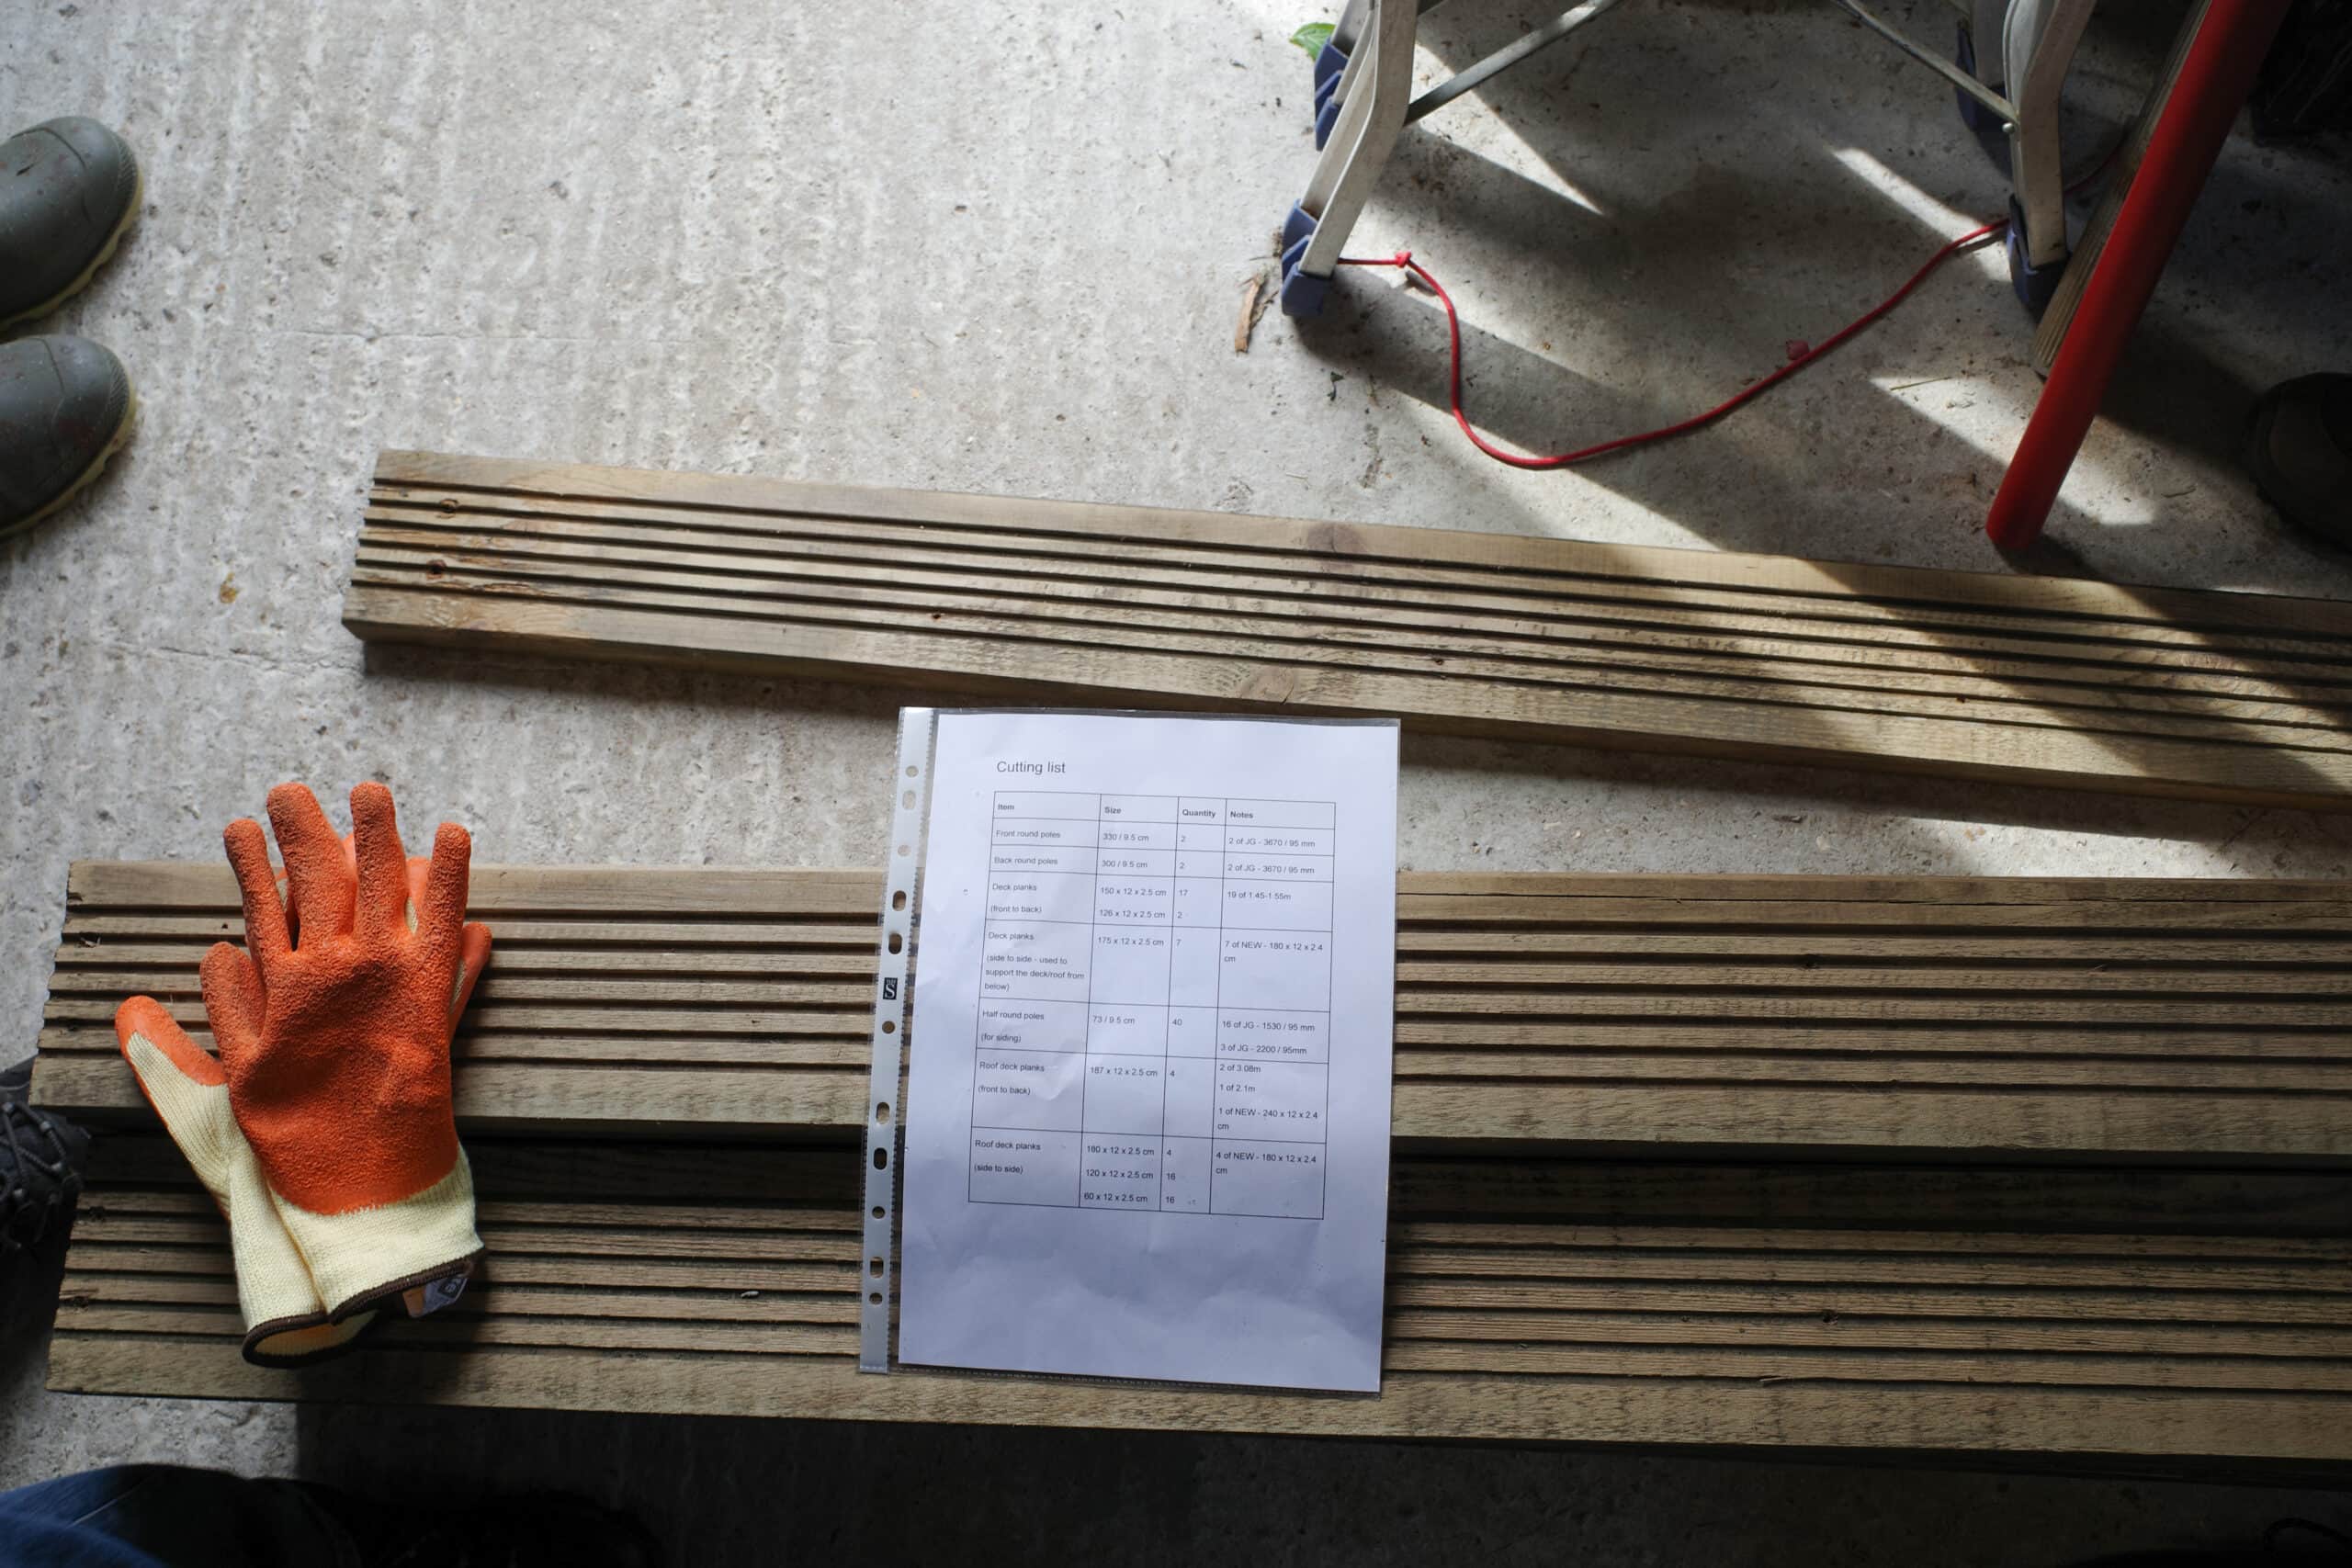
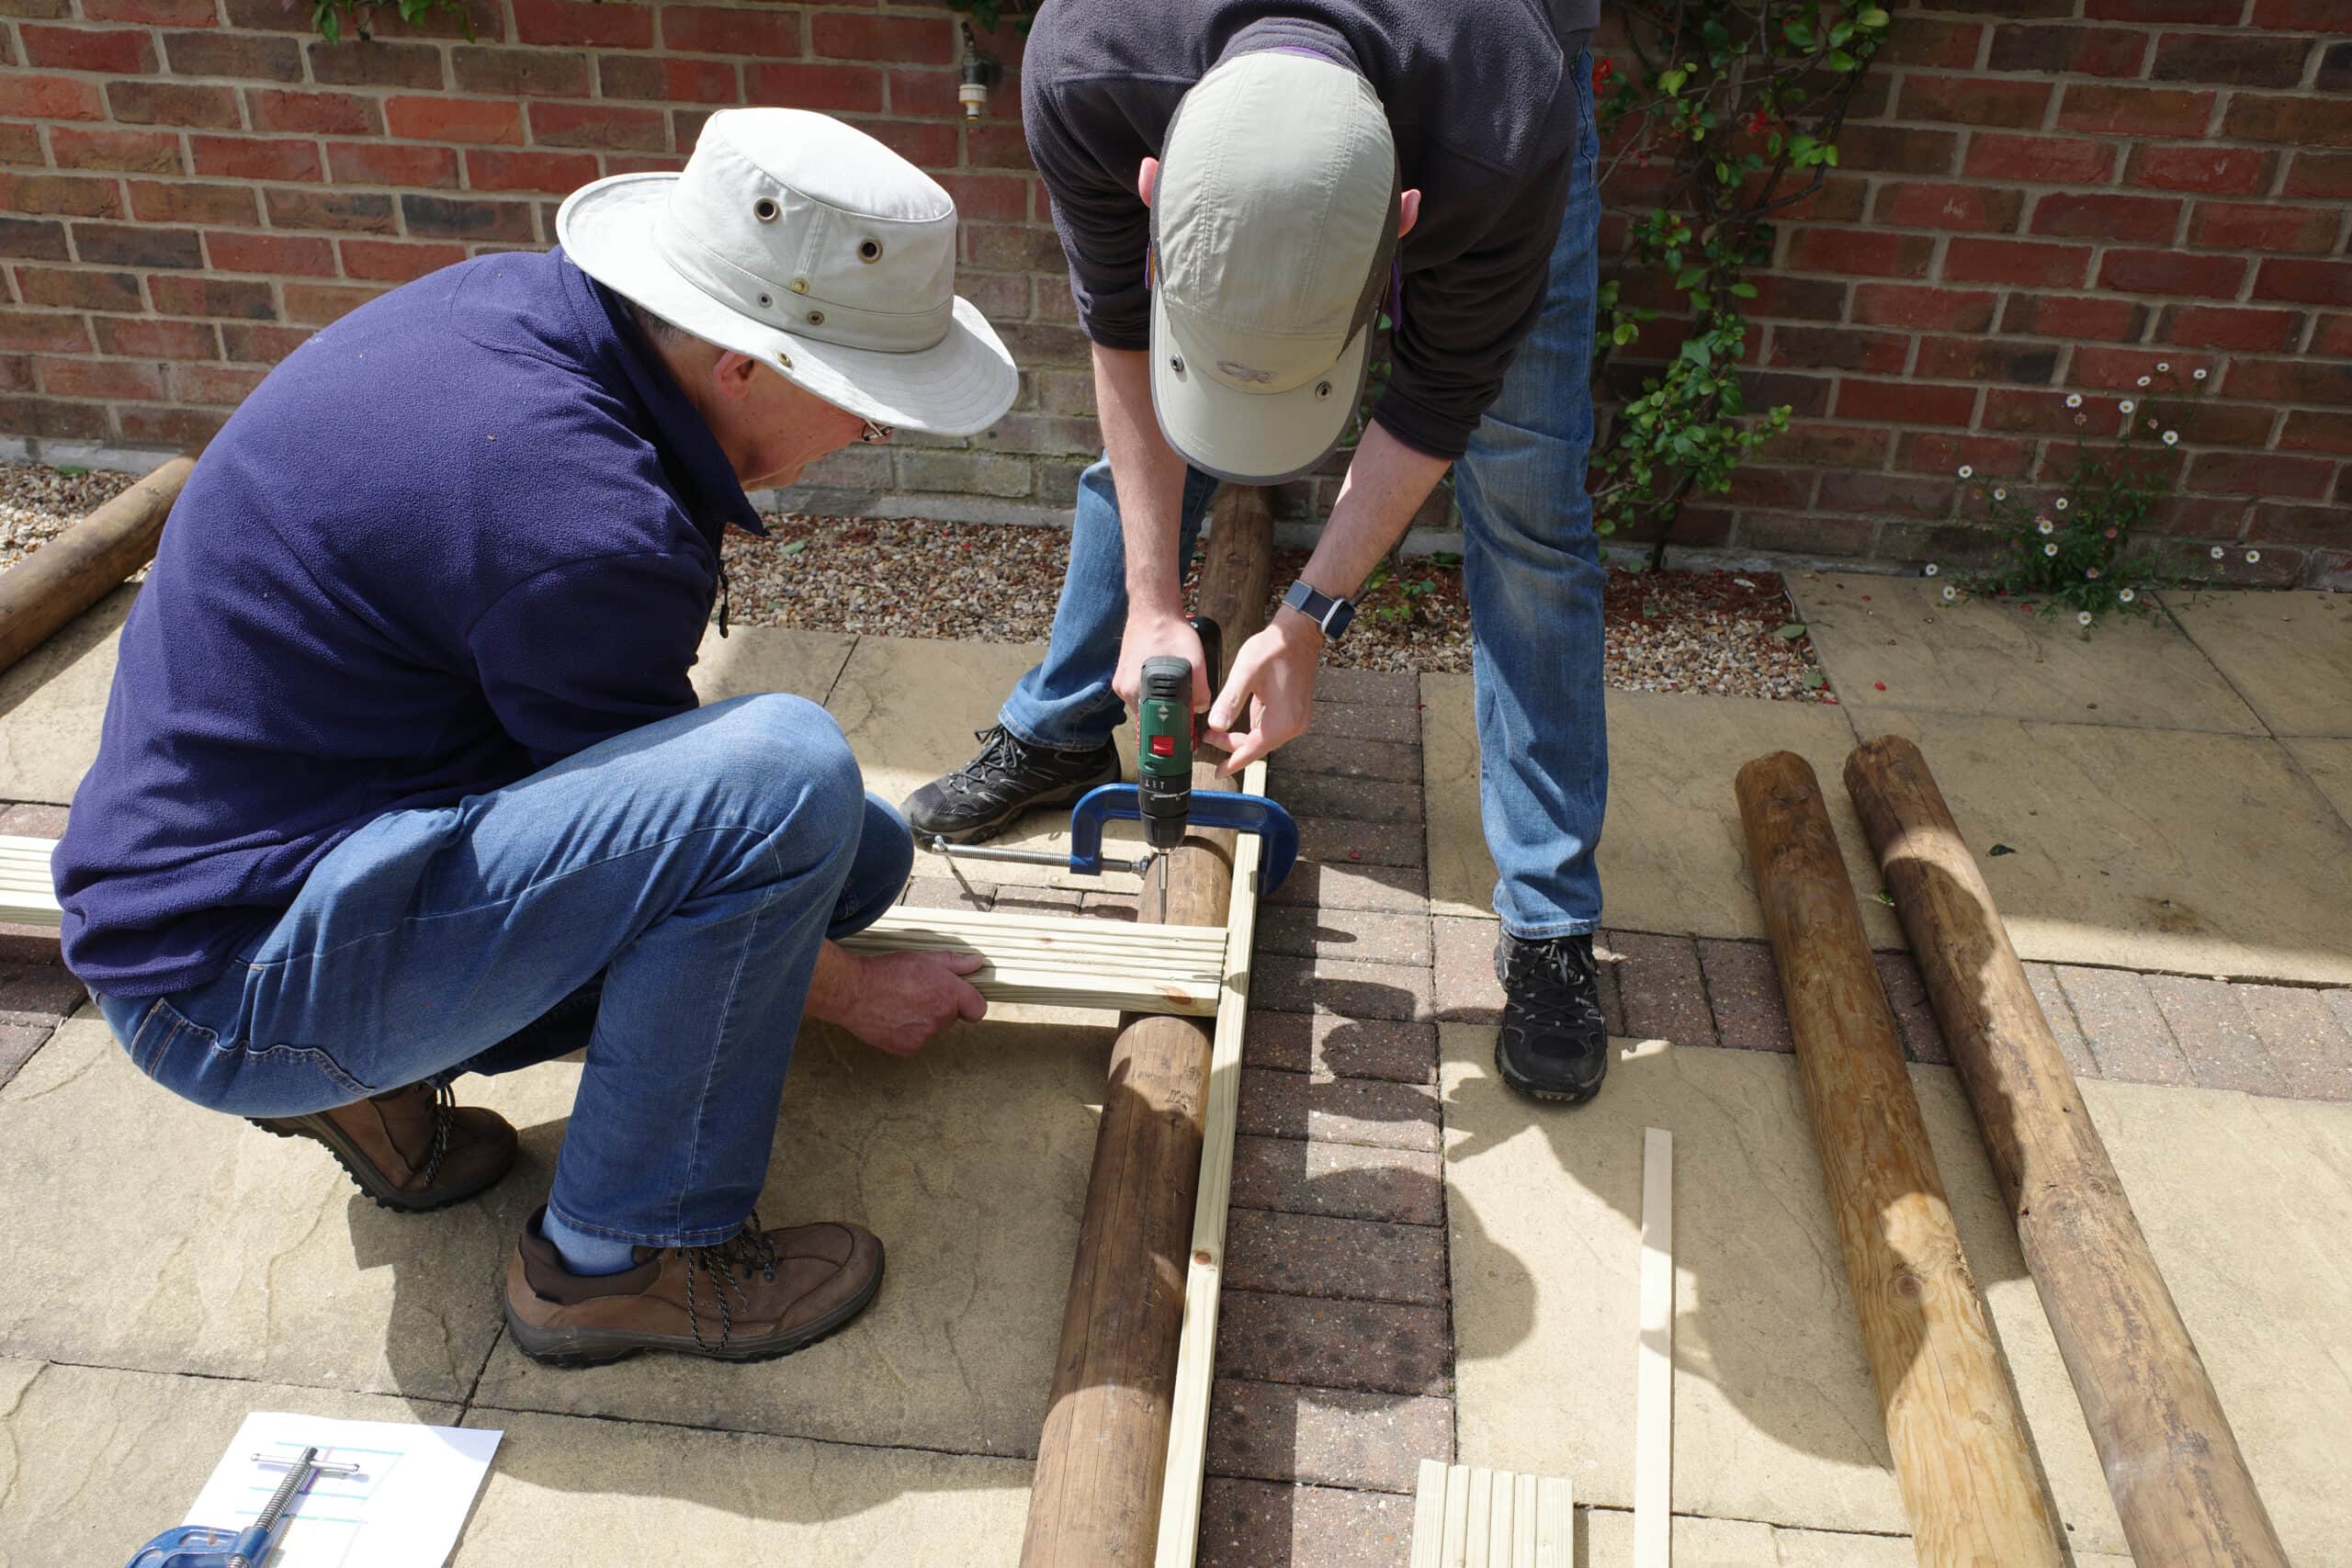
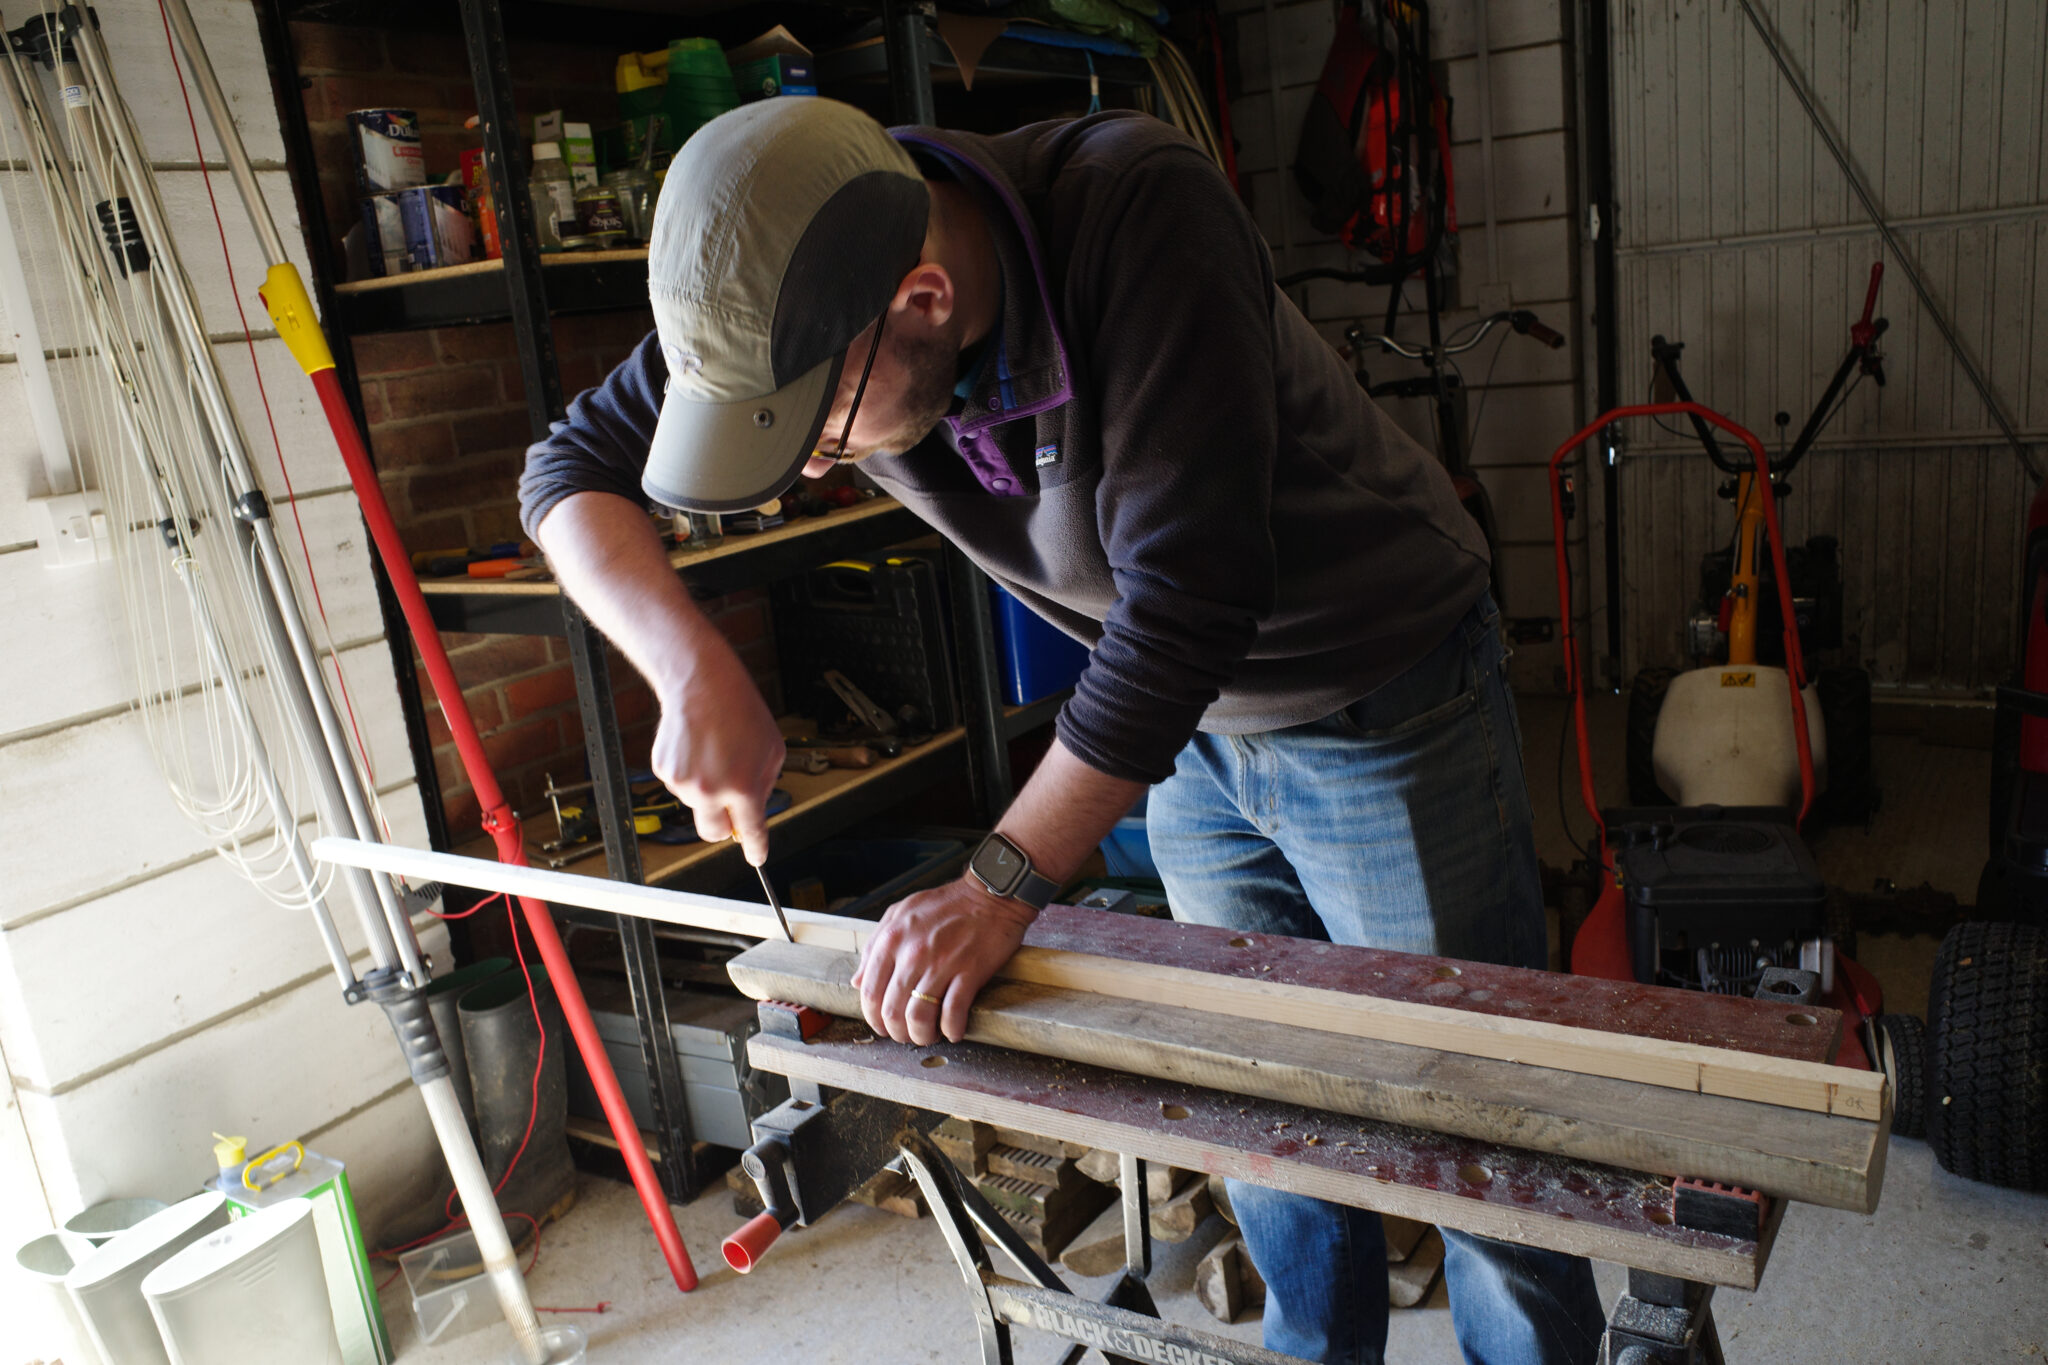
We started off by organising the lengths of wood into piles based on their length, quality, and where they would be used, making sure to remove any old nails and screws. We didn’t cut everything to length beforehand since I knew we’d need to adjust the design slightly as we built to accommodate the unevenly sized pieces.
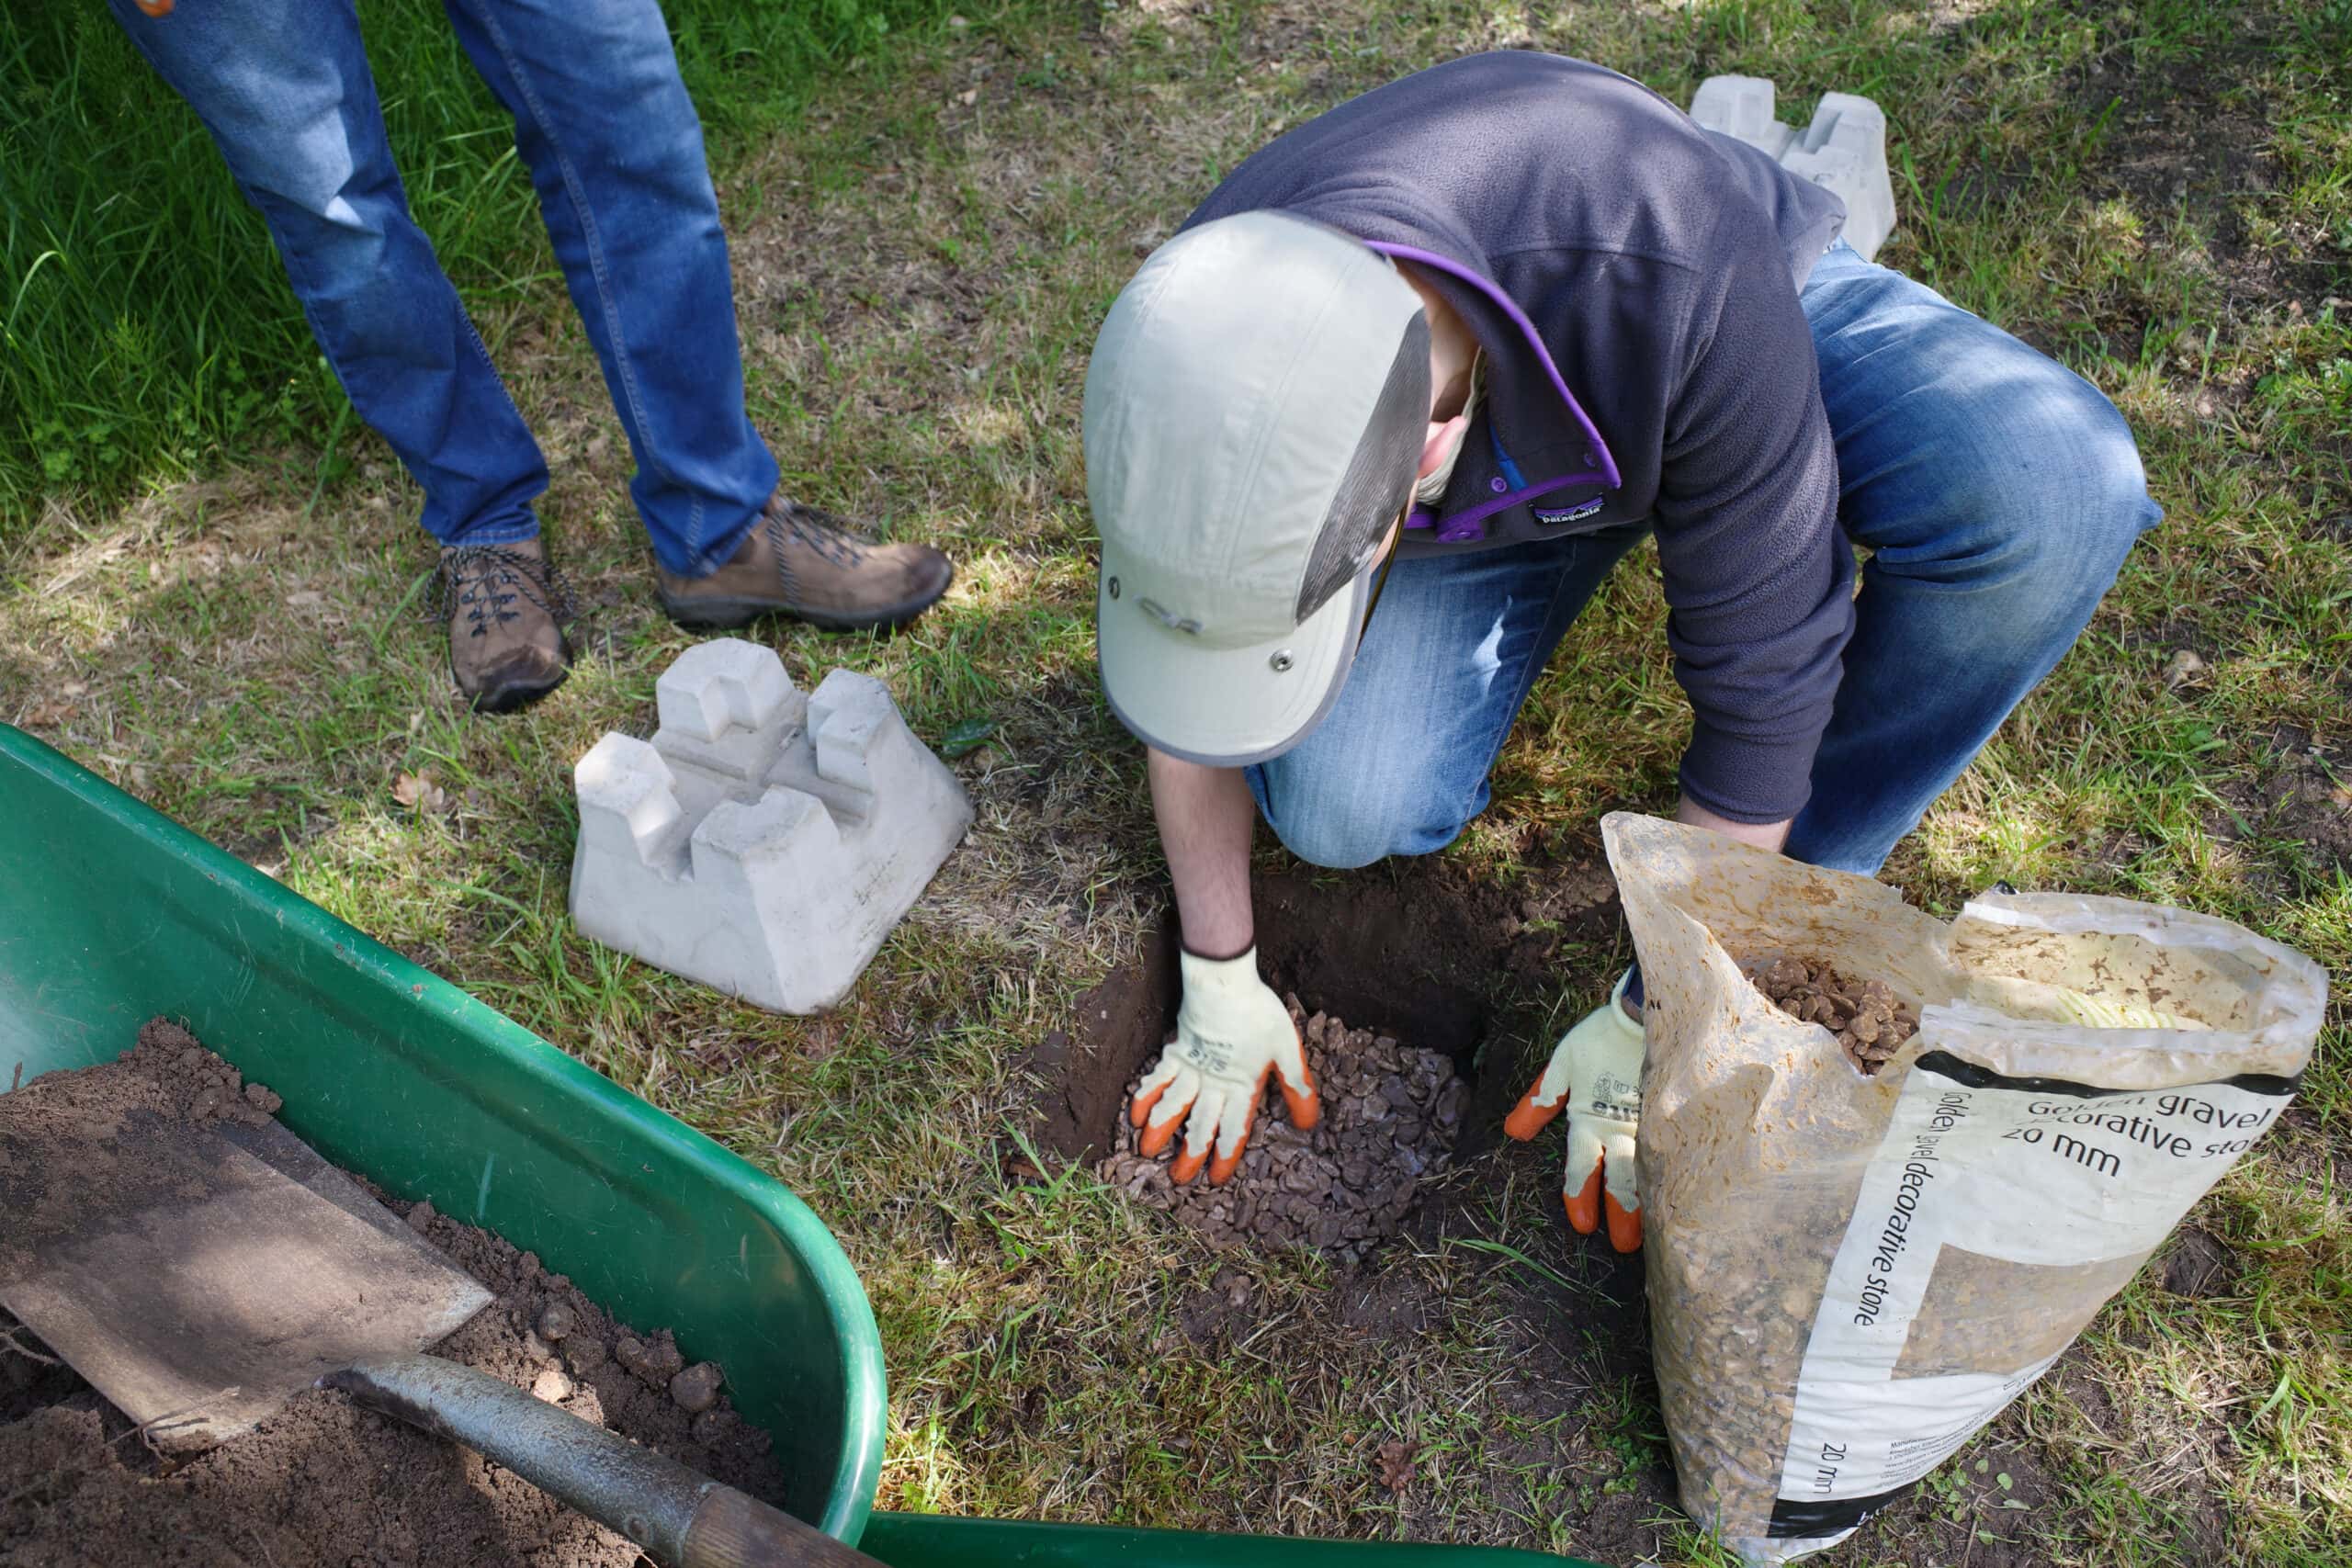
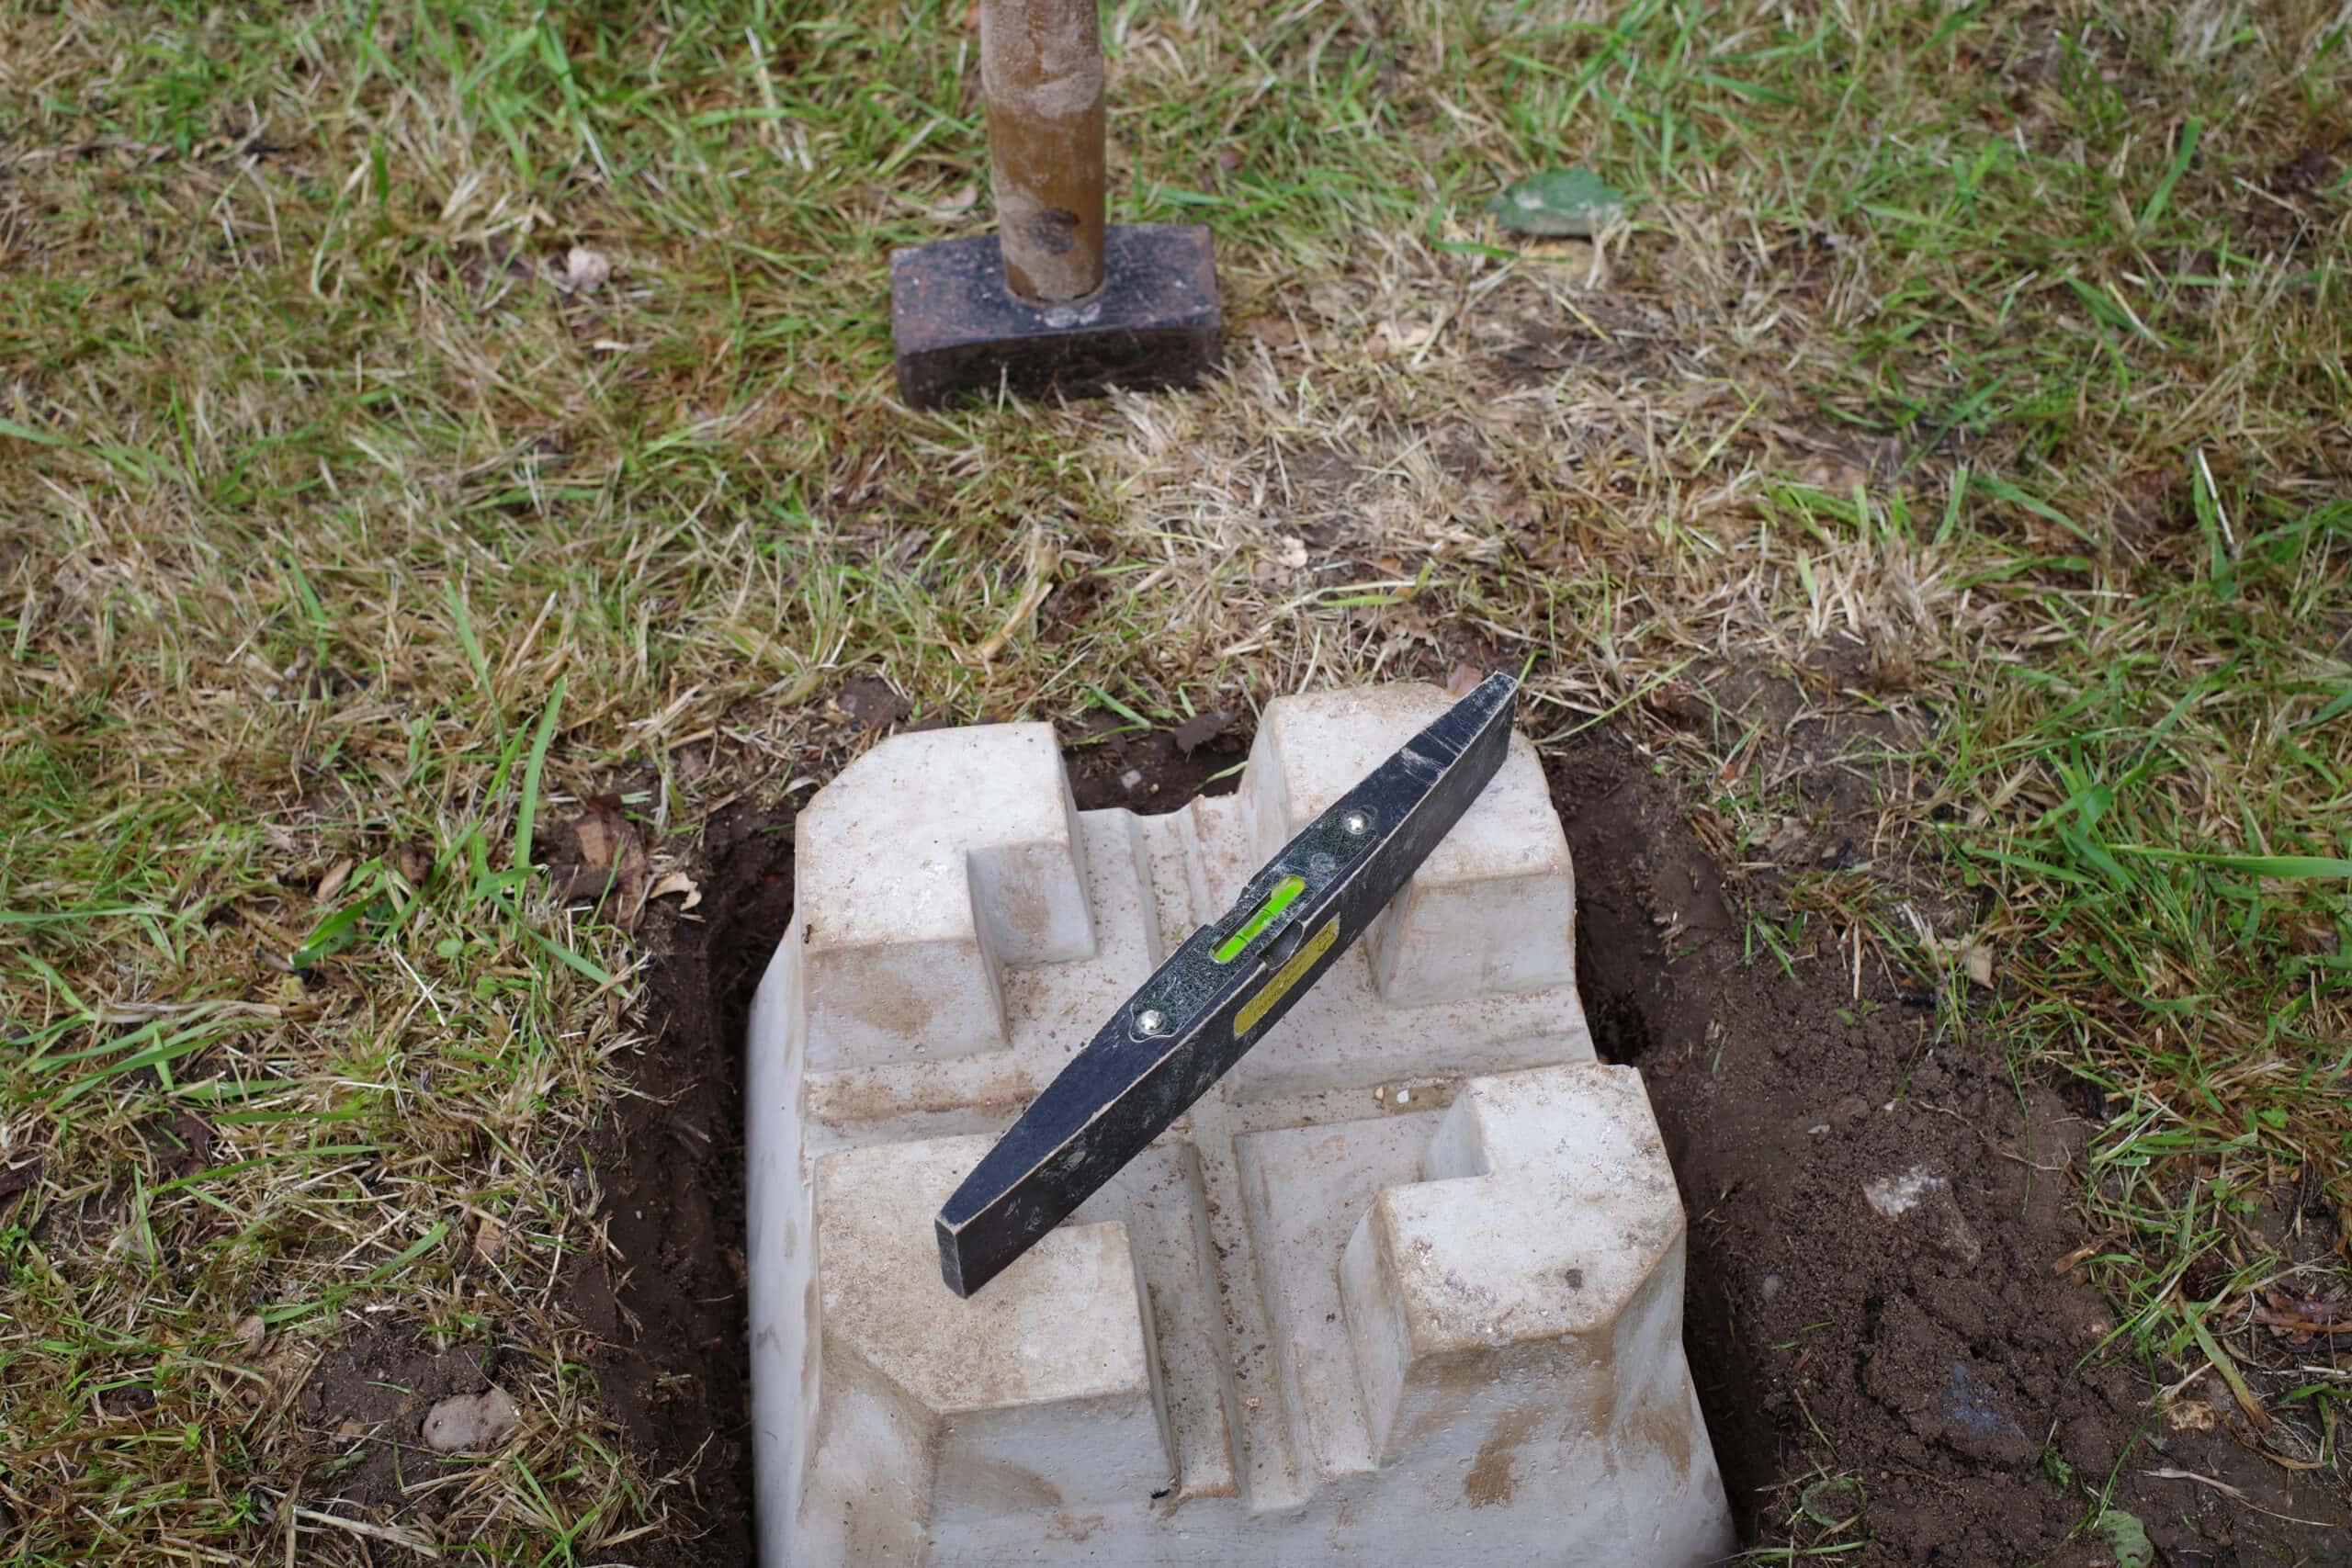

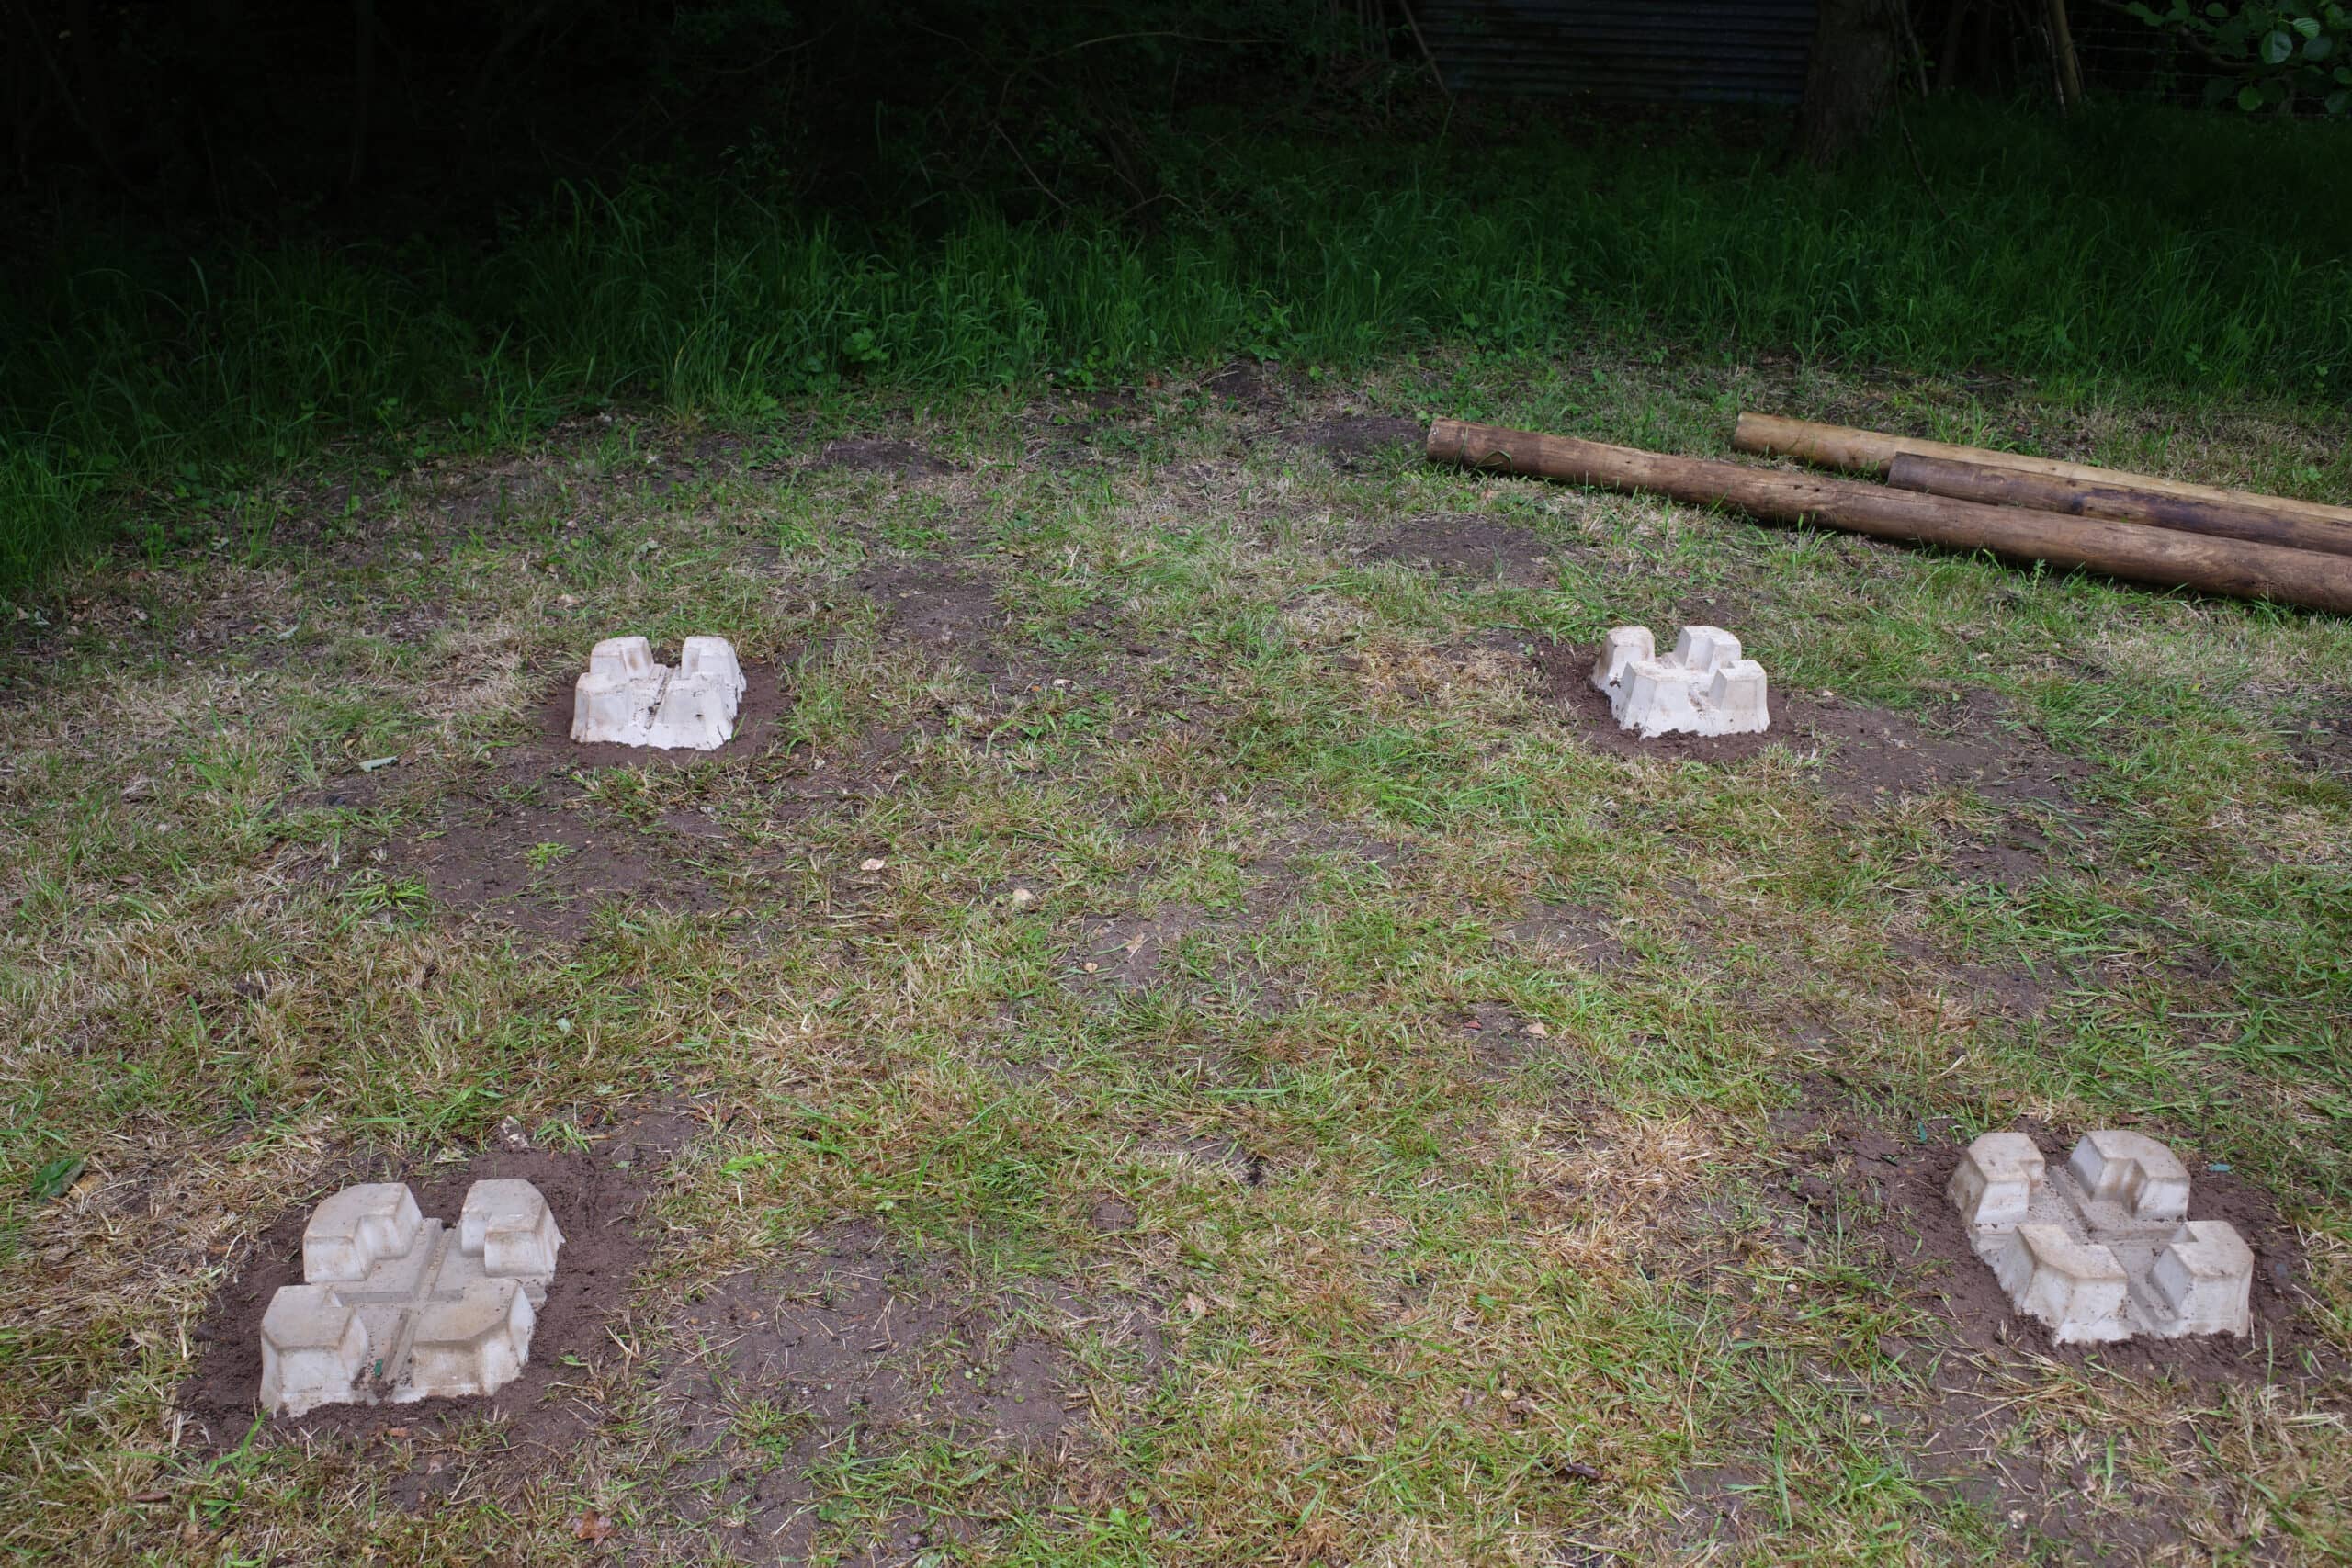
Instead of pouring cement to anchor the posts (which would be hard to remove in the future), we used concrete deck blocks which we sat on beds of gravel inset in the grass. The heavy weight of the treehouse is more than enough to keep it immobile.
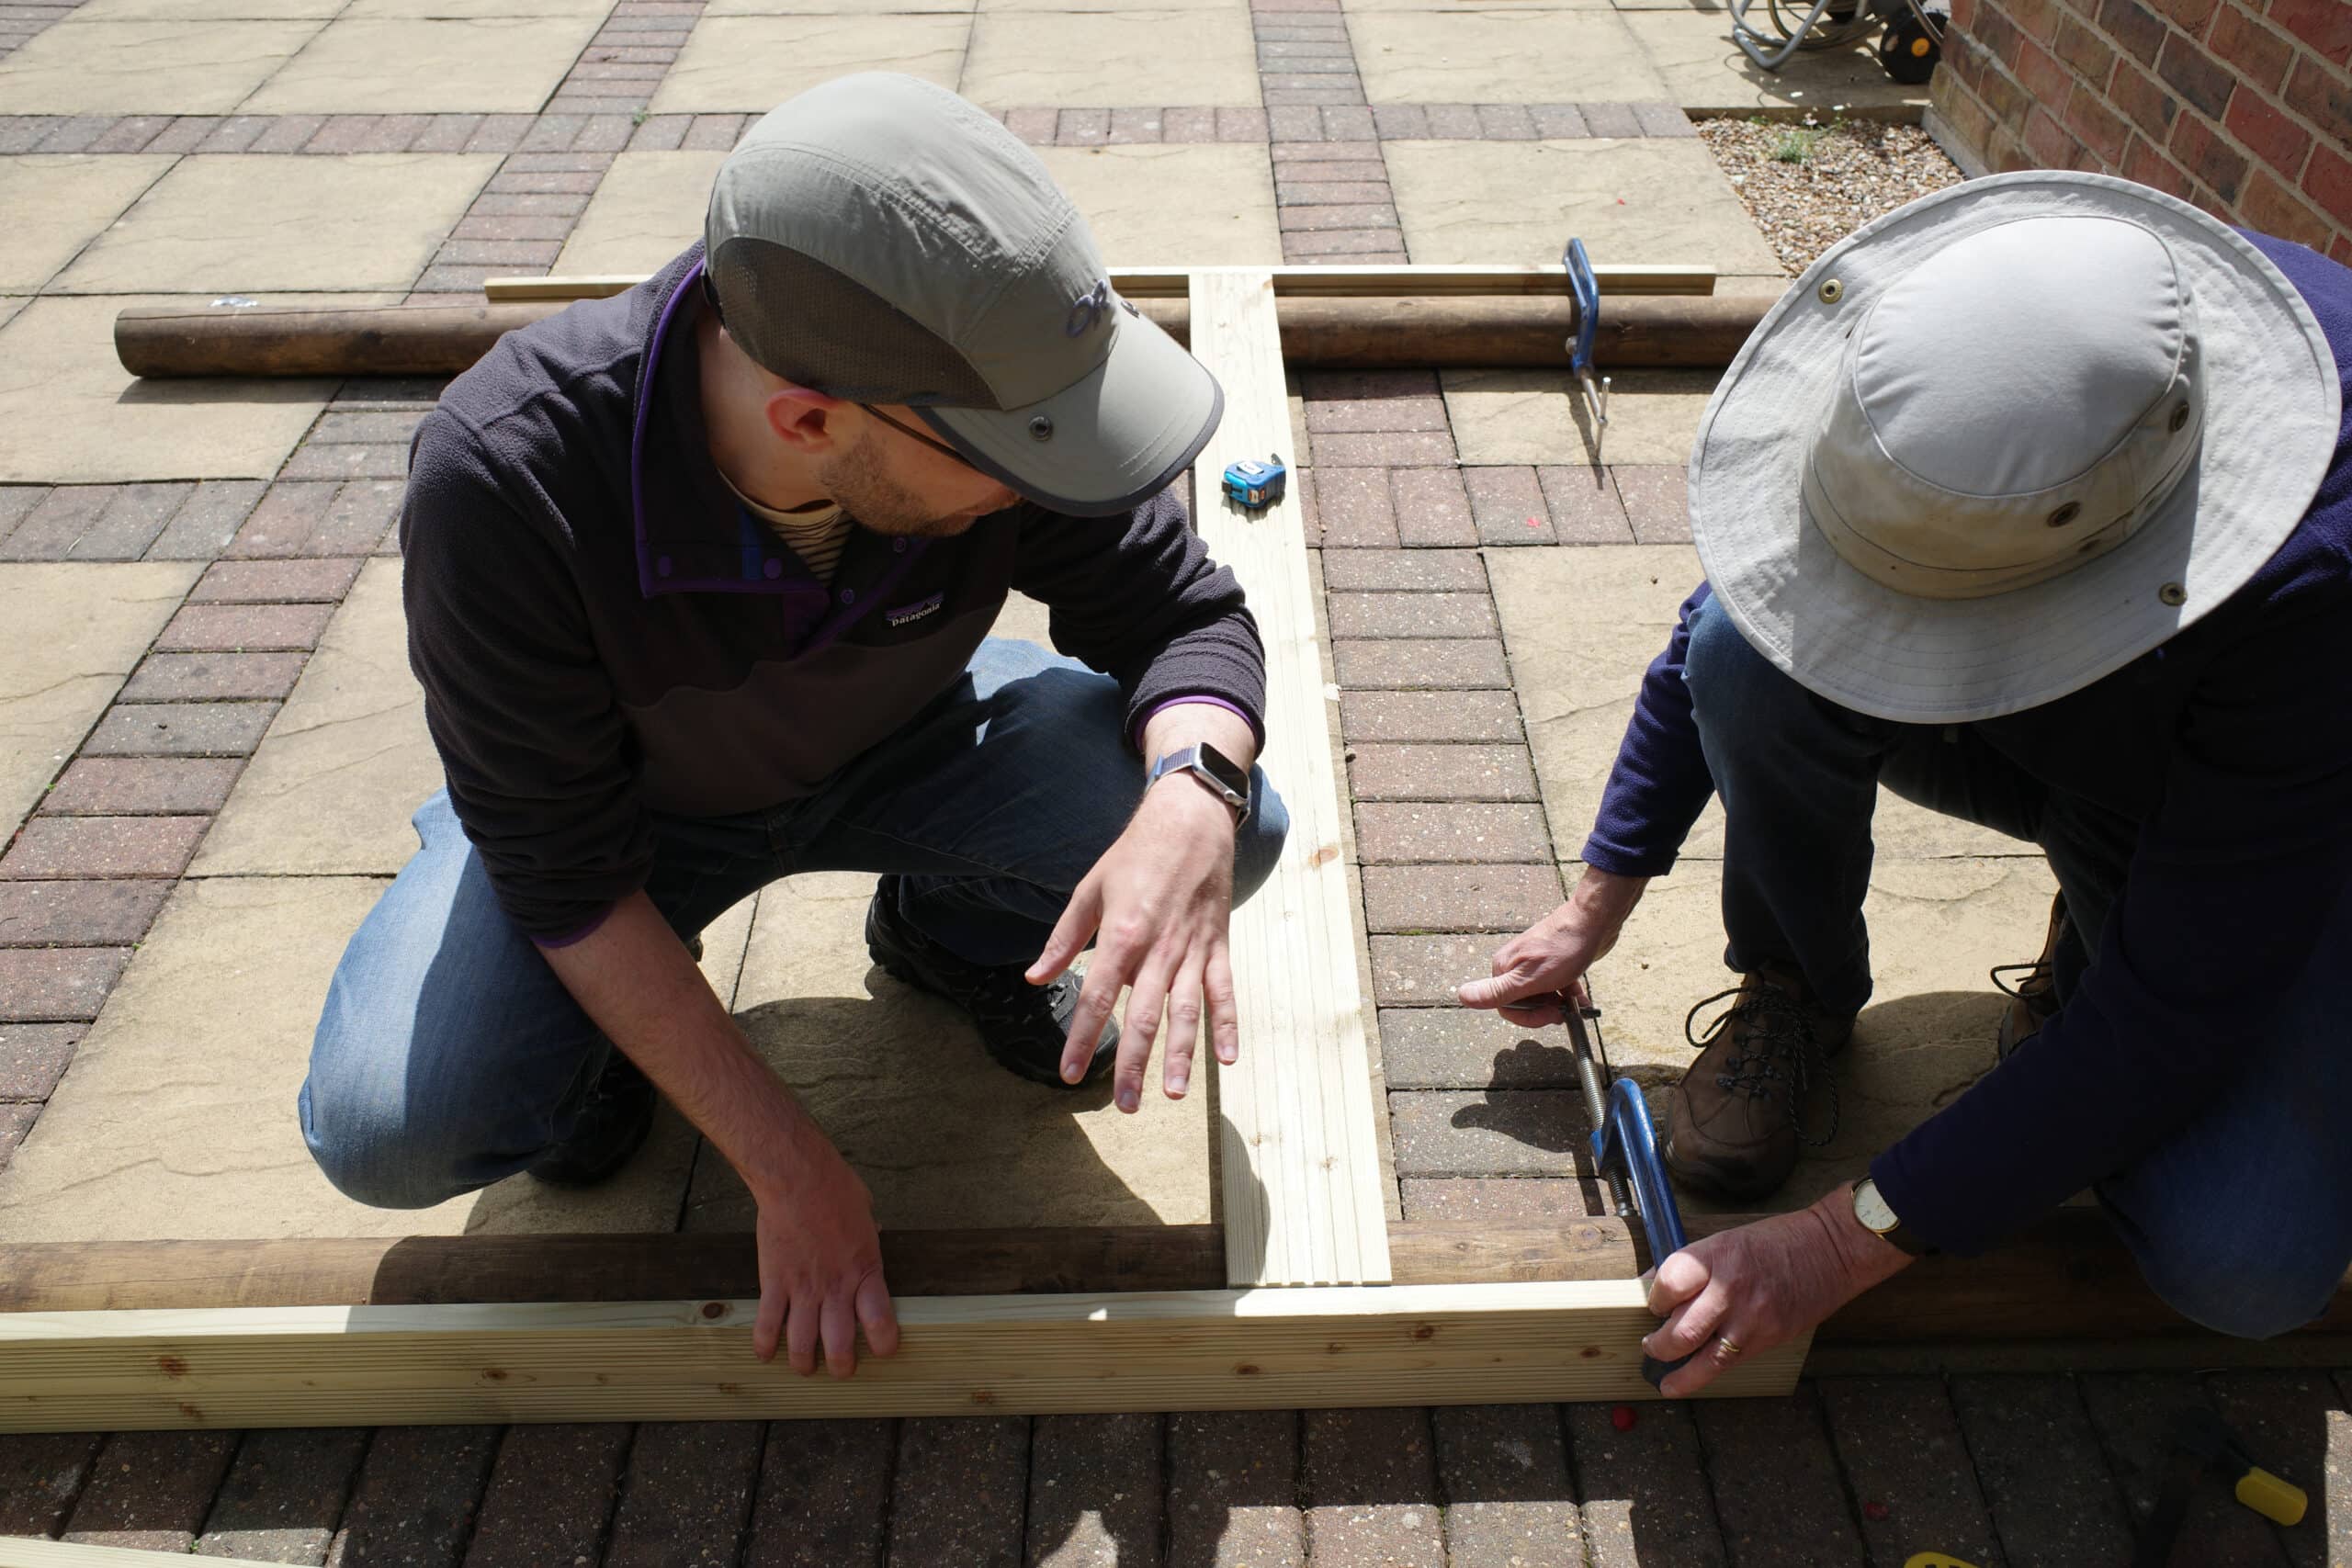
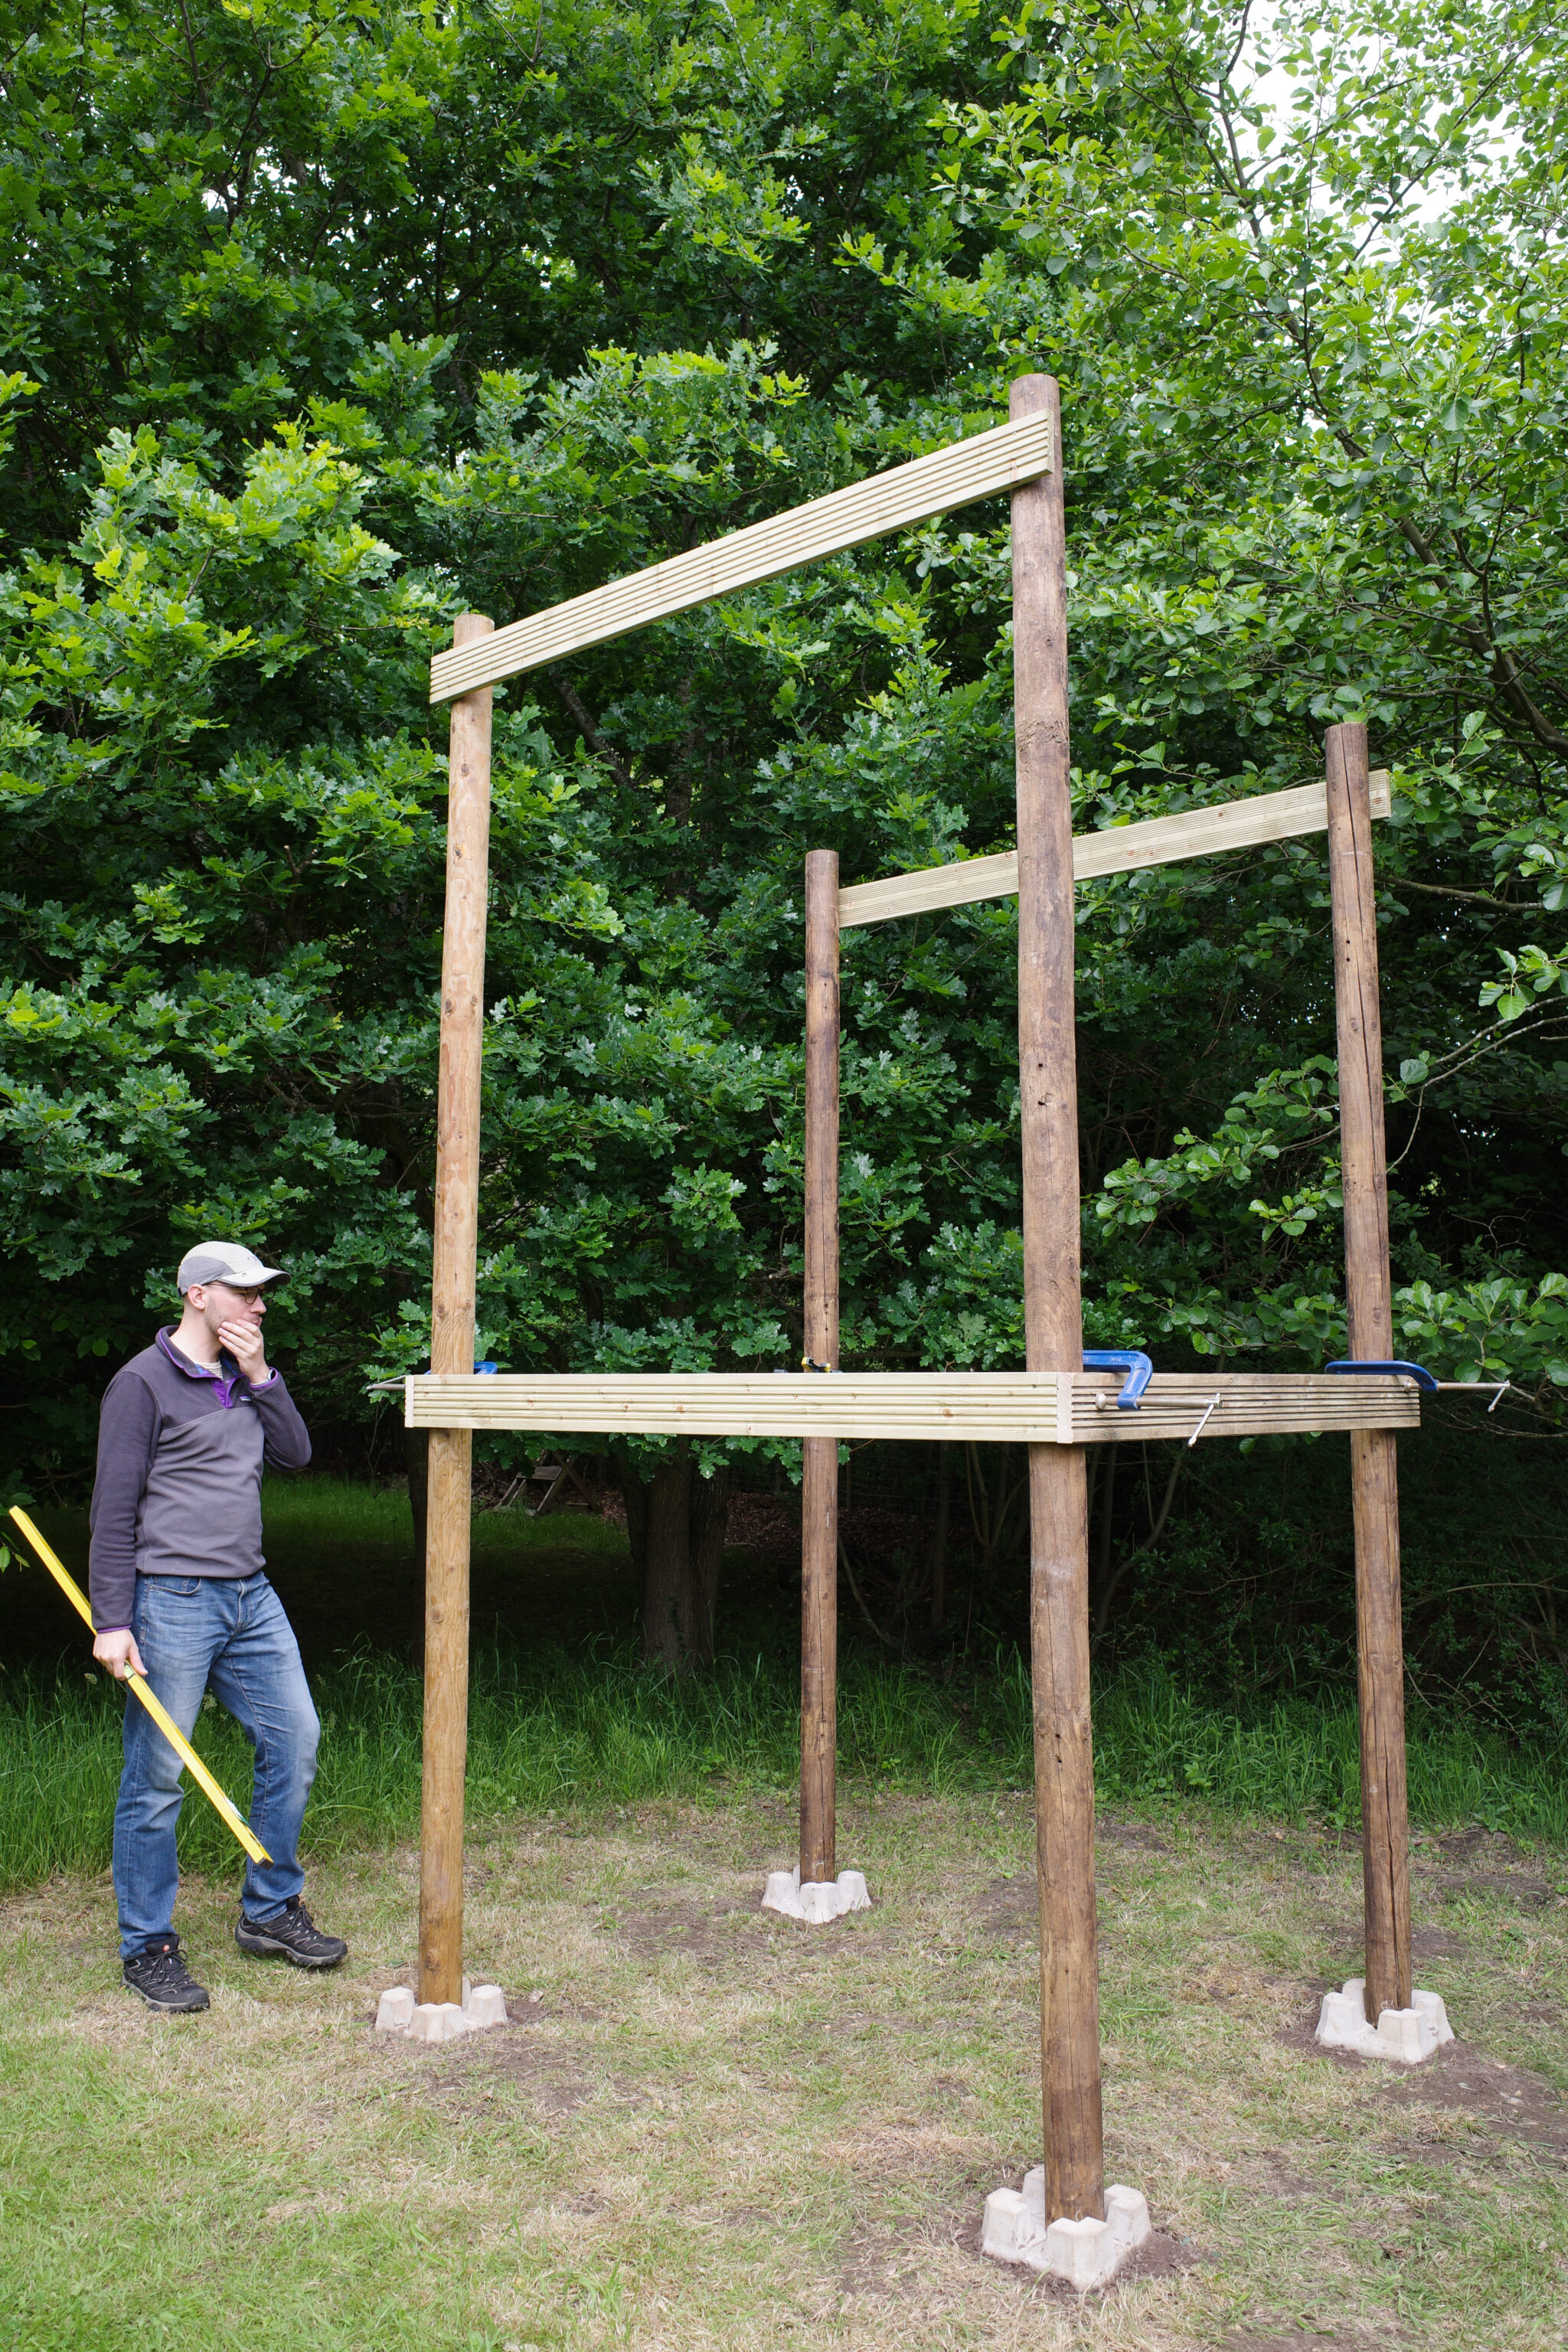
The frame is around 3m high, 2m wide and 1.5m deep. To build it we screwed decking boards between the two front and rear poles at the top and middle then raised them by hand before joining them together with more boards running in between the two sides. This created the structure we could then build the deck and roof around.
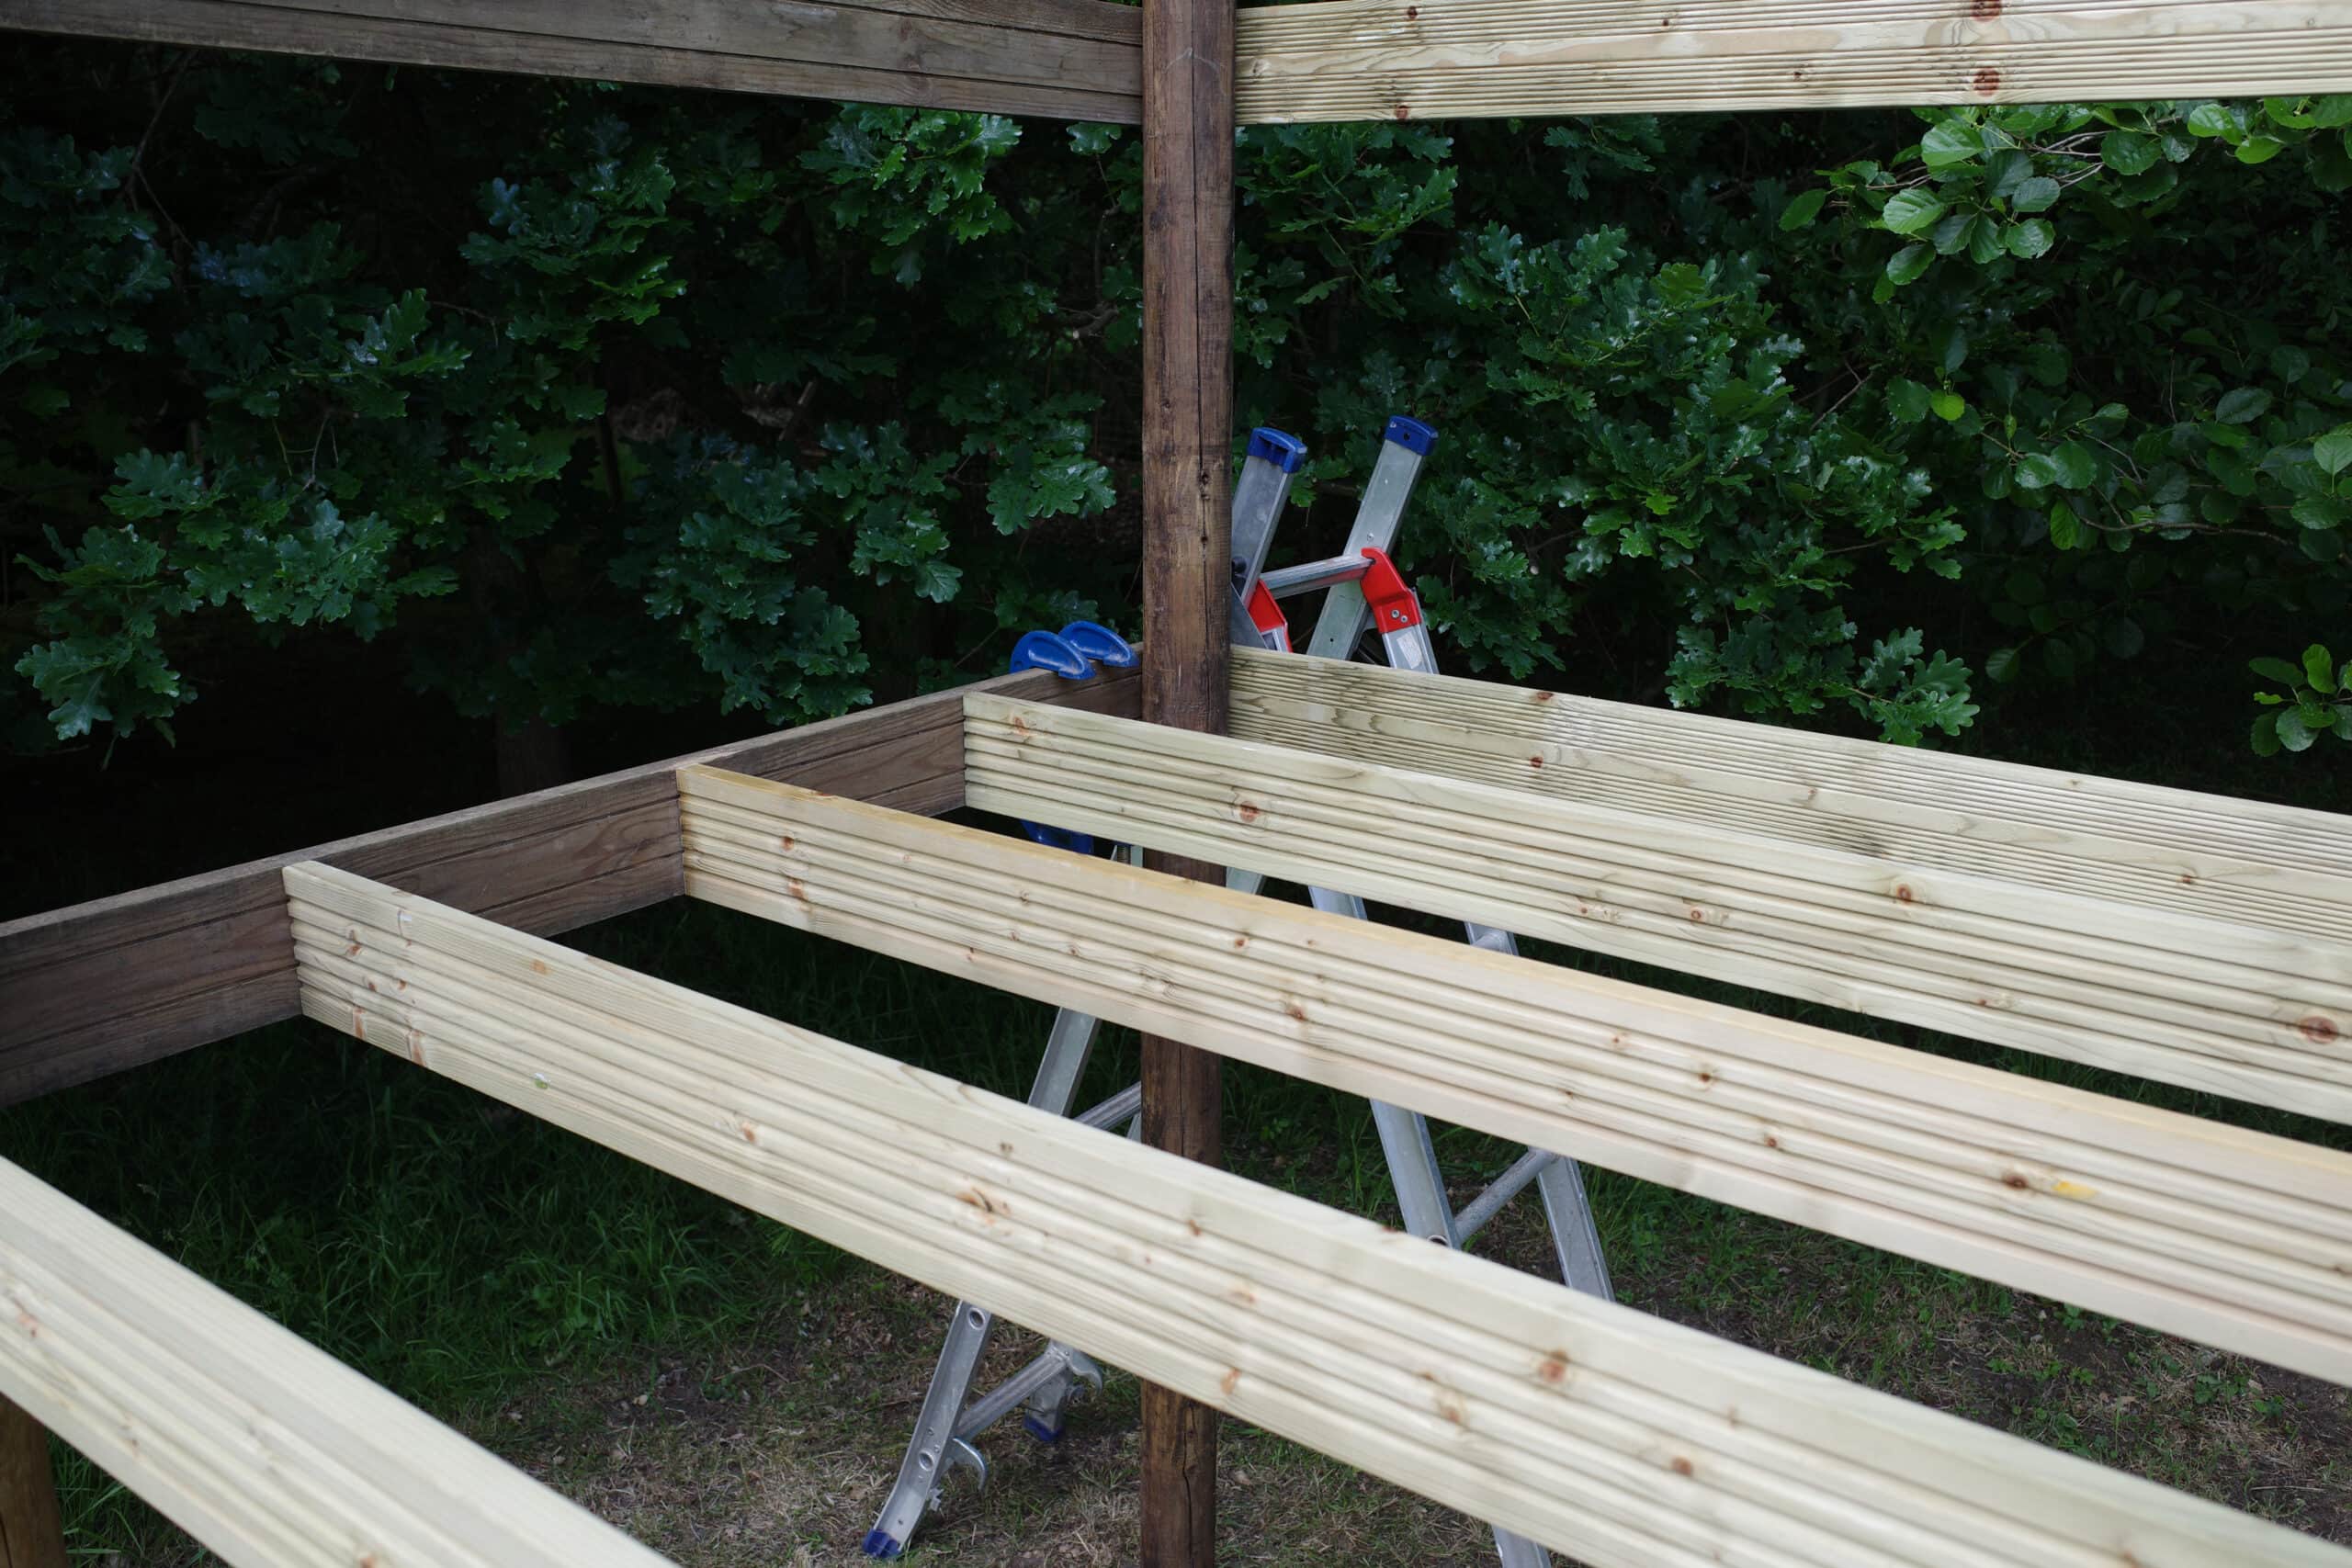
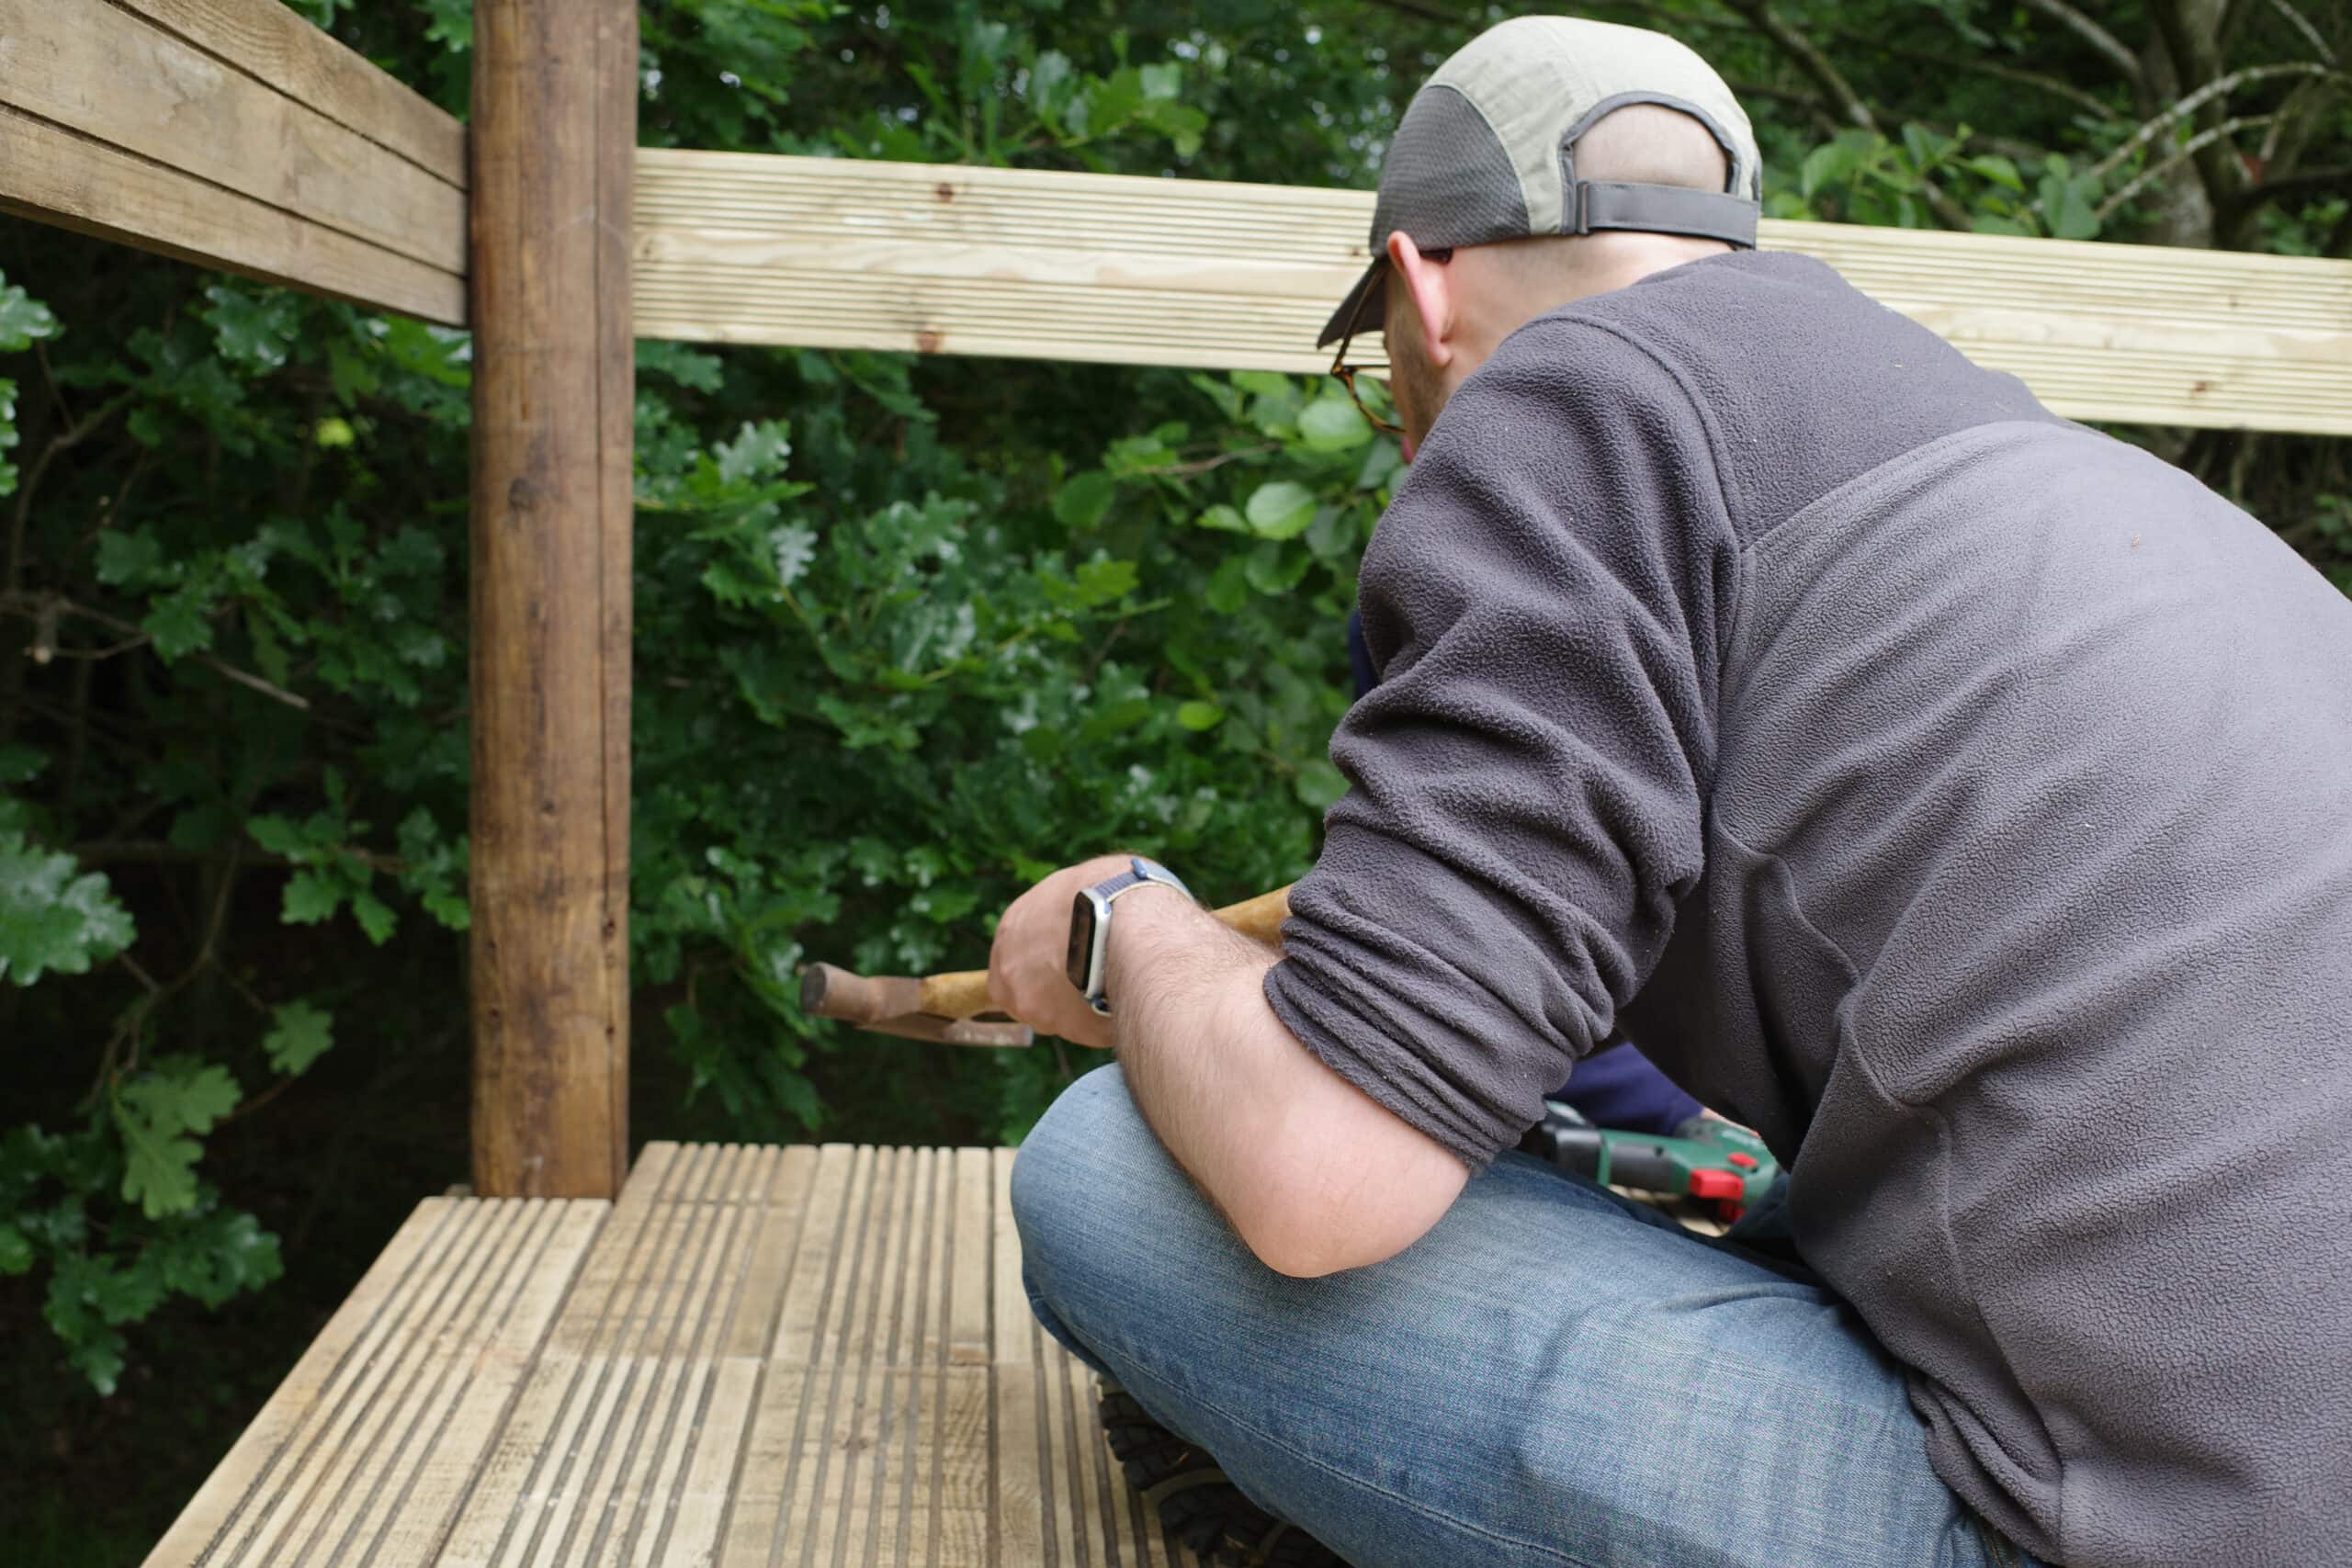
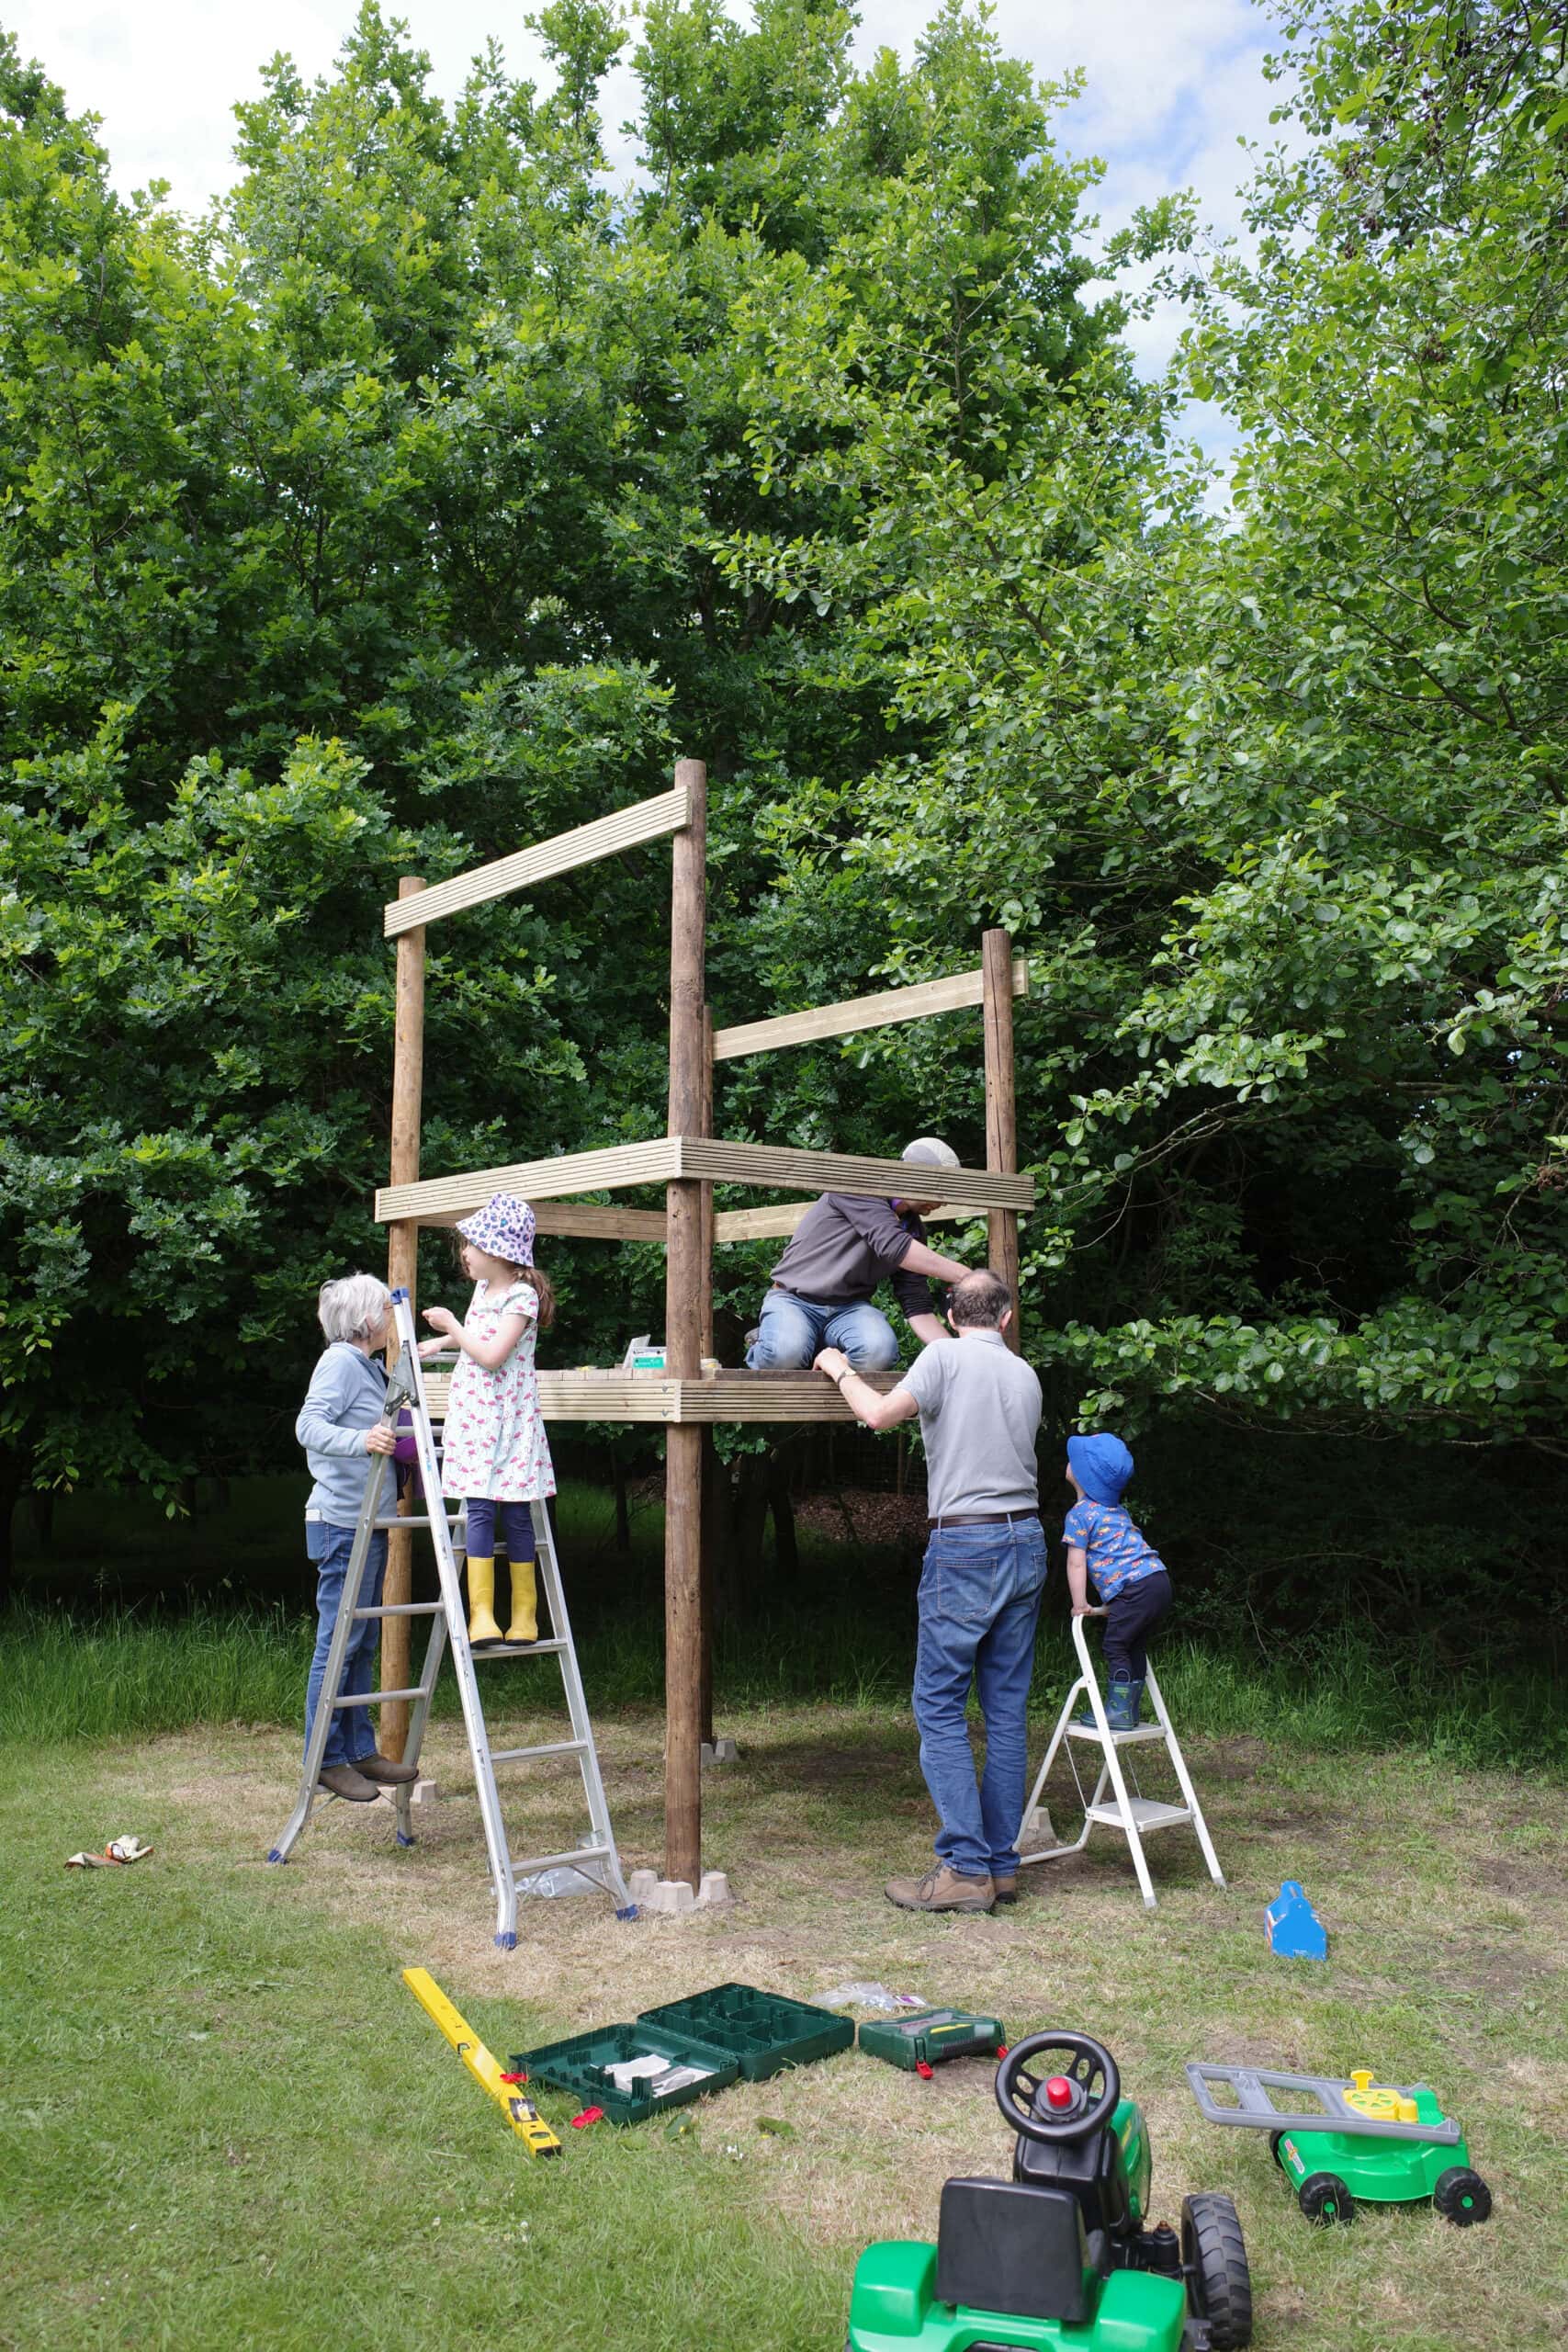
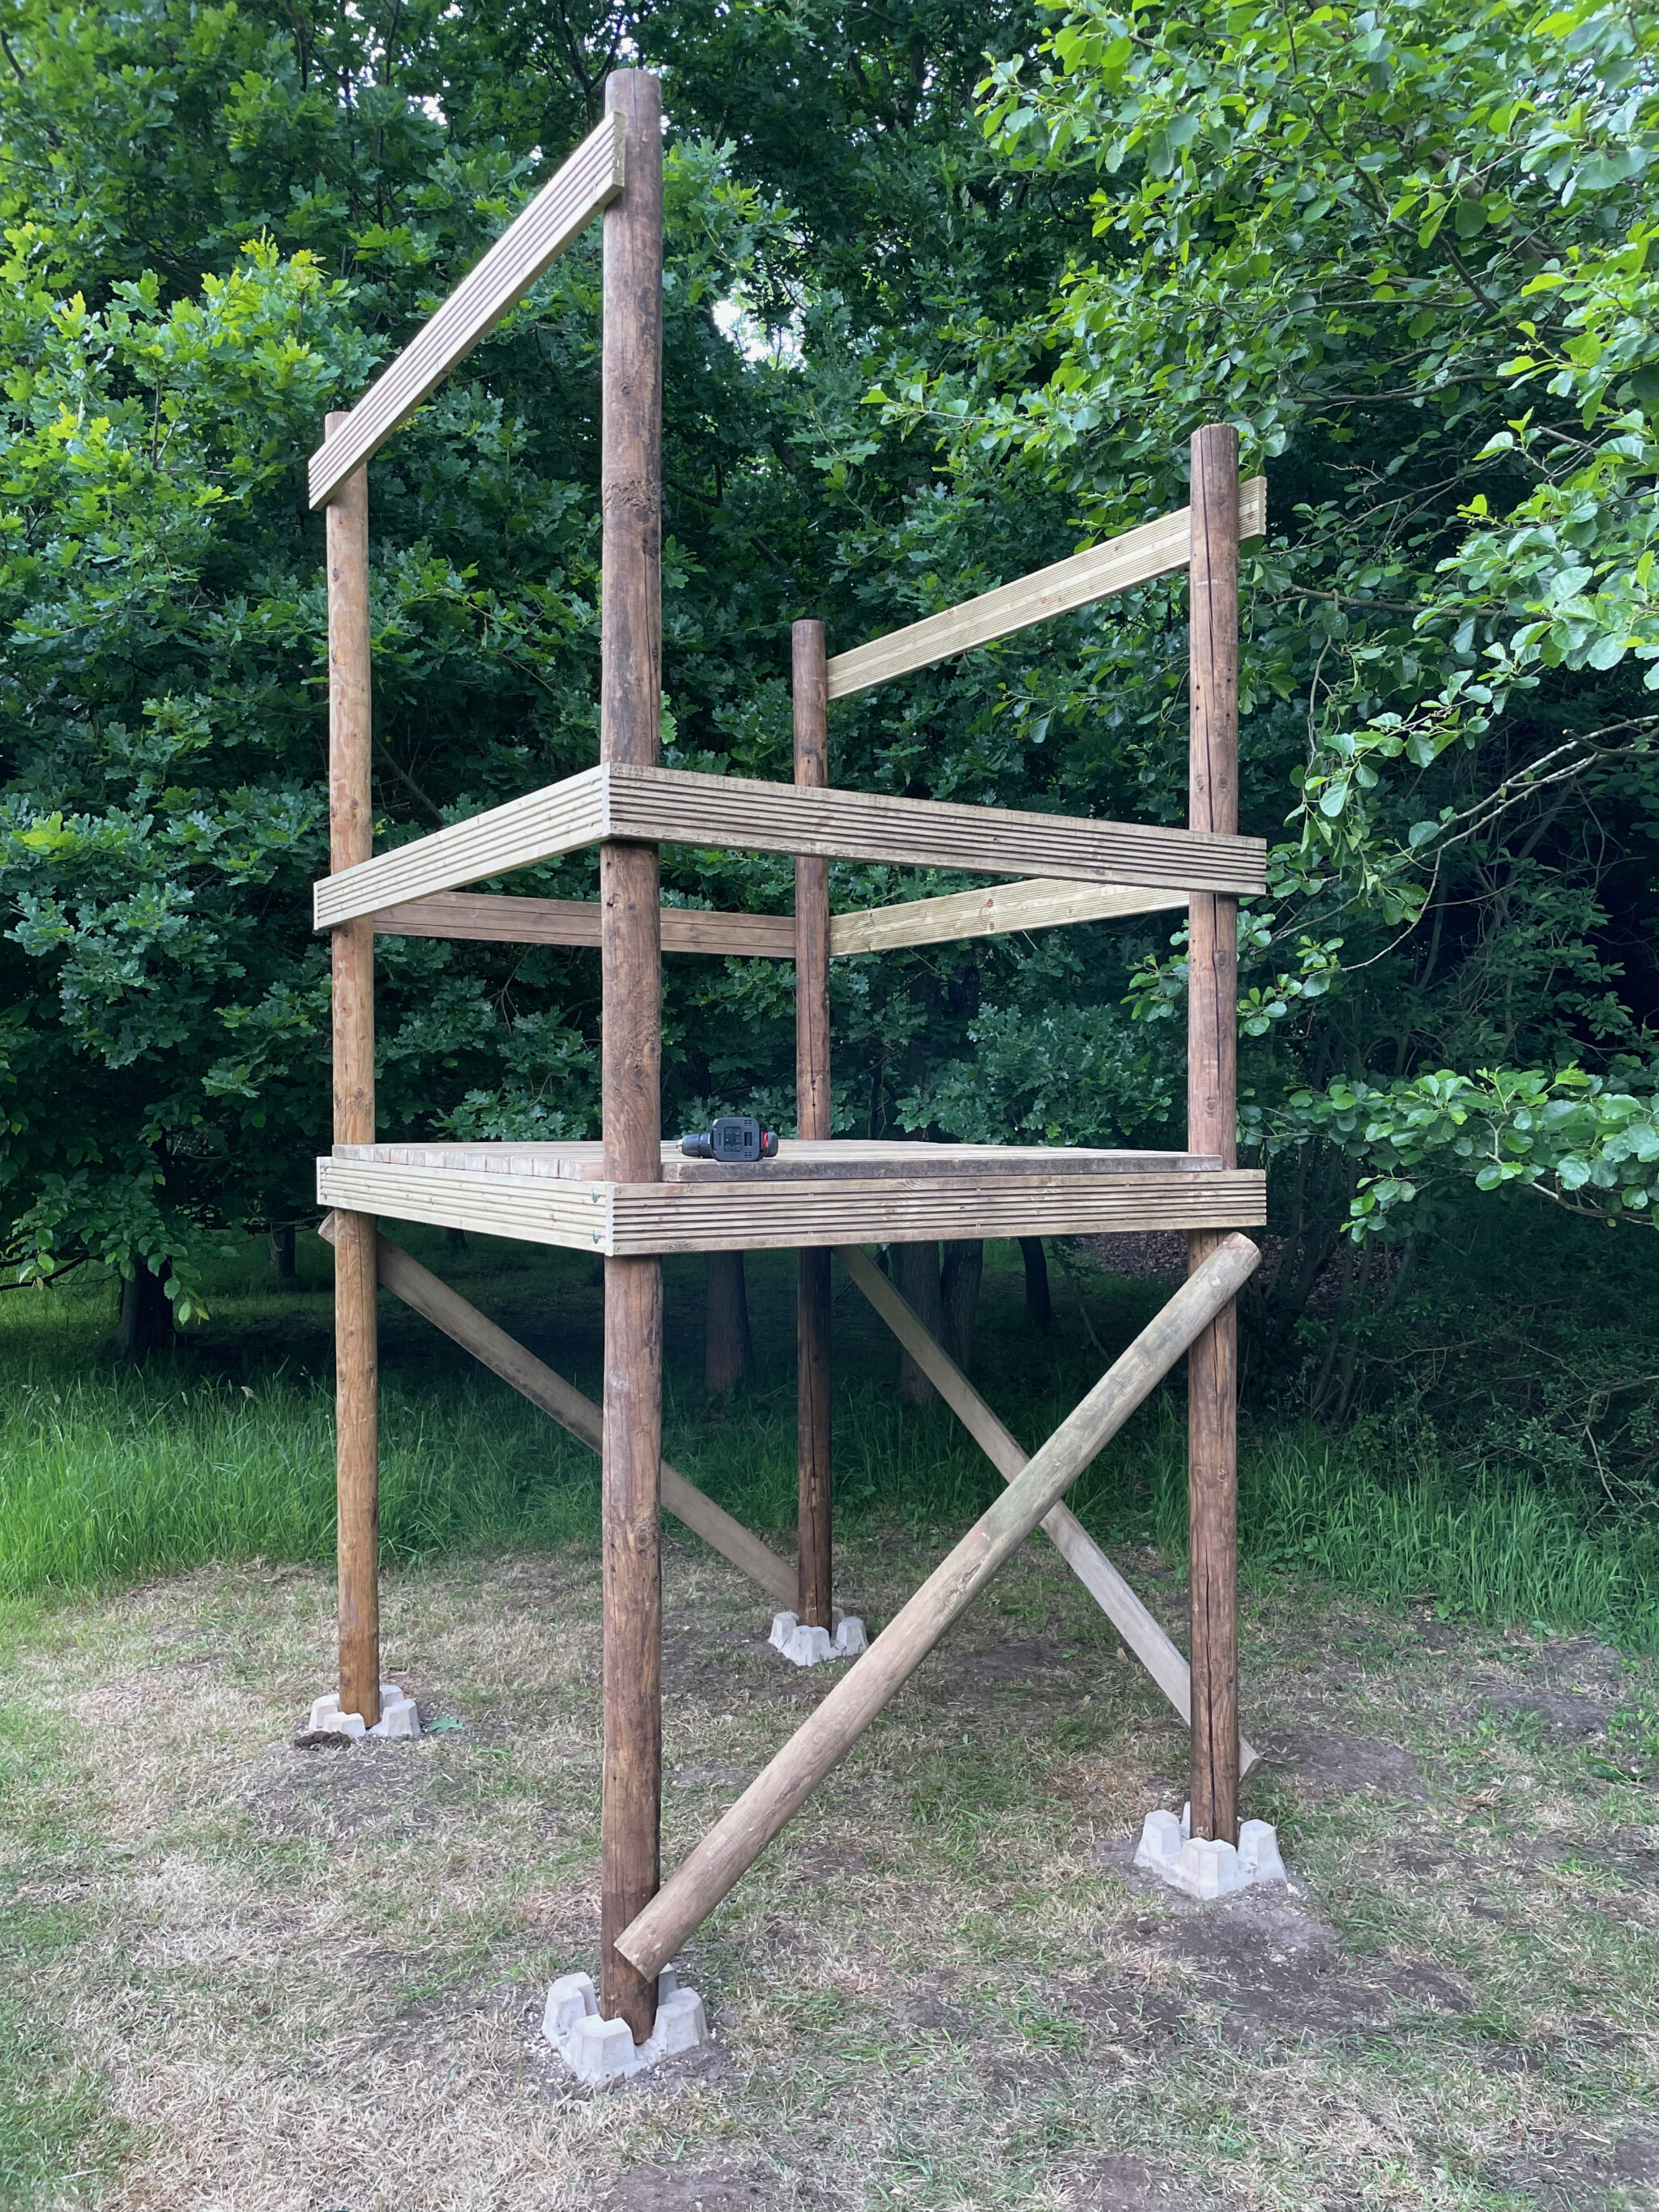
Once everything was level, we anchored the side boards to the poles with coach bolts to ensure it was strong enough to bare weight and then added crossbeams to support the deck from beneath. Once the decking was screwed in place, the structure was still very wobbly so I added diagonal cross bracing to three of the sides below the deck to improve lateral stability. It’s rock solid now.
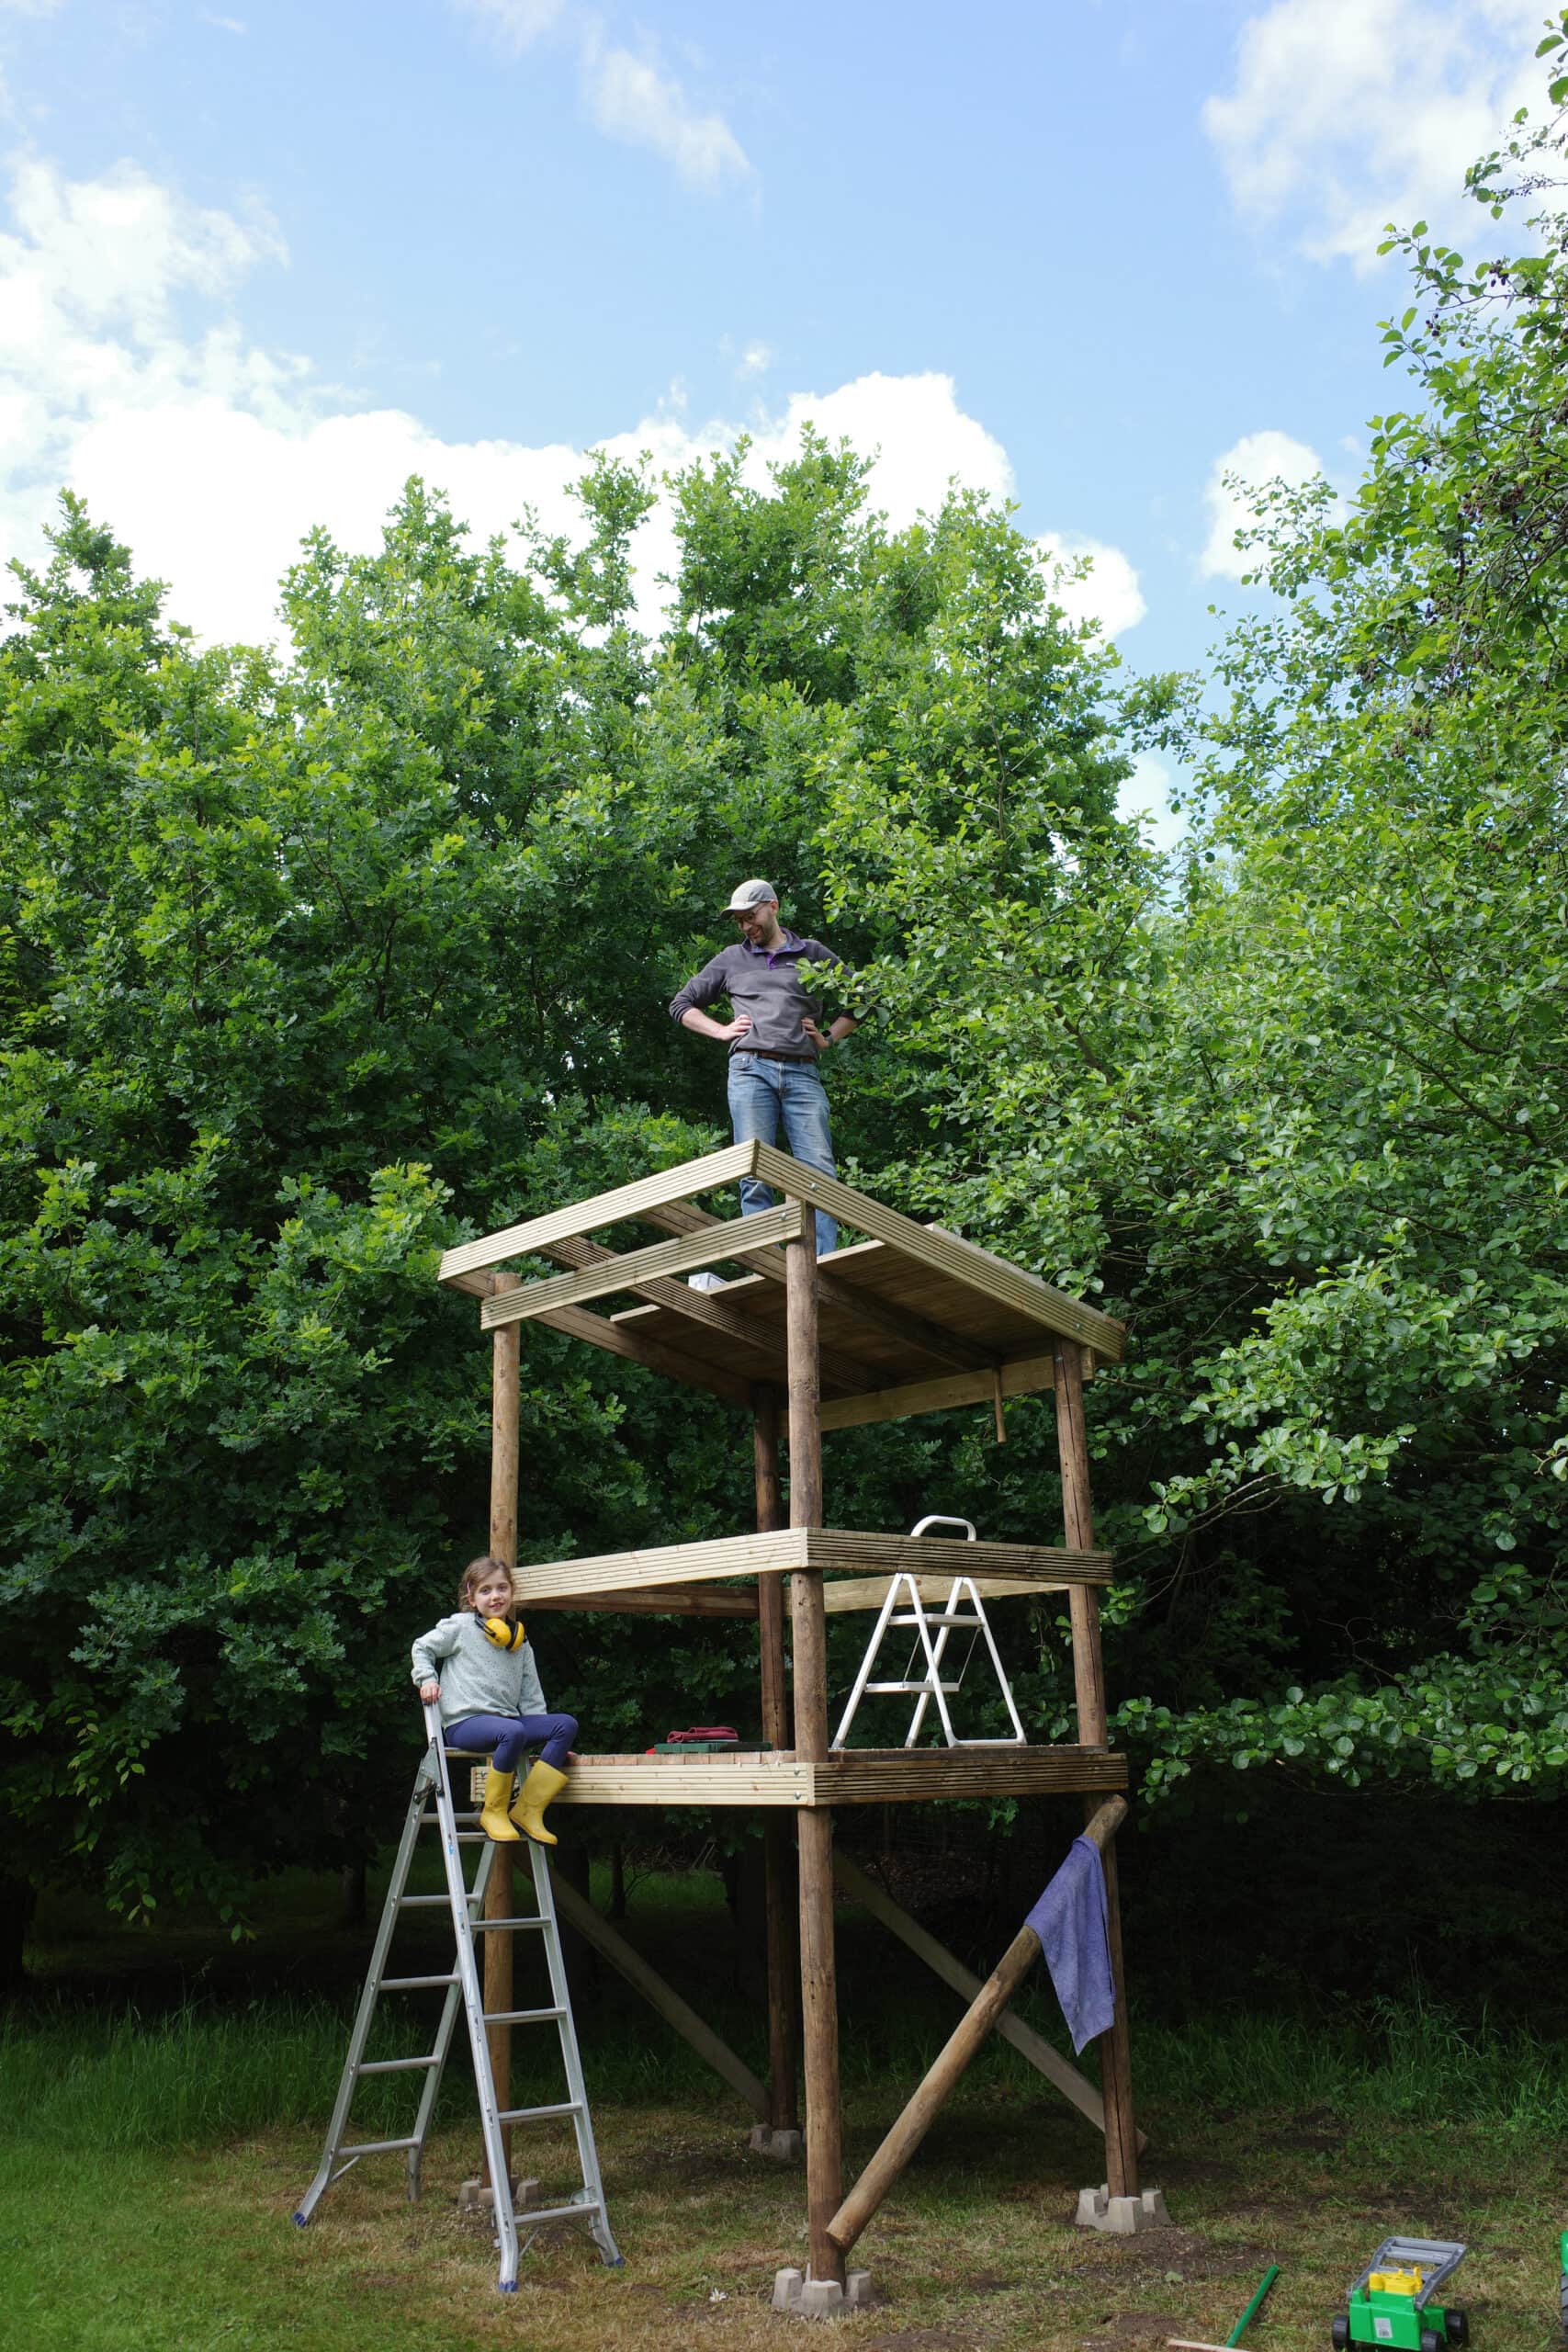
For the roof, I built a frame on the ground then lifted and bolted it into place before screwing decking boards to the top. There’s a slight overhang and the front and back to aid water runoff. I’ll be interested to see which of the kids work out how to climb onto the top in the future!
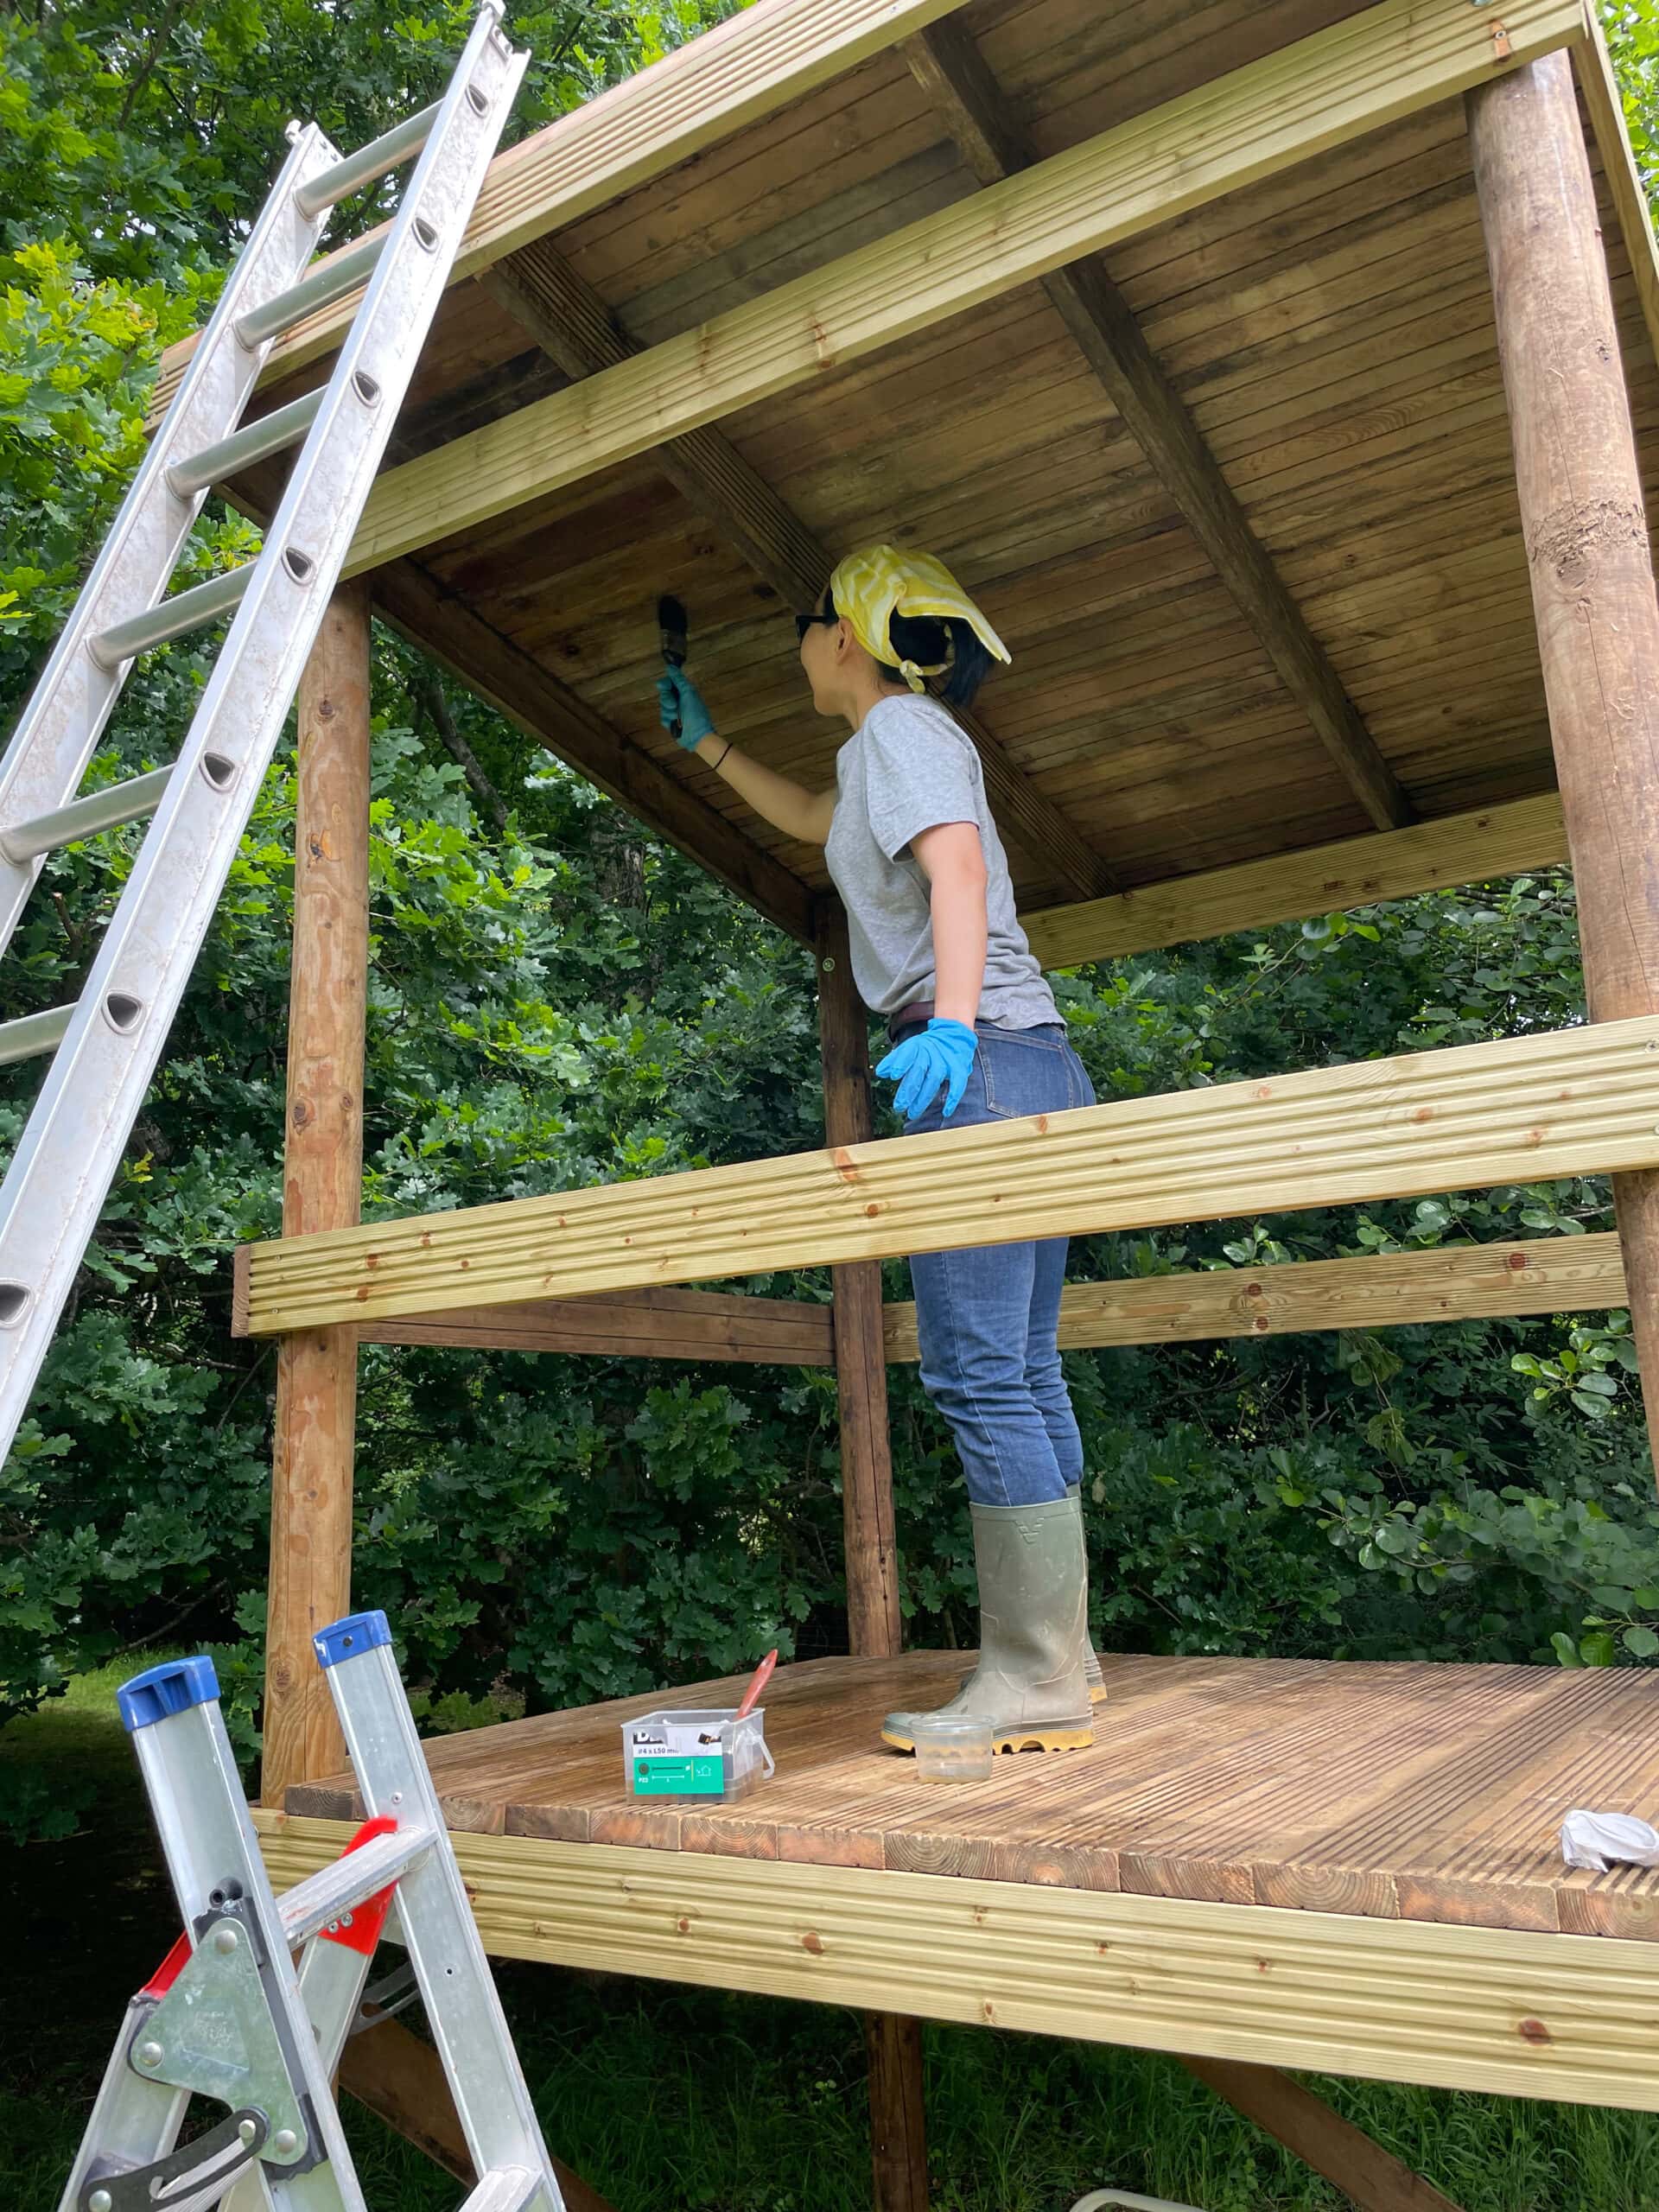
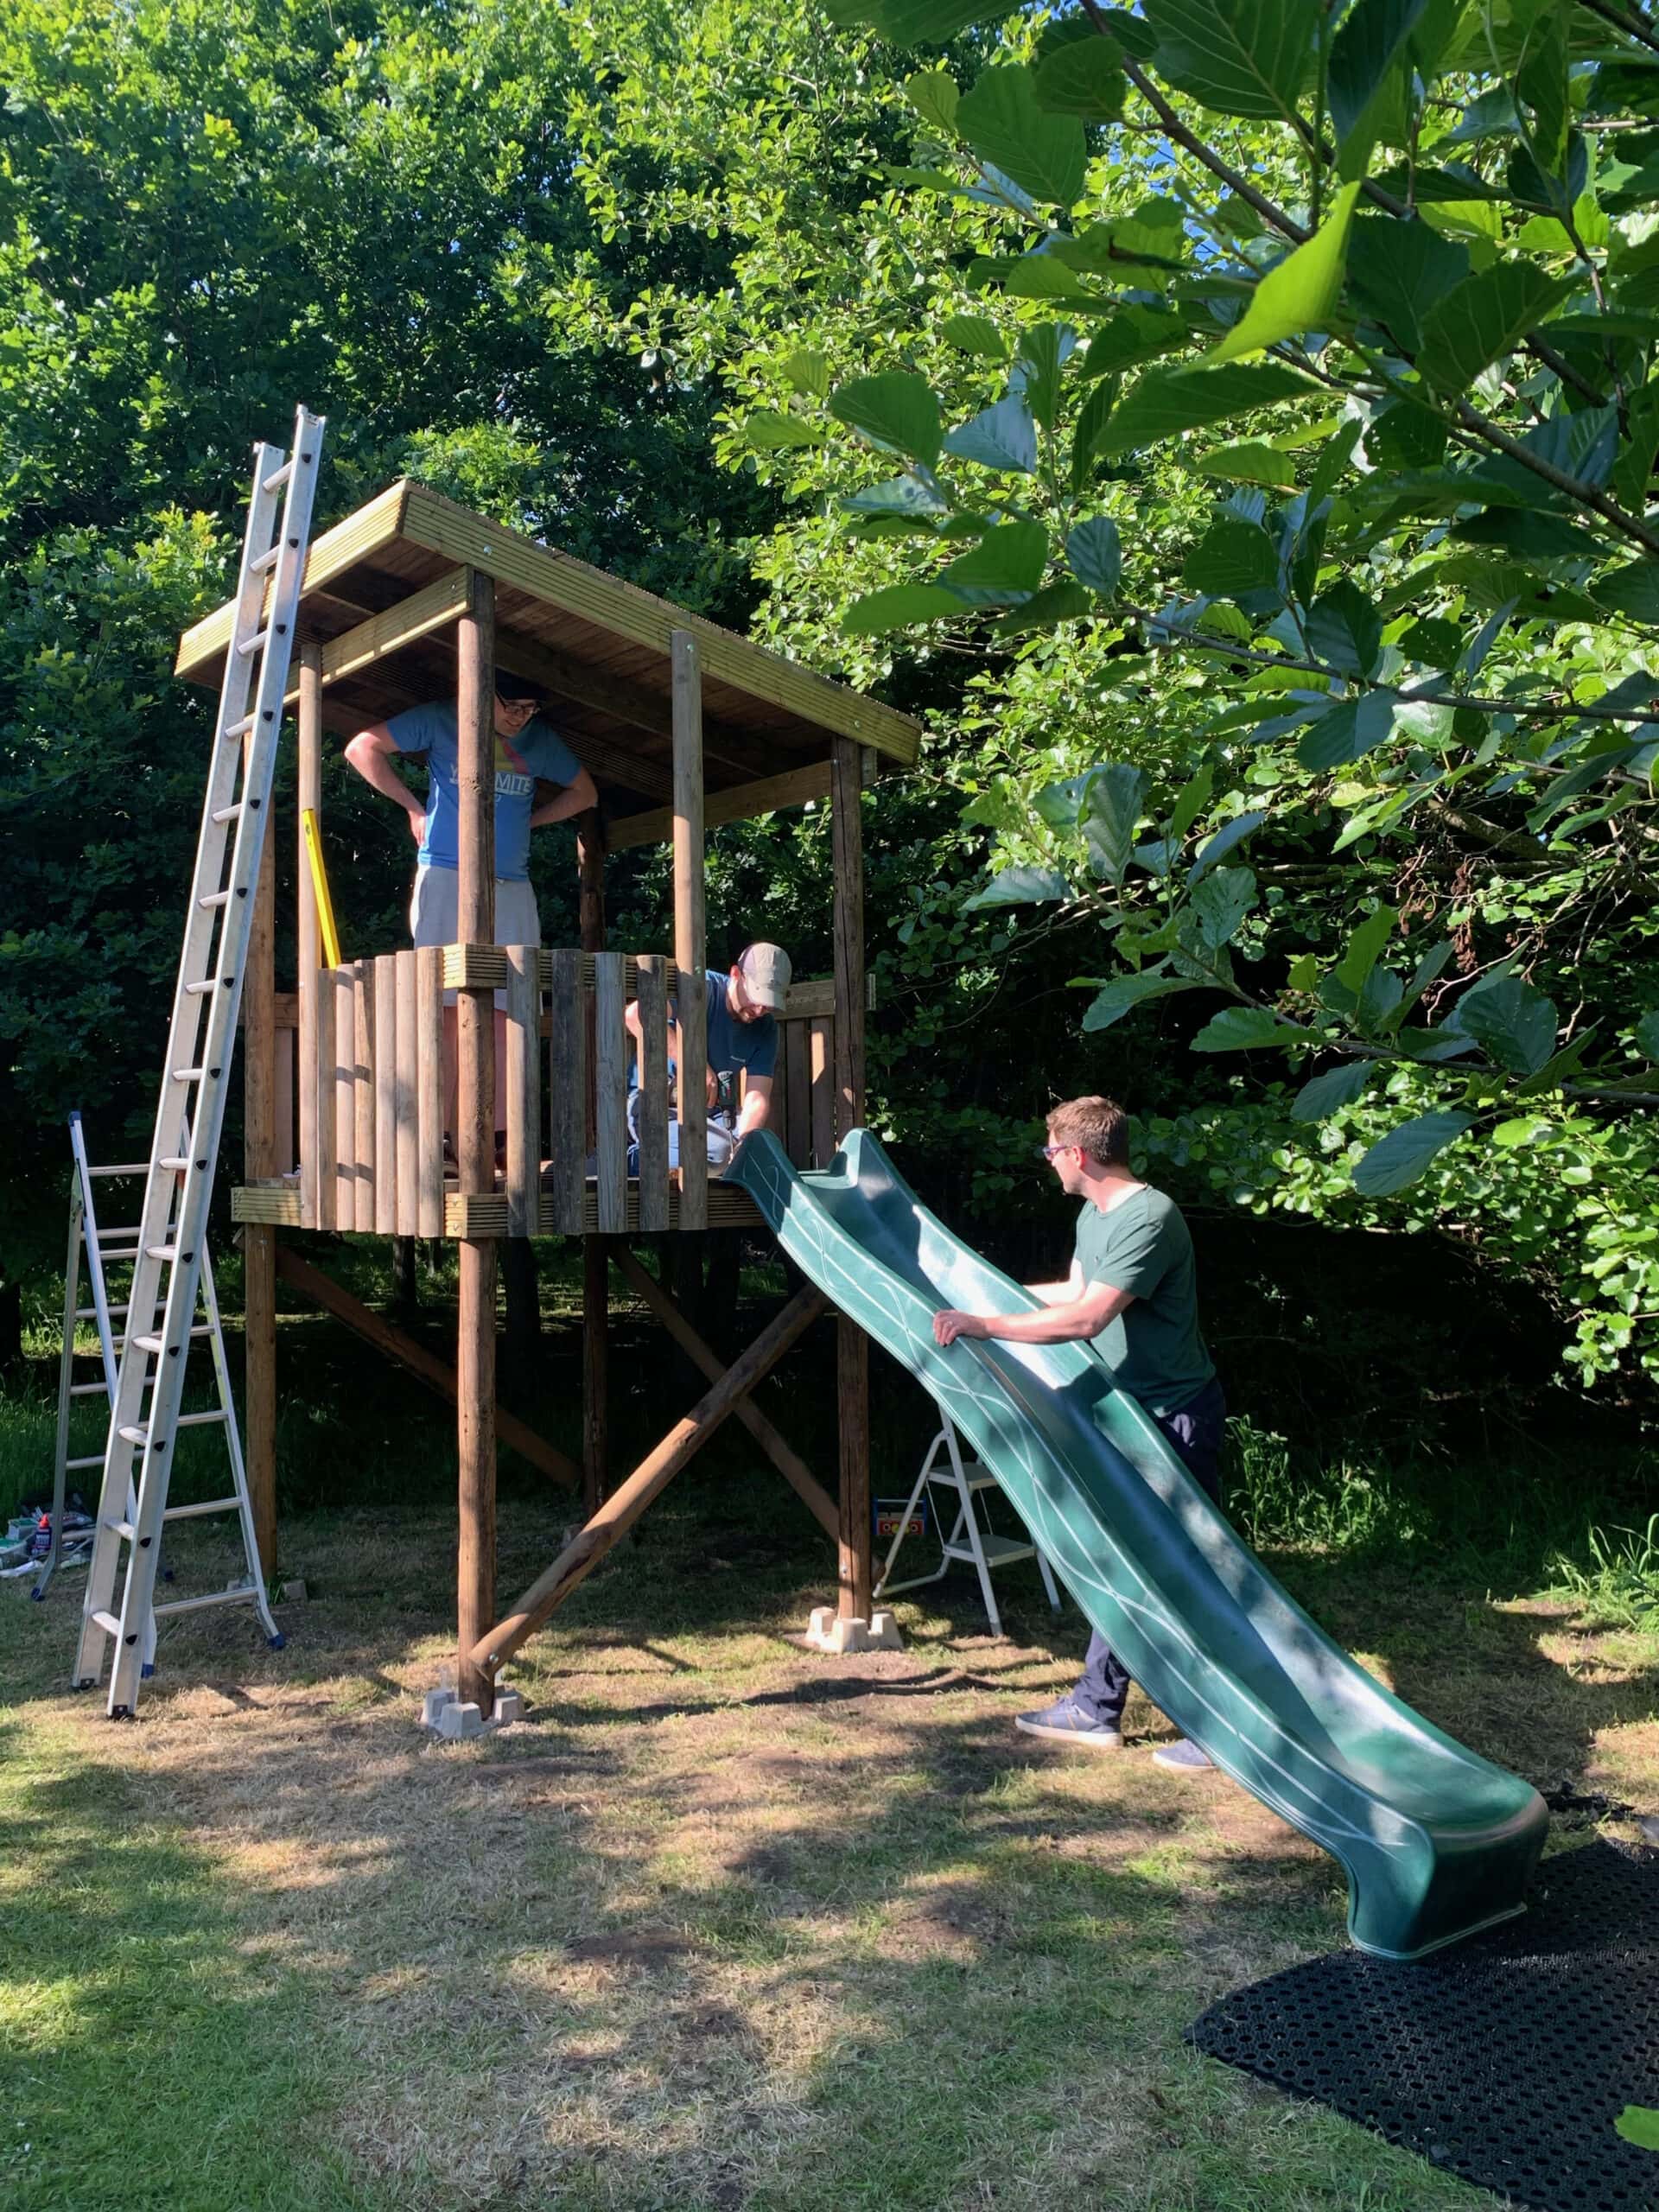
We treated all the timber with a clear wood preserver and added roofing felt to protect the top. My brother and brother-in-law helped me add half-round poles to the sides and we cut out two sections of the balustrade to make room for the slide and ladder.
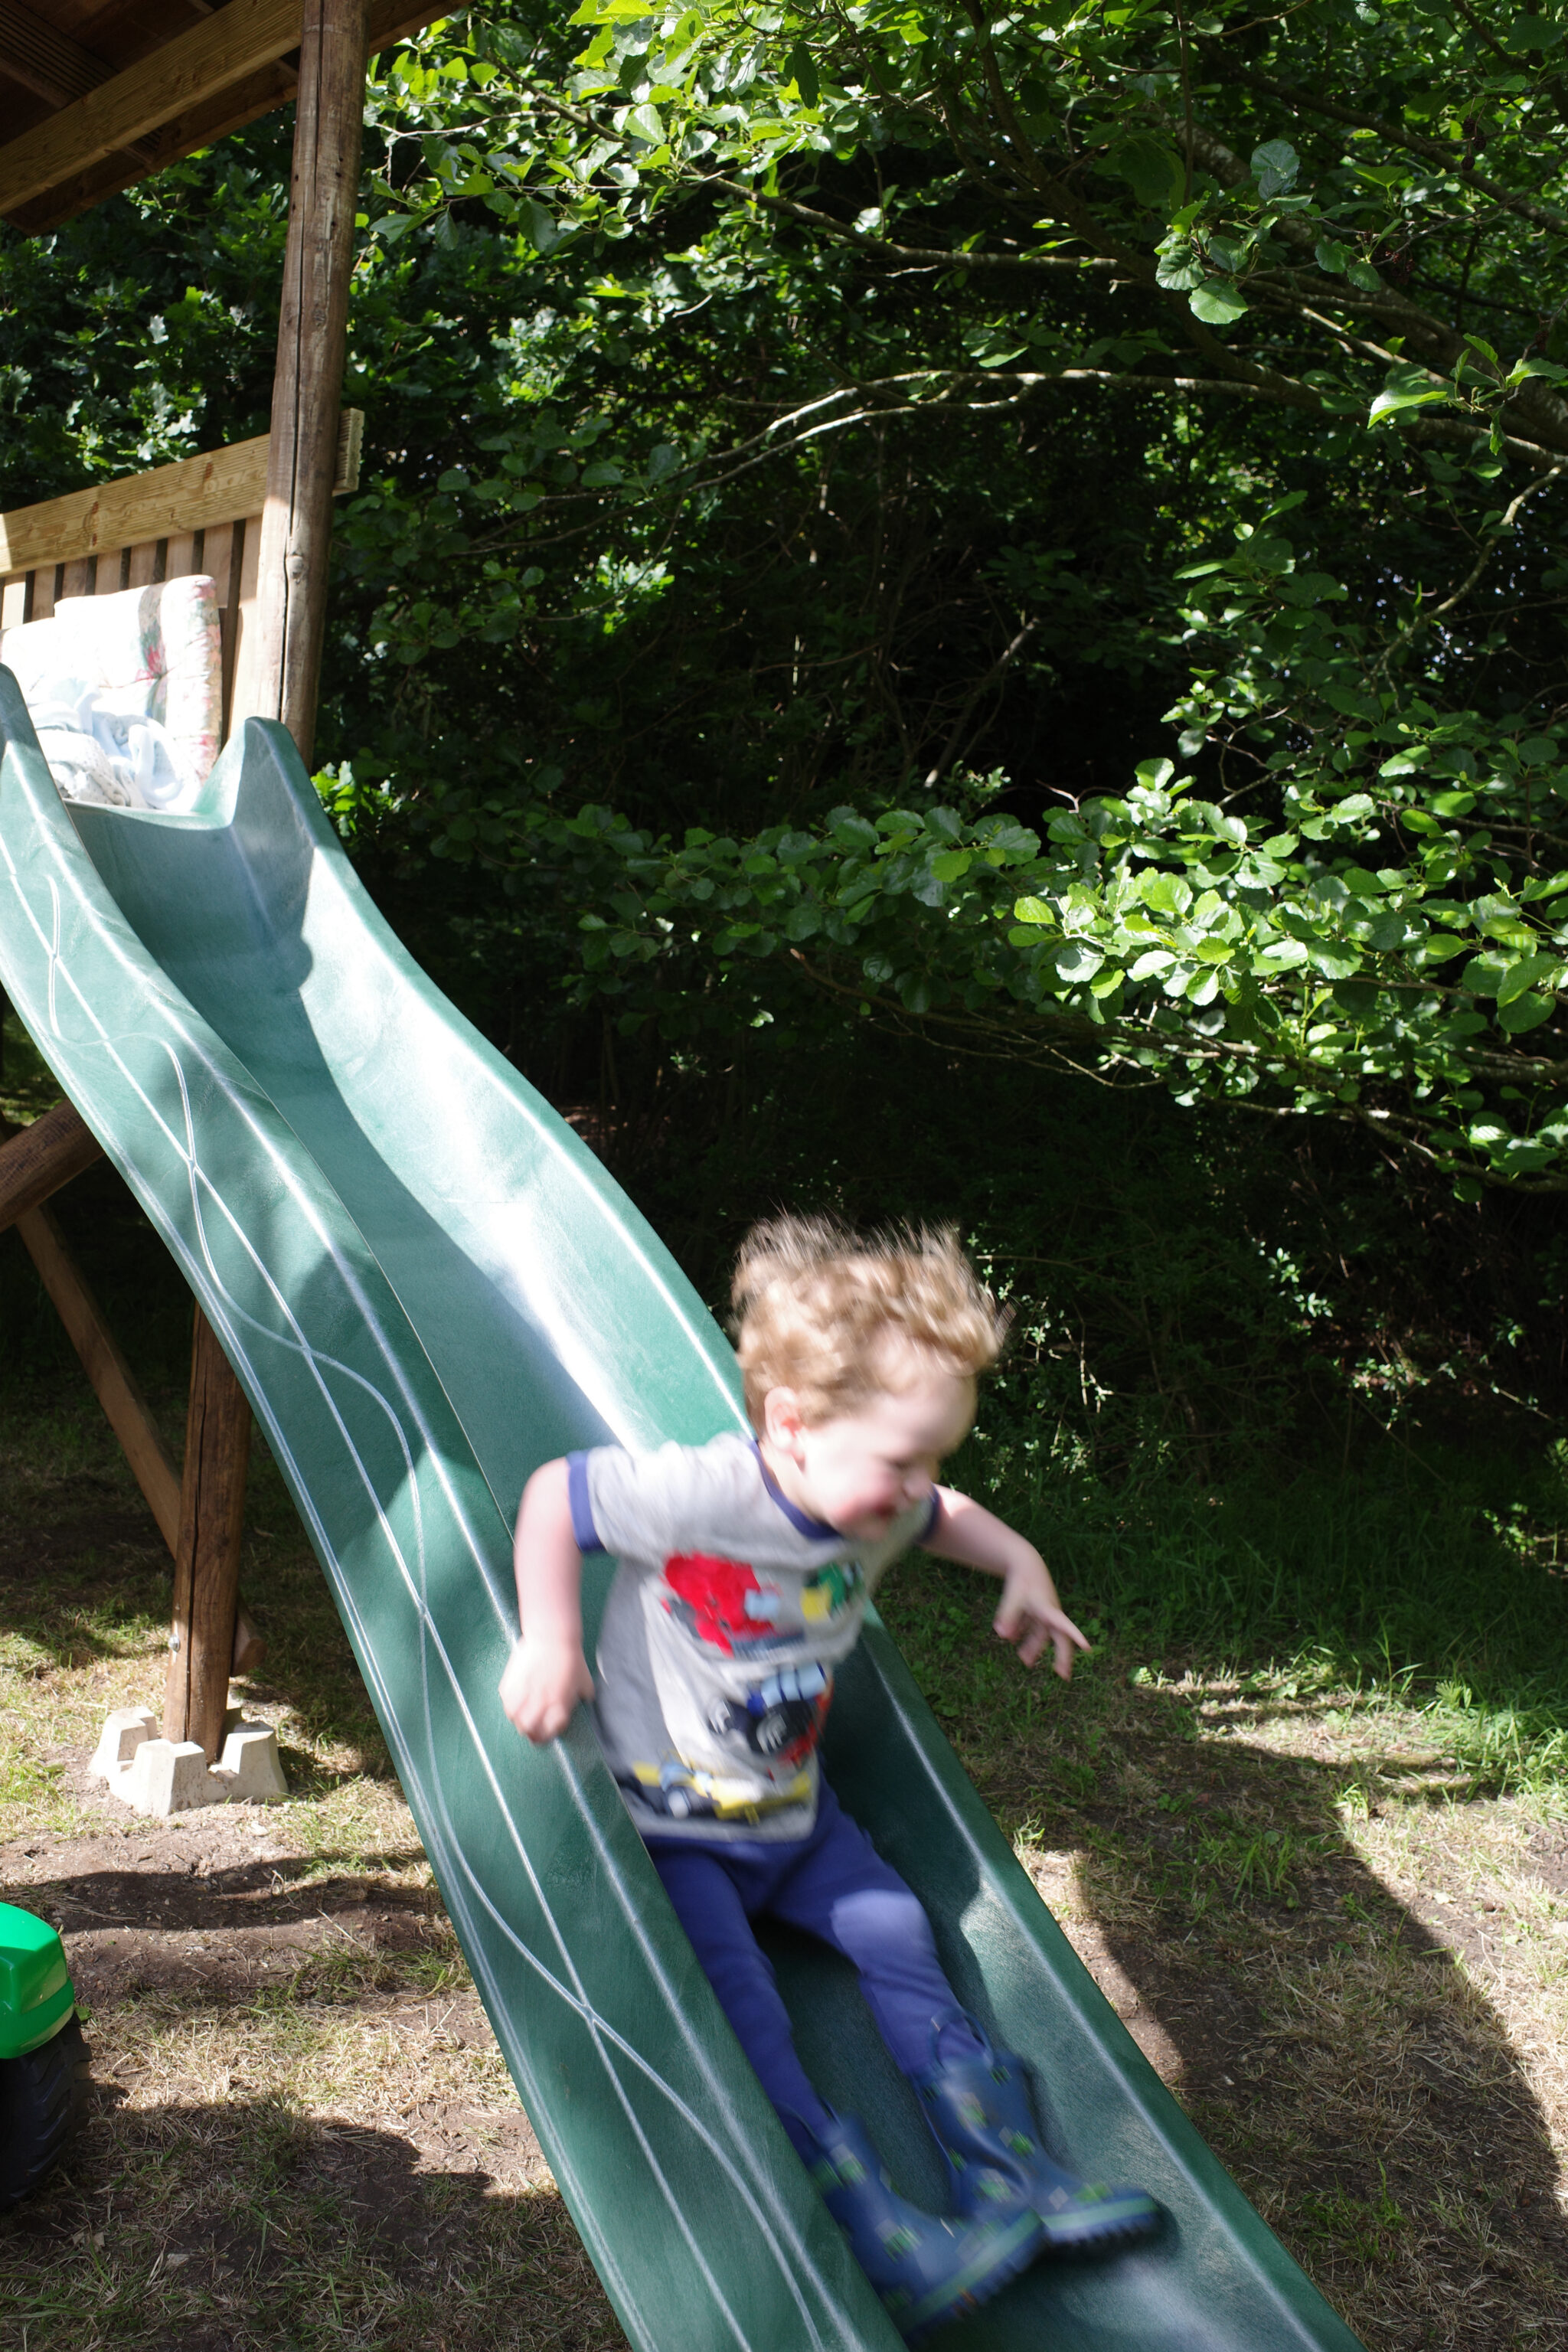
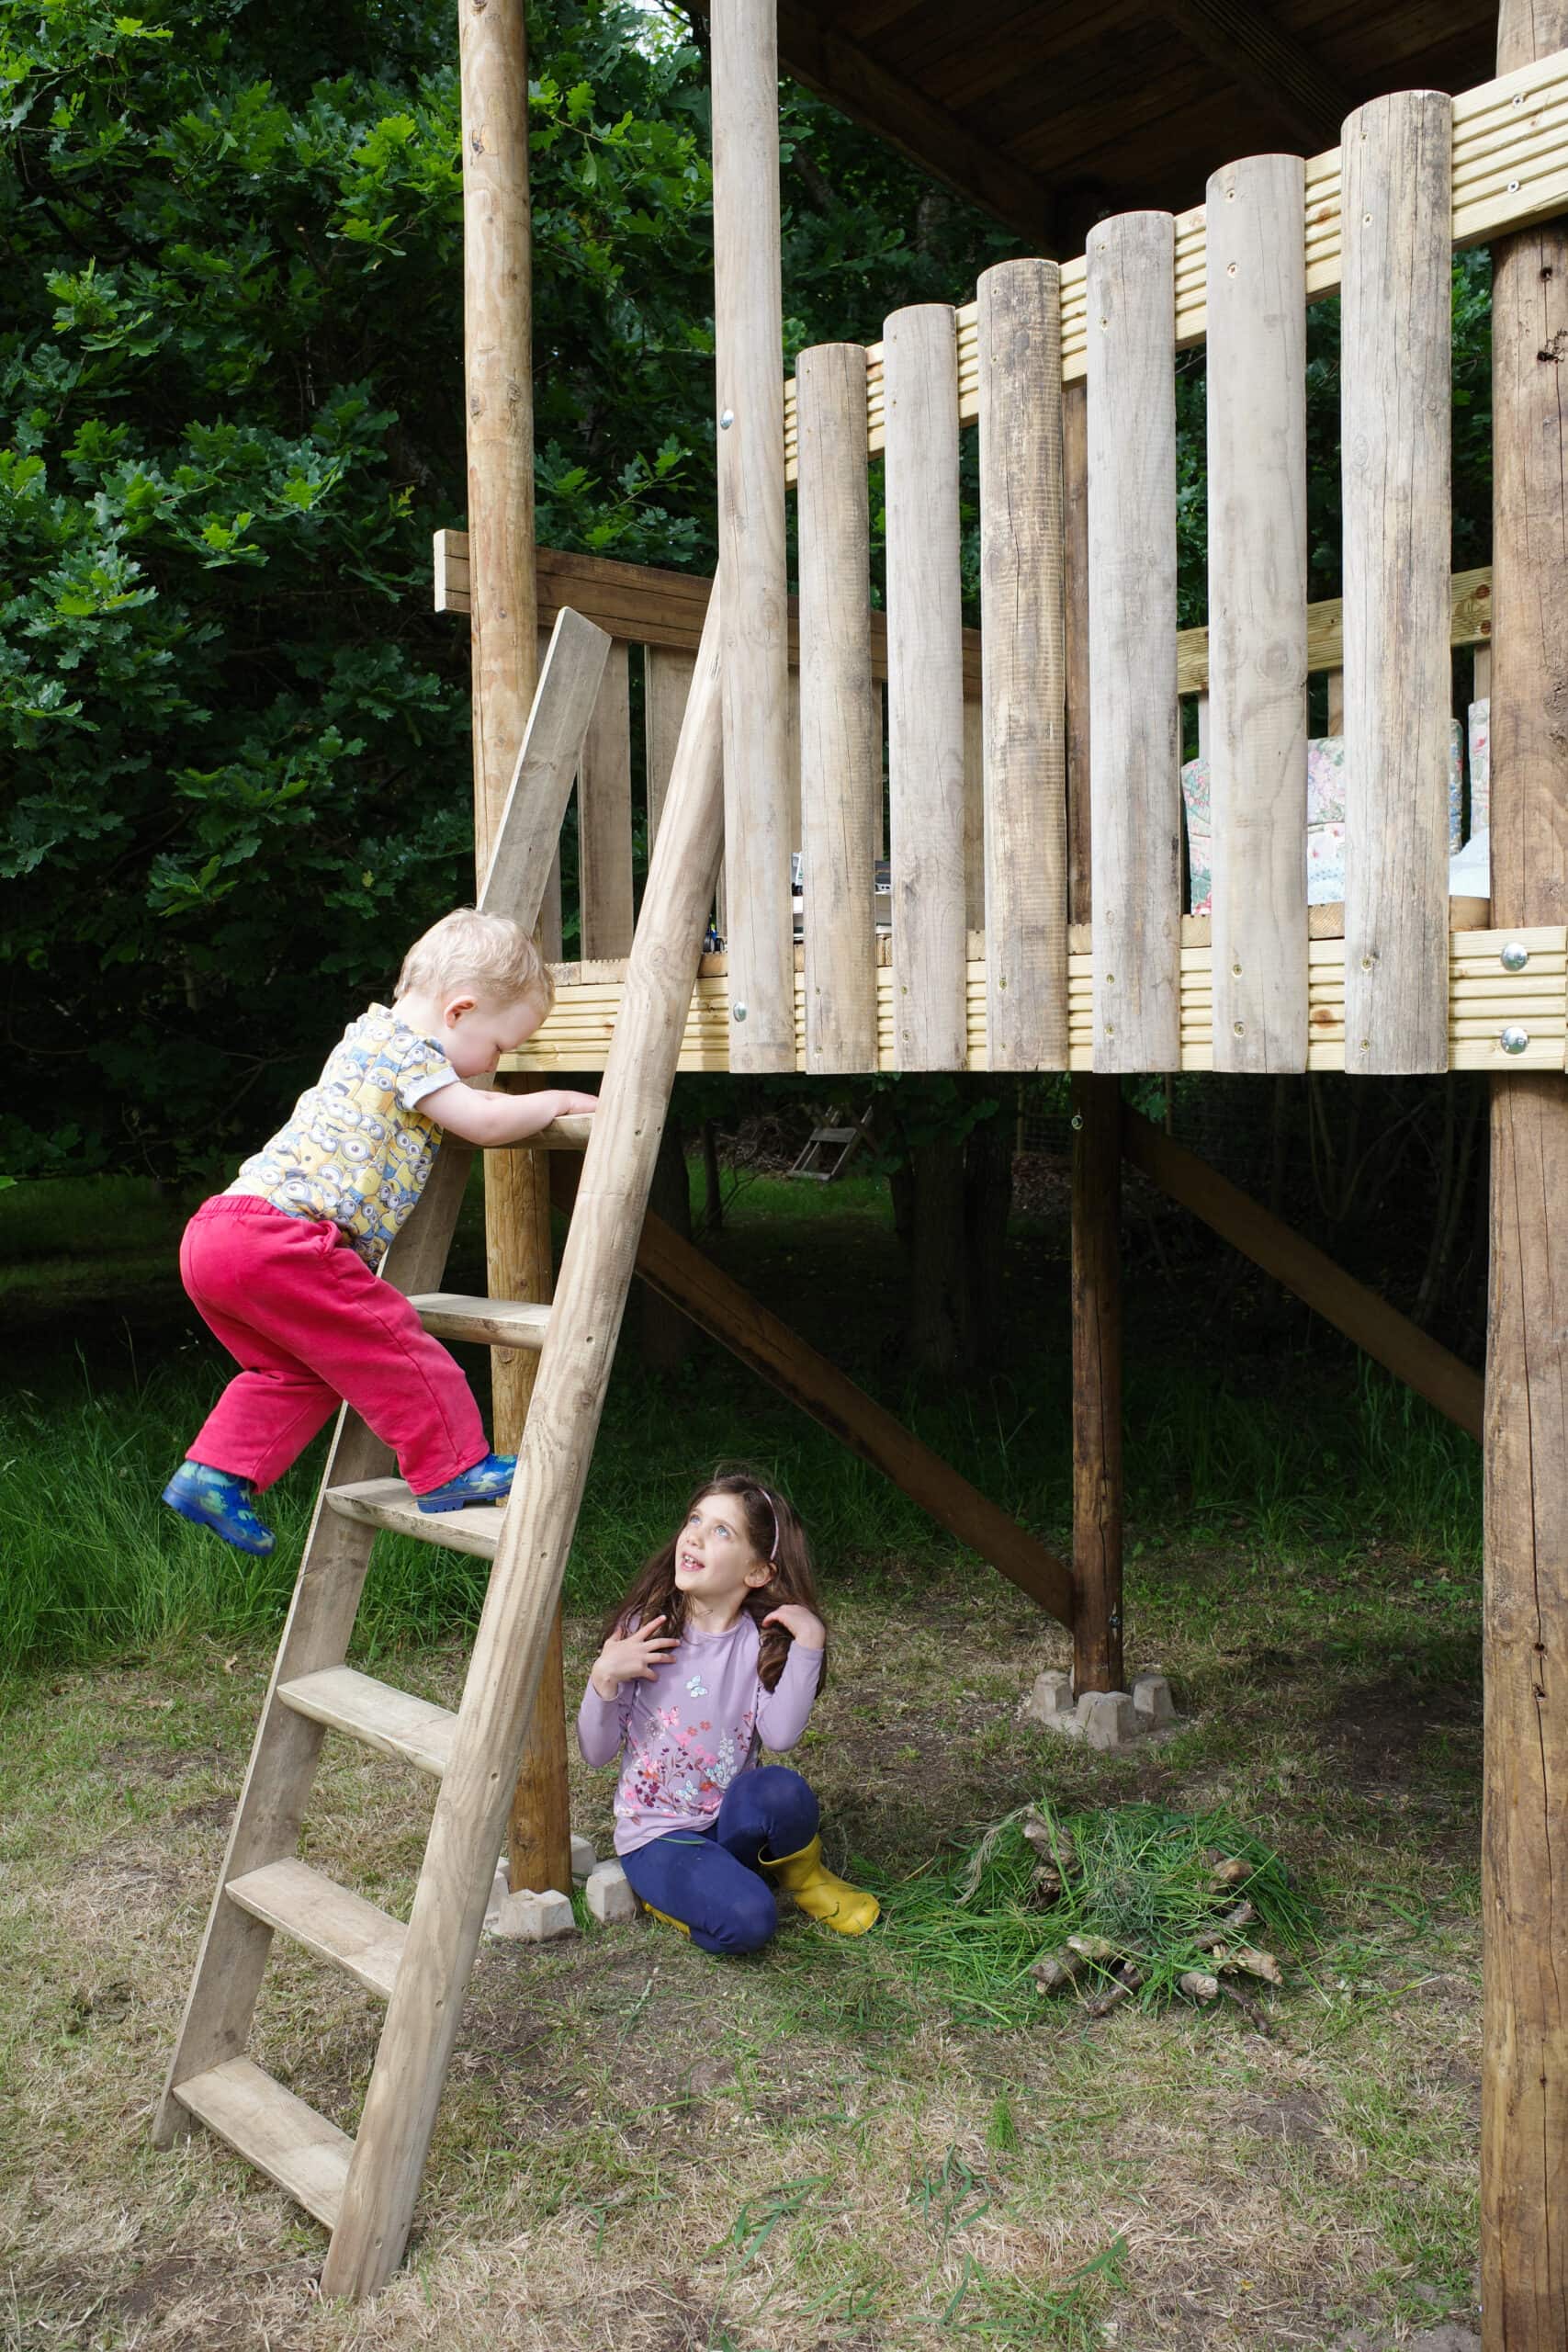
The deck is 1.5m off the ground and we managed to find a slide designed for that height online. Our last step was to build a ladder out of some of the leftover half-round poles.
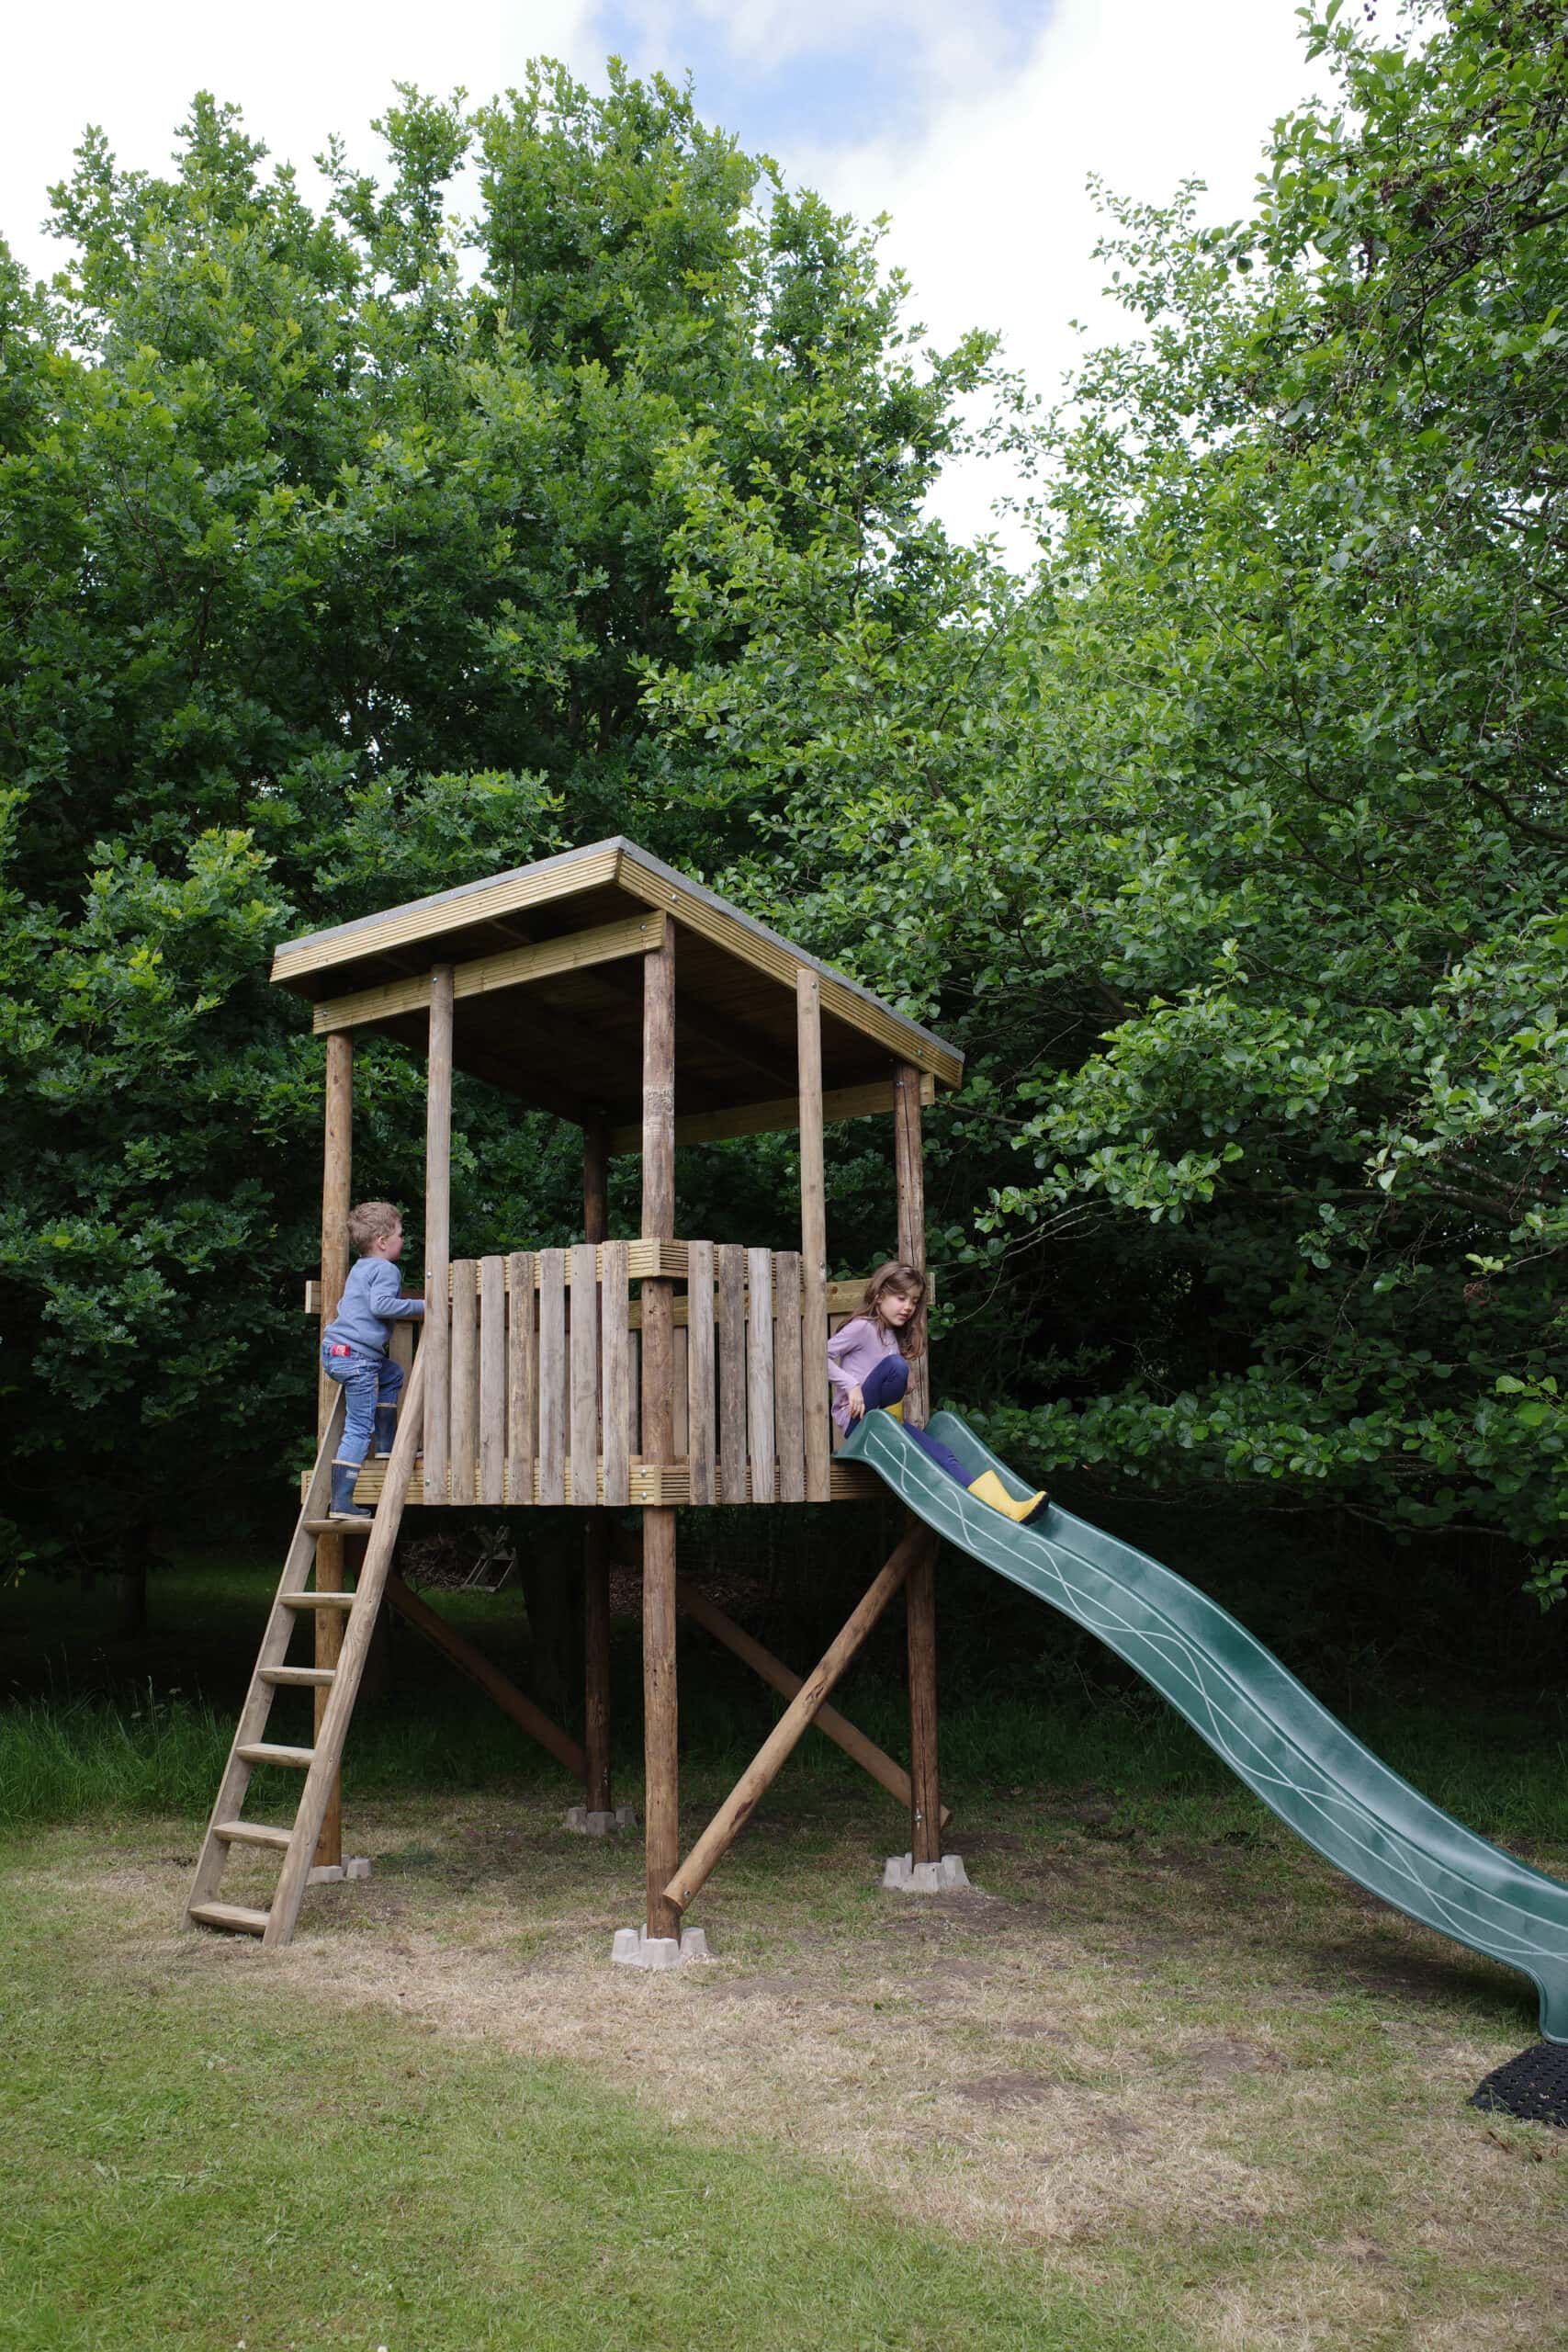
The end result turned out better than I had expected and seems to have been a hit with the kids. We also built in some hidden surprises like a trapdoor for them to discover when they’re a little older!
My six-year-old niece proposed a bunch of names for the treehouse, and after putting it to a family vote, we choose to call it “The Enchanted Lookout” which felt fitting. She has already turned the ground floor into stables for some imaginary ponies so I’m looking forward to hearing what other creative games they’ll play there 🦄
I’ve probably enjoyed building it just as much as they’ll enjoy using it 😁
With thanks to Chen for most of the photos.
Reply