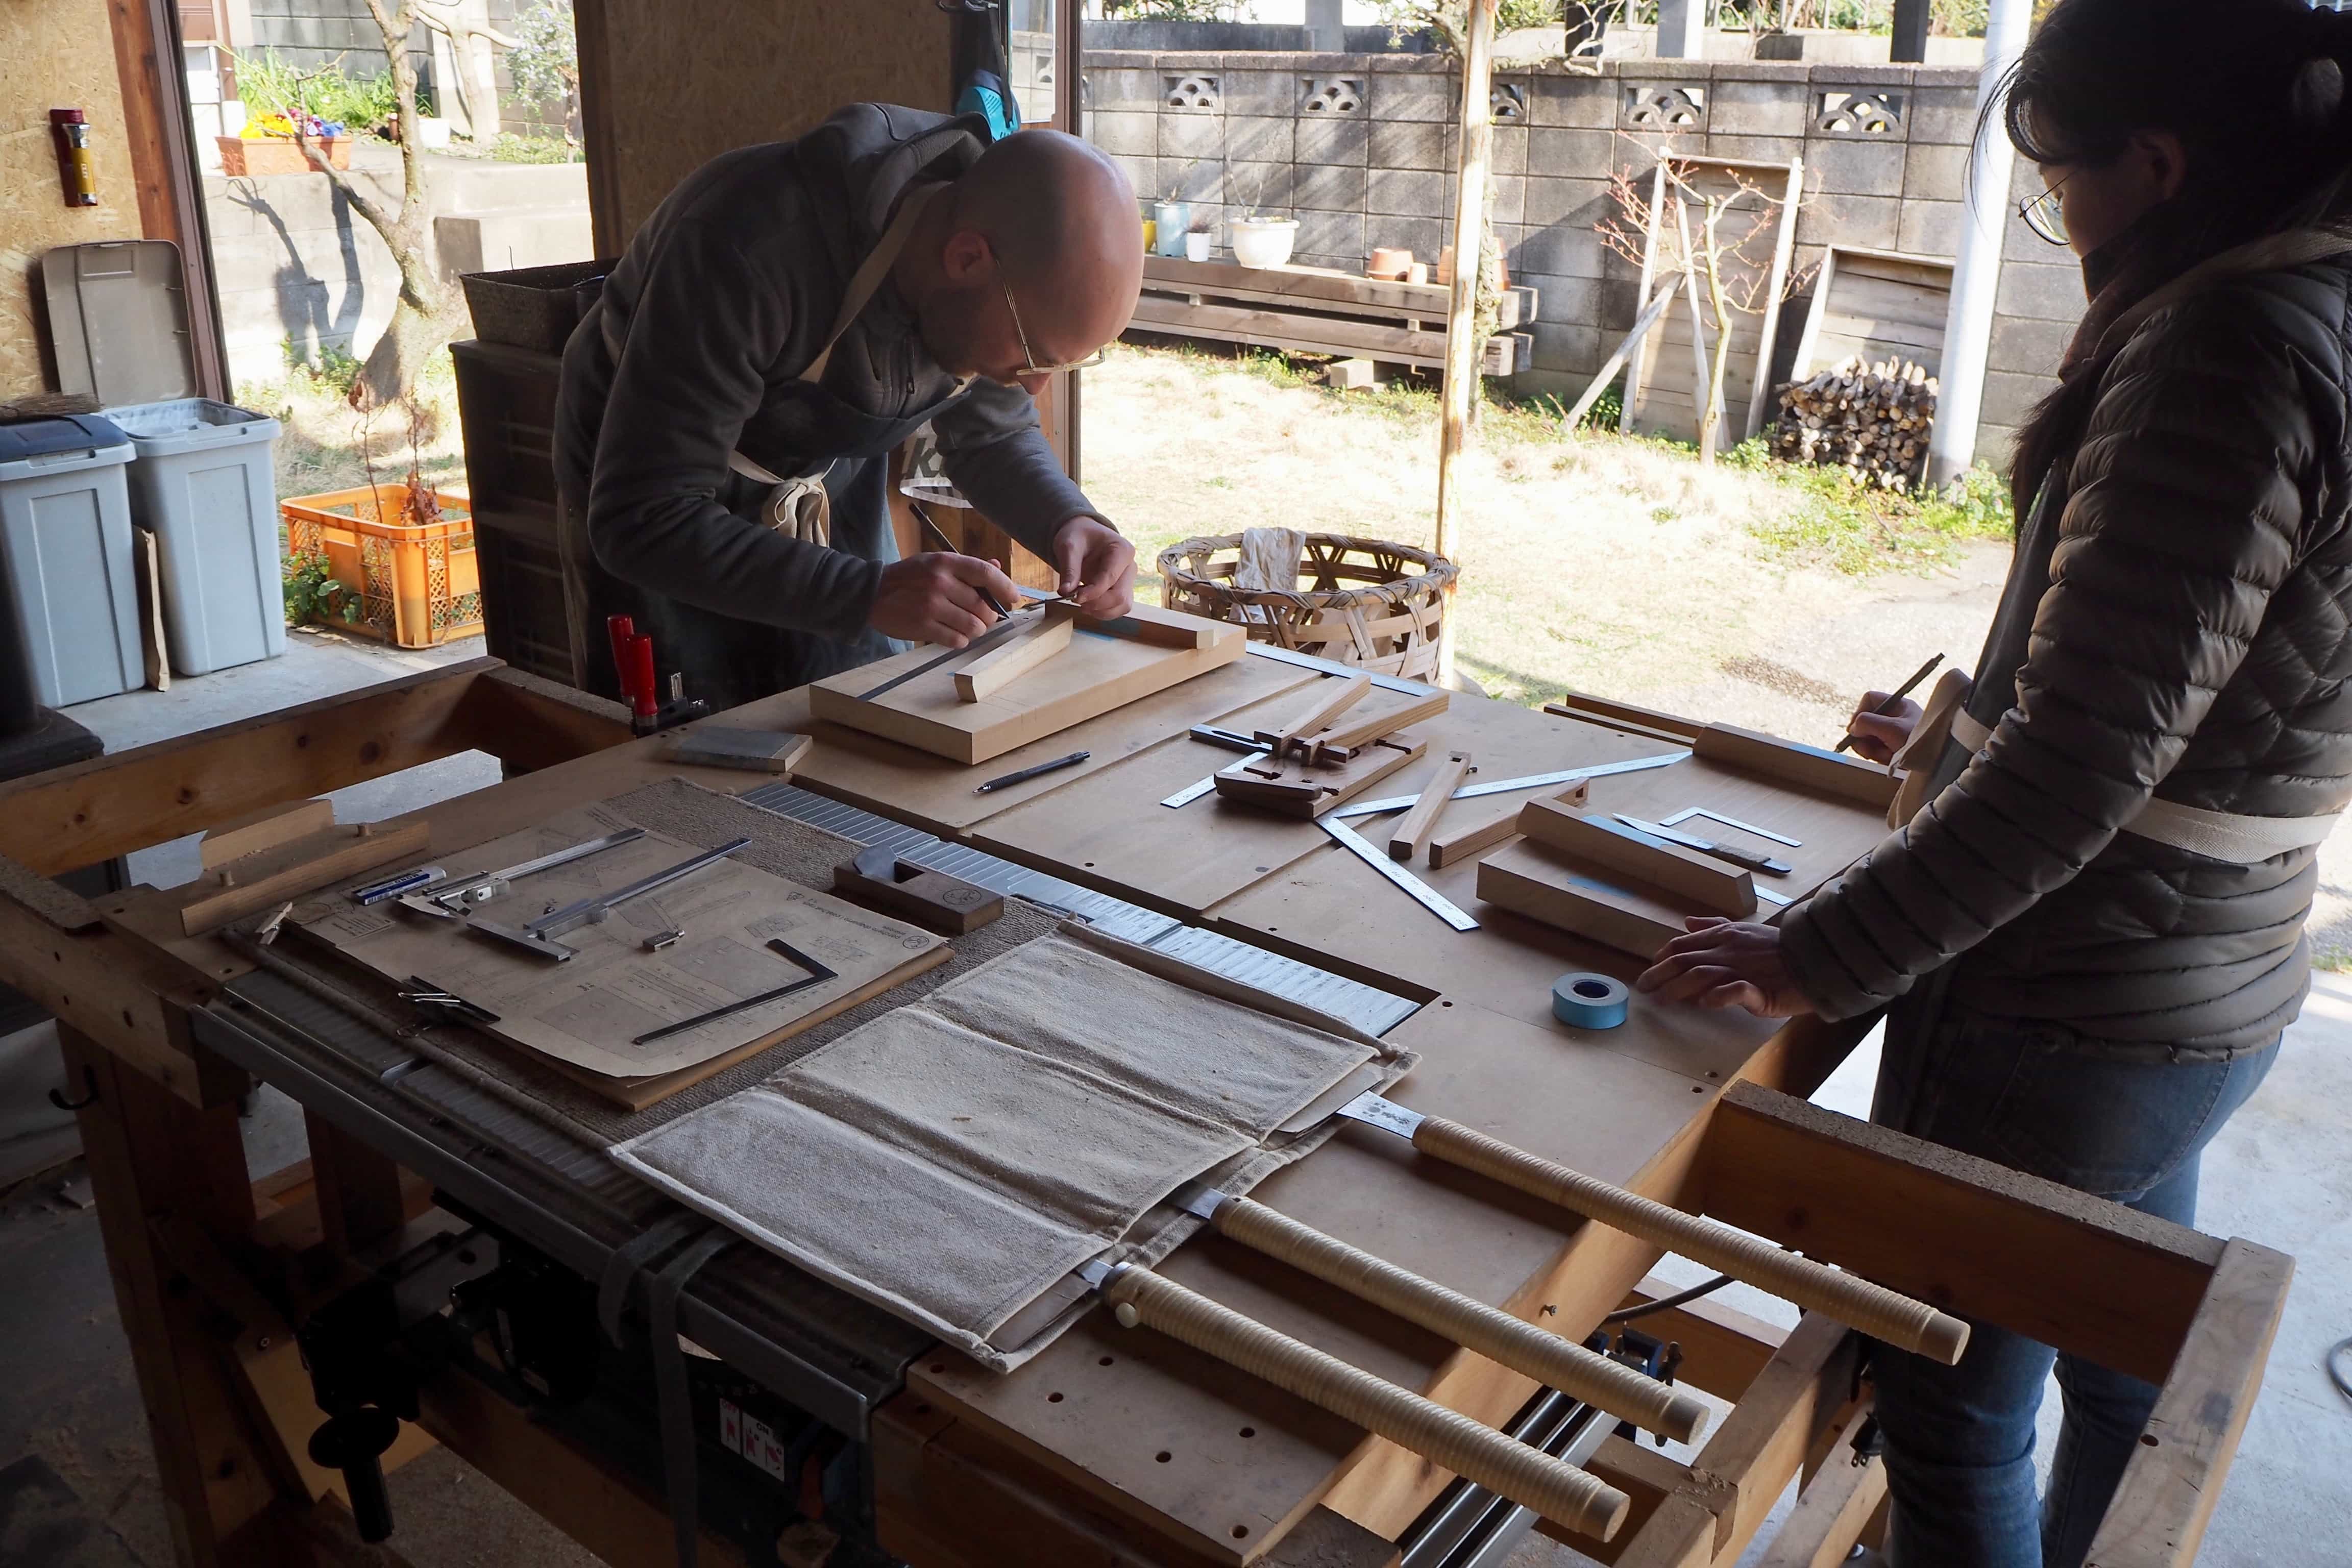
Earlier in the year, I attended a carpentry class at the home and workshop of Francisco Martínez (Paco), a Mexican-born architect who moved to Japan a few years ago and has turned his passion for carpentry into a business.
Patio.workshop is based in a quiet corner of Saitama, two hours north of Tokyo. Paco and his family renovated the house and converted the garage into a carpentry workshop, complete with a wood-burning stove for the cold winters and brewing a nice cup of tea!
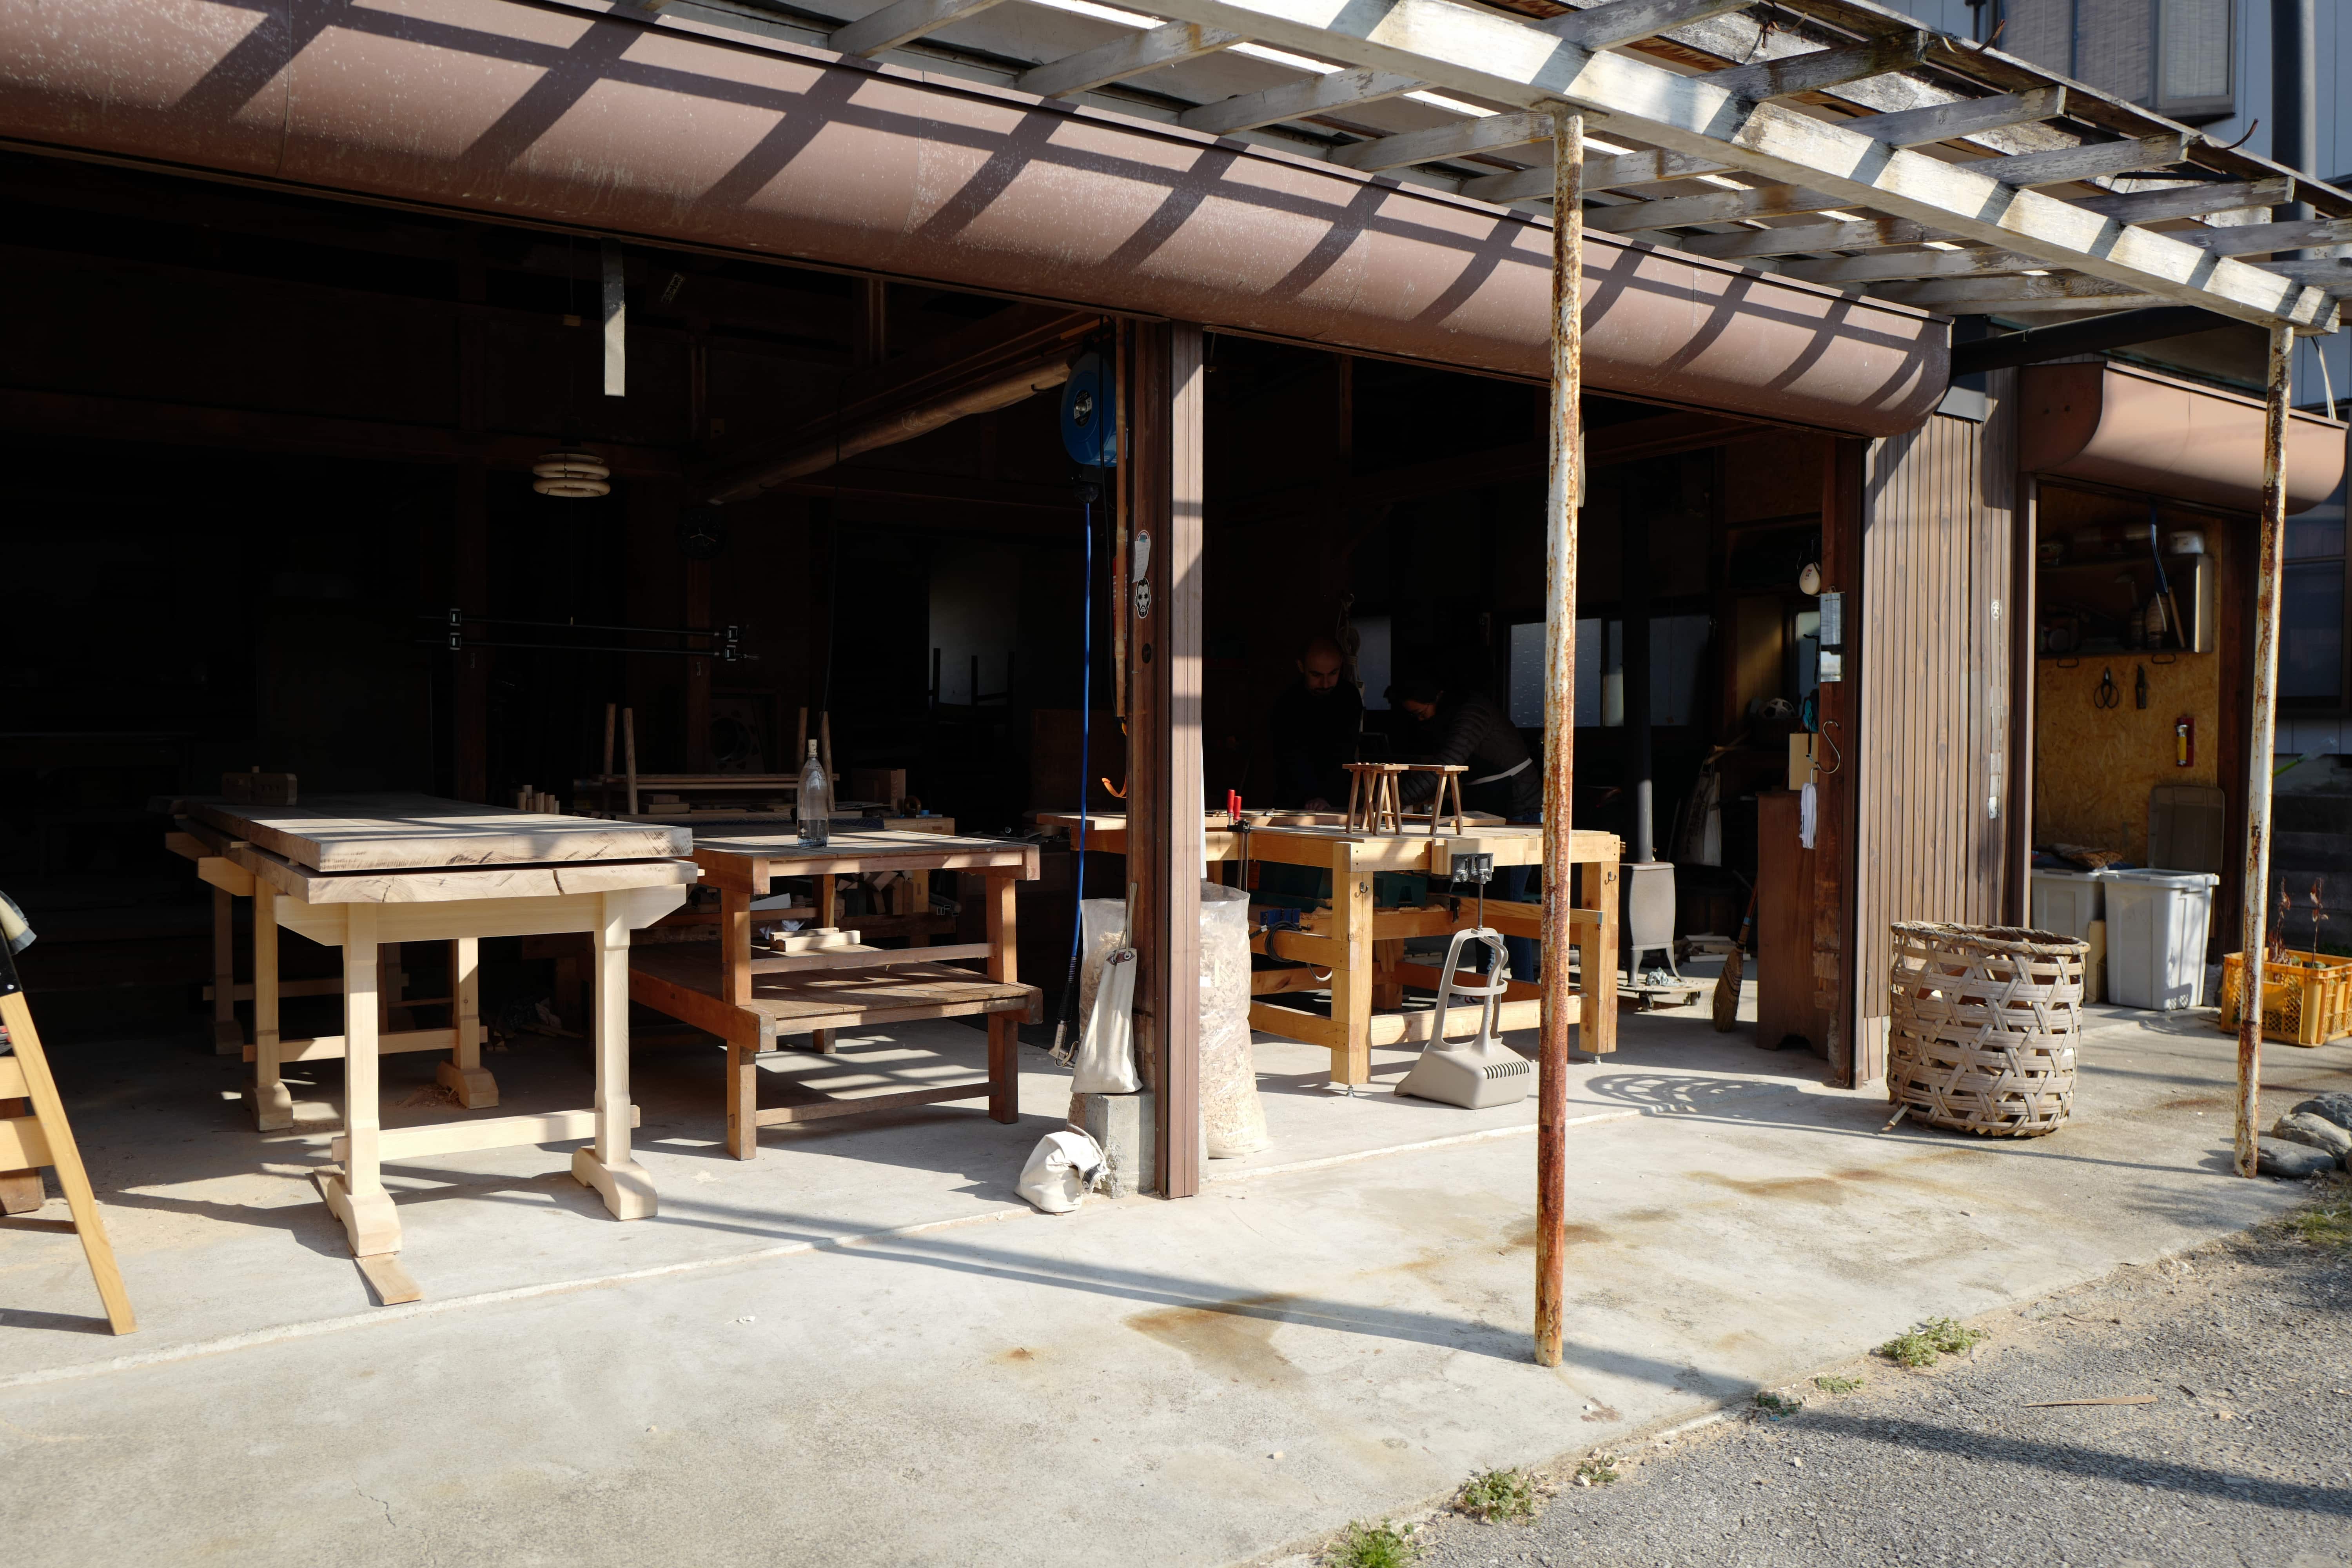
The property faces onto open paddy fields and we were lucky enough to stay with them overnight in their Airbnb room on both occasions that we visited.
The plan
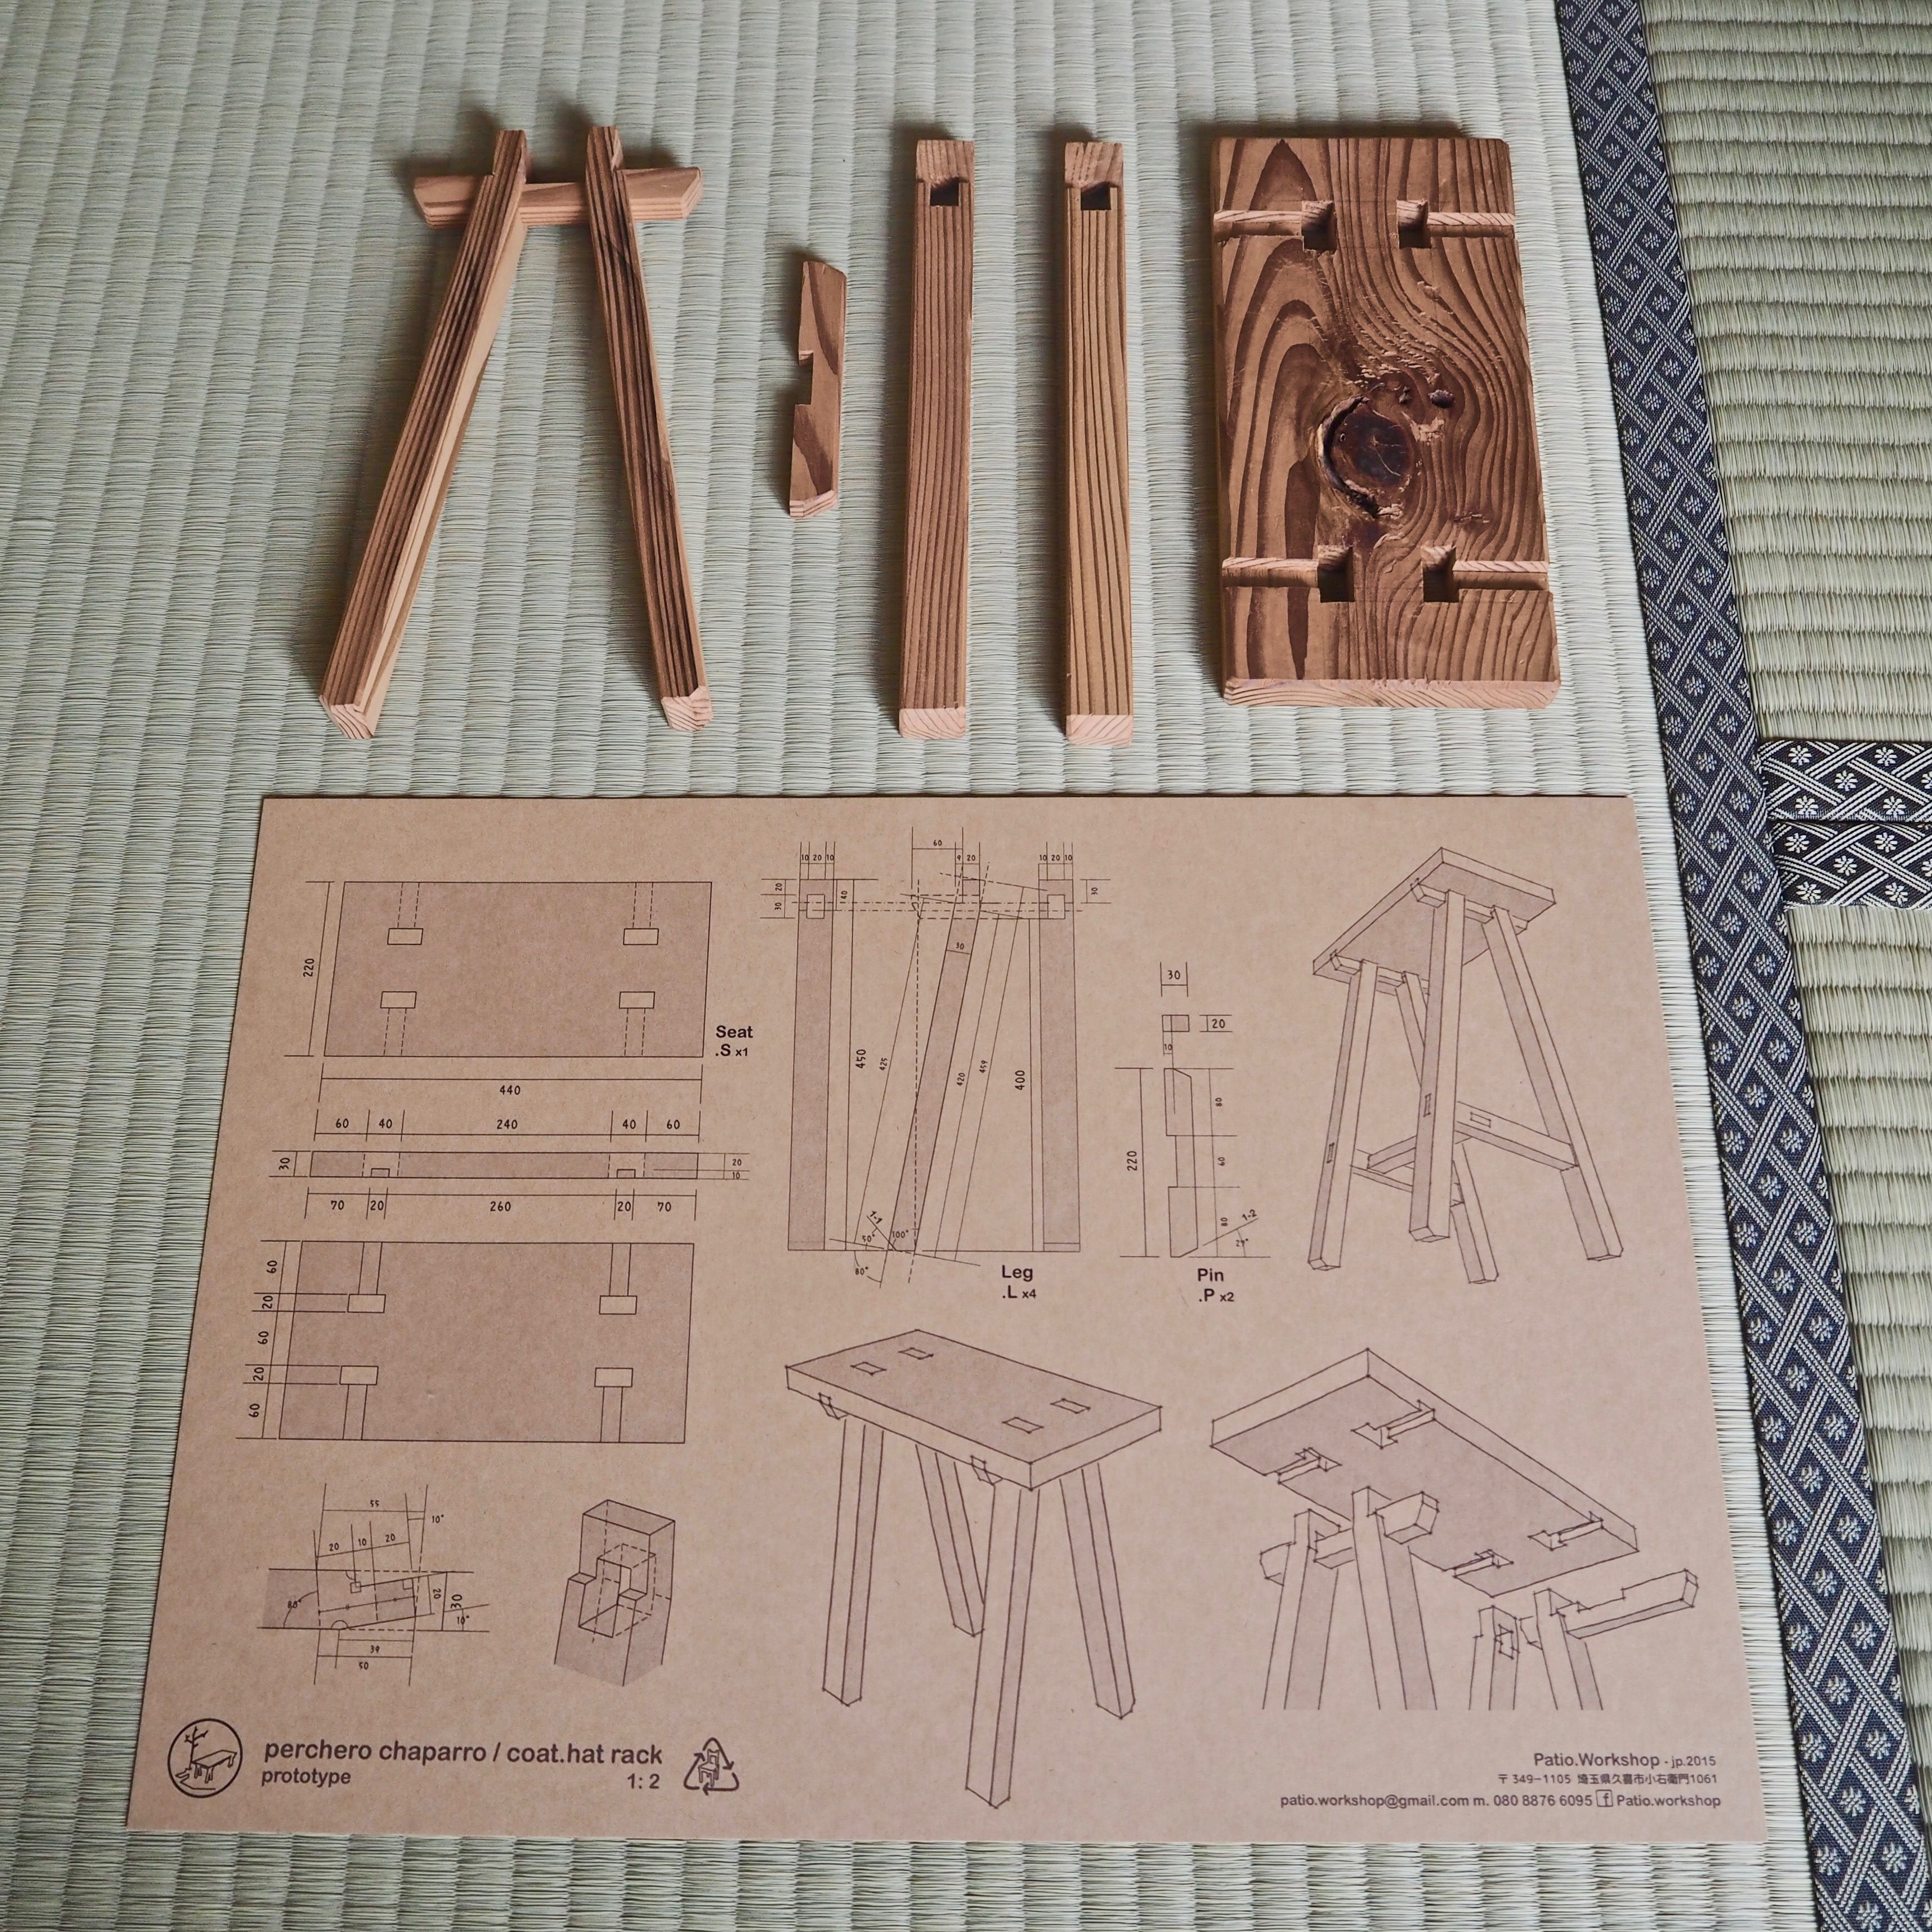
The plan was to build two “Taburete” stools, designed by Paco, which are freestanding without needing any nails or glue. During the process, we learnt how to use a bunch of traditional hand tools as well as some machines to speed up the process.
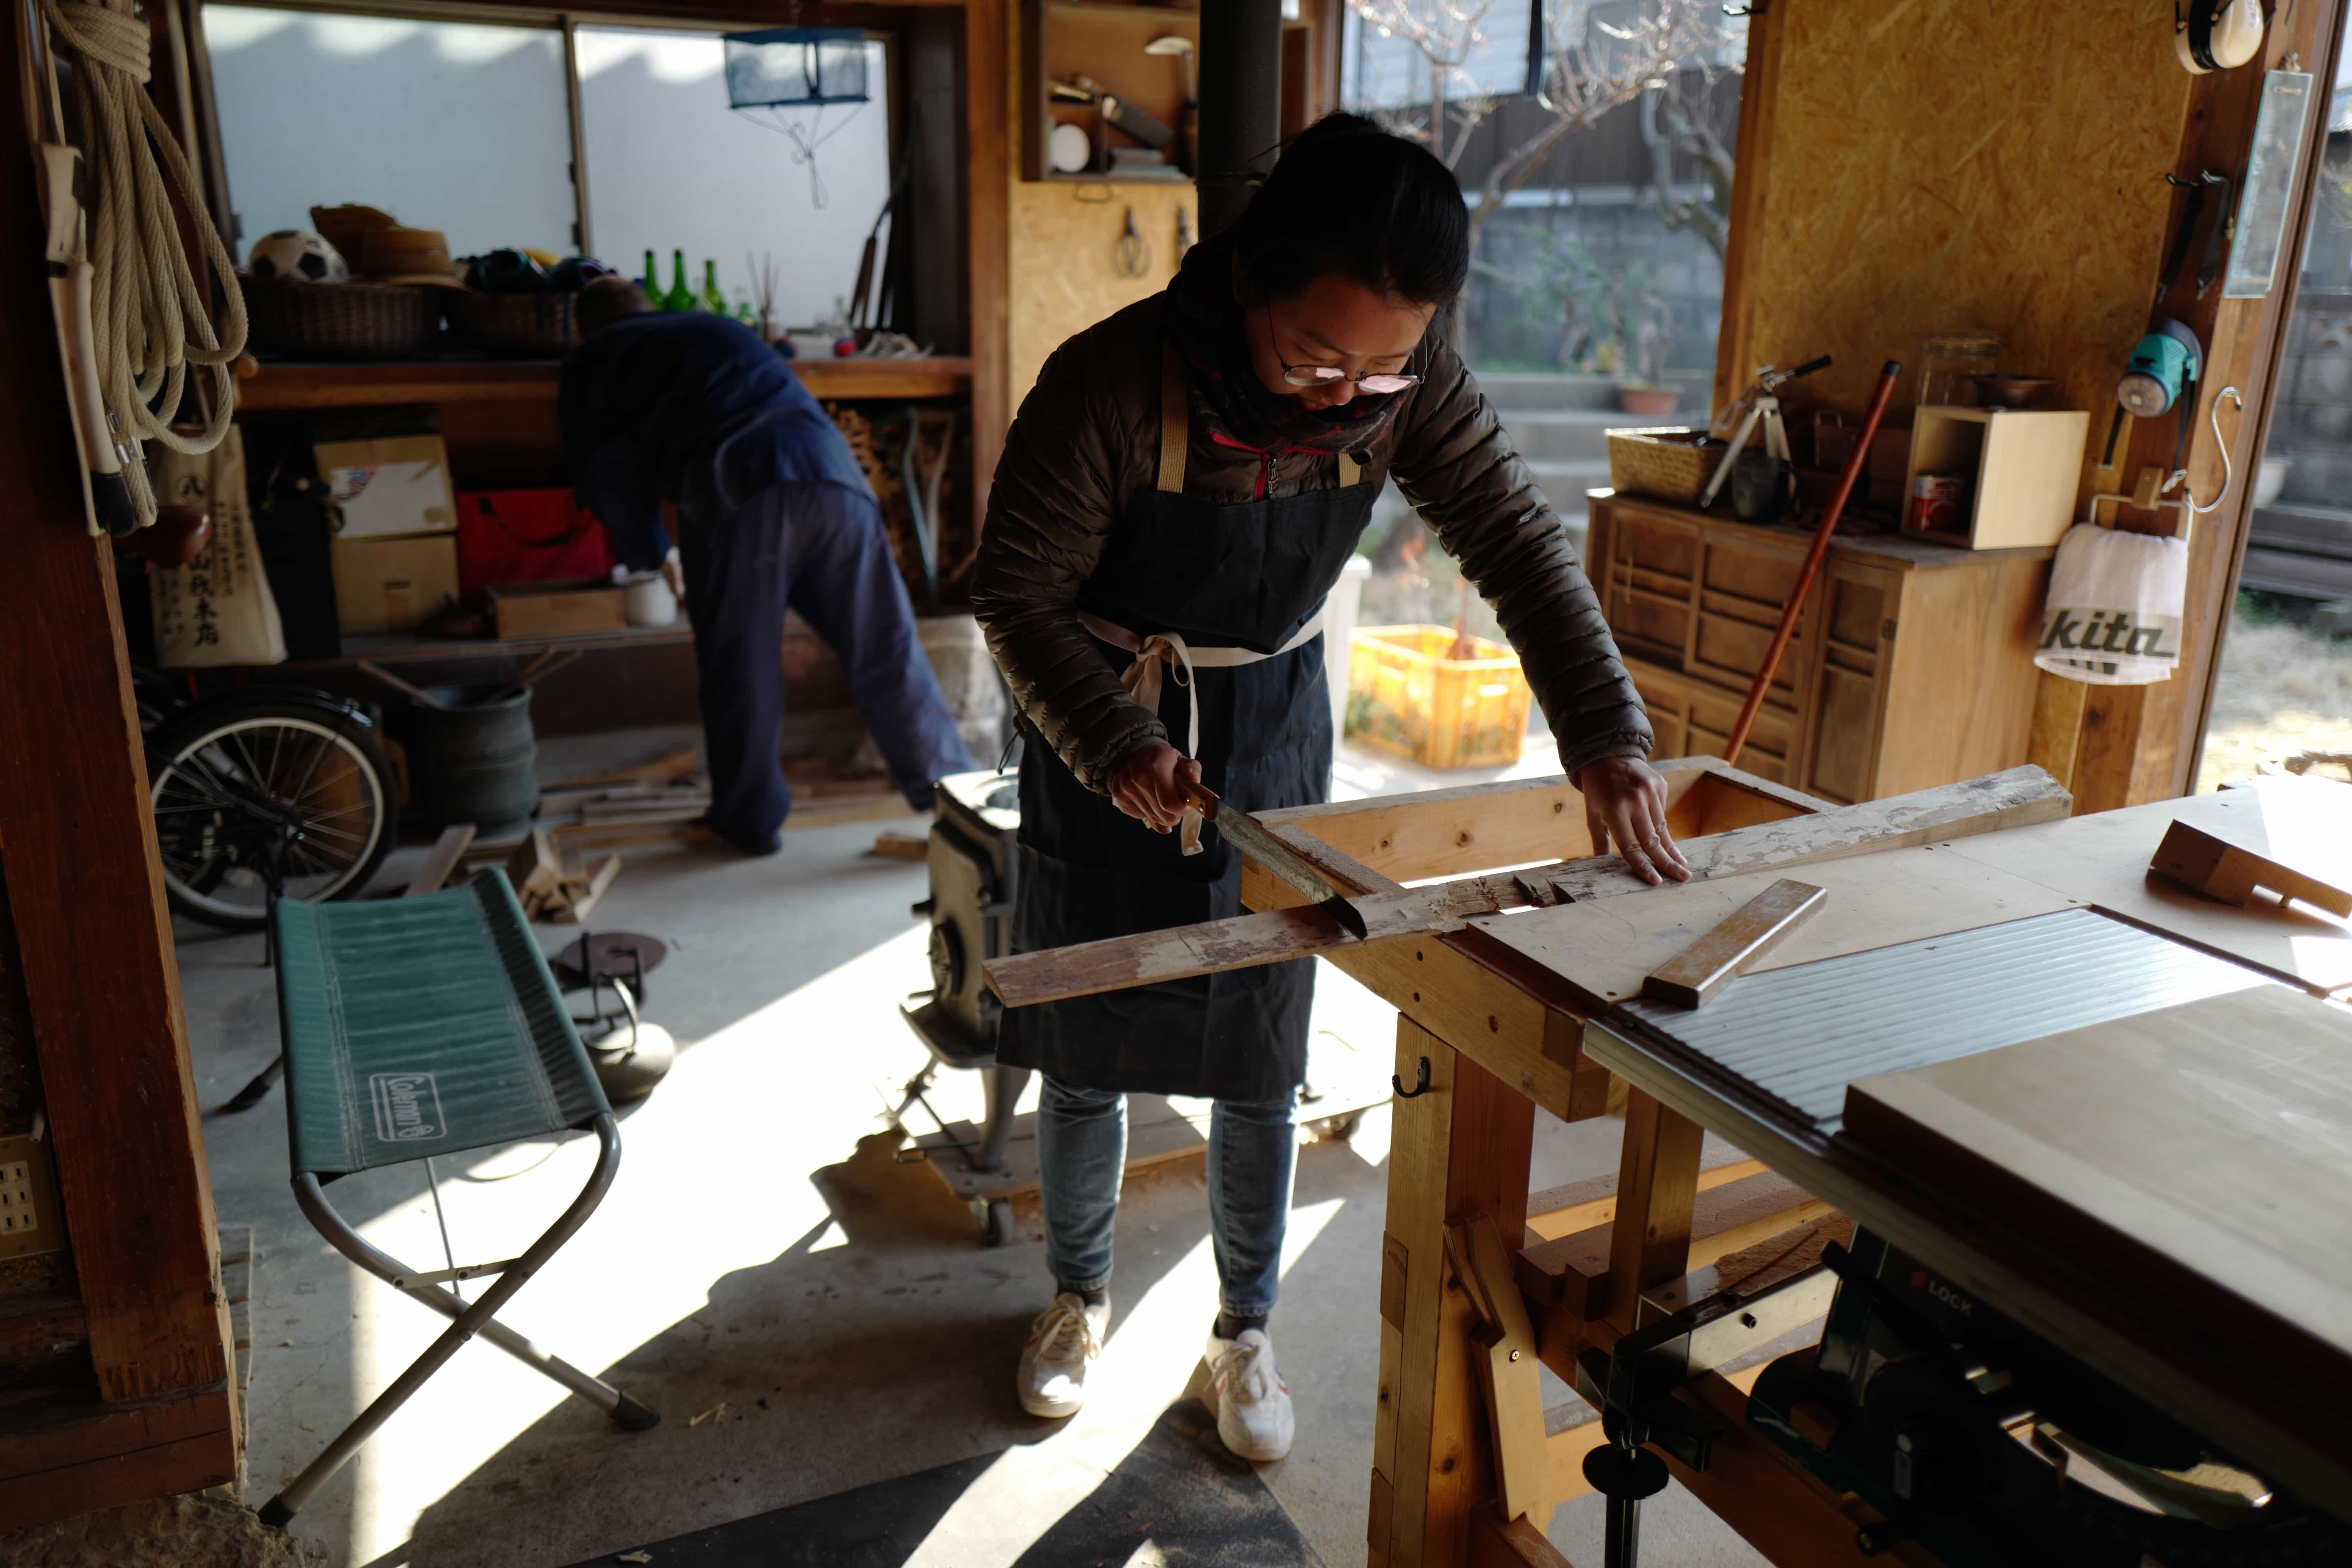
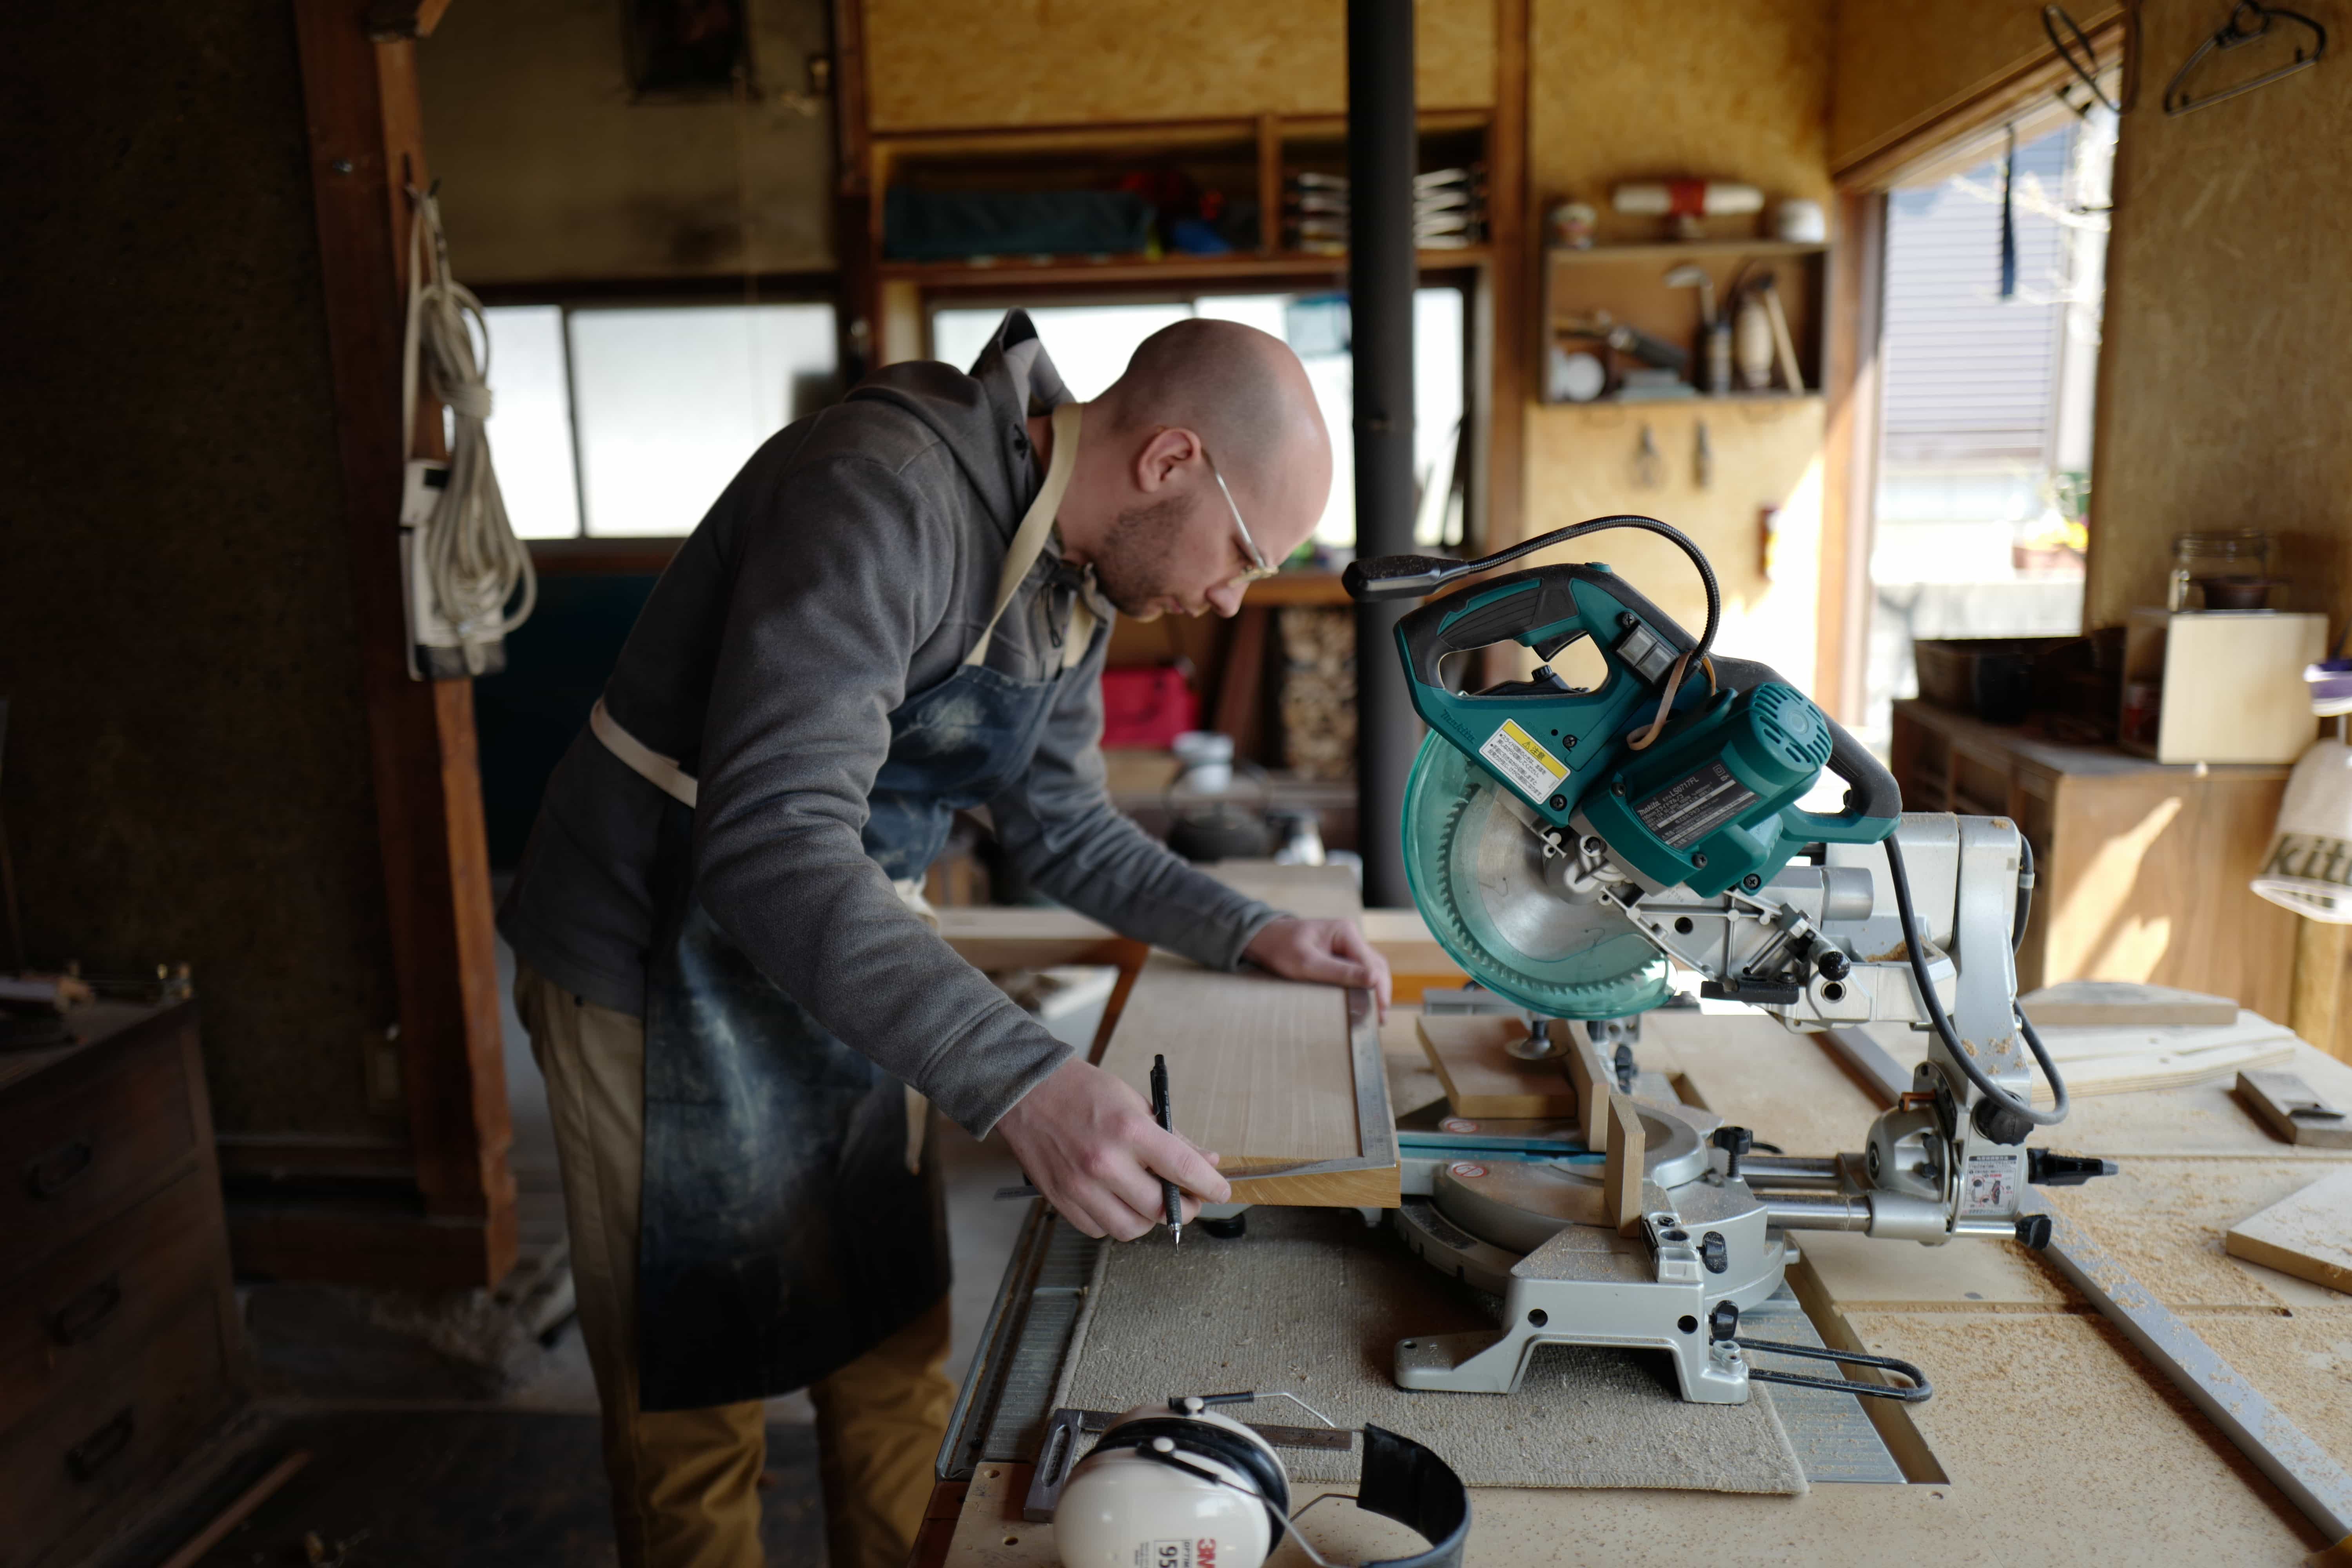
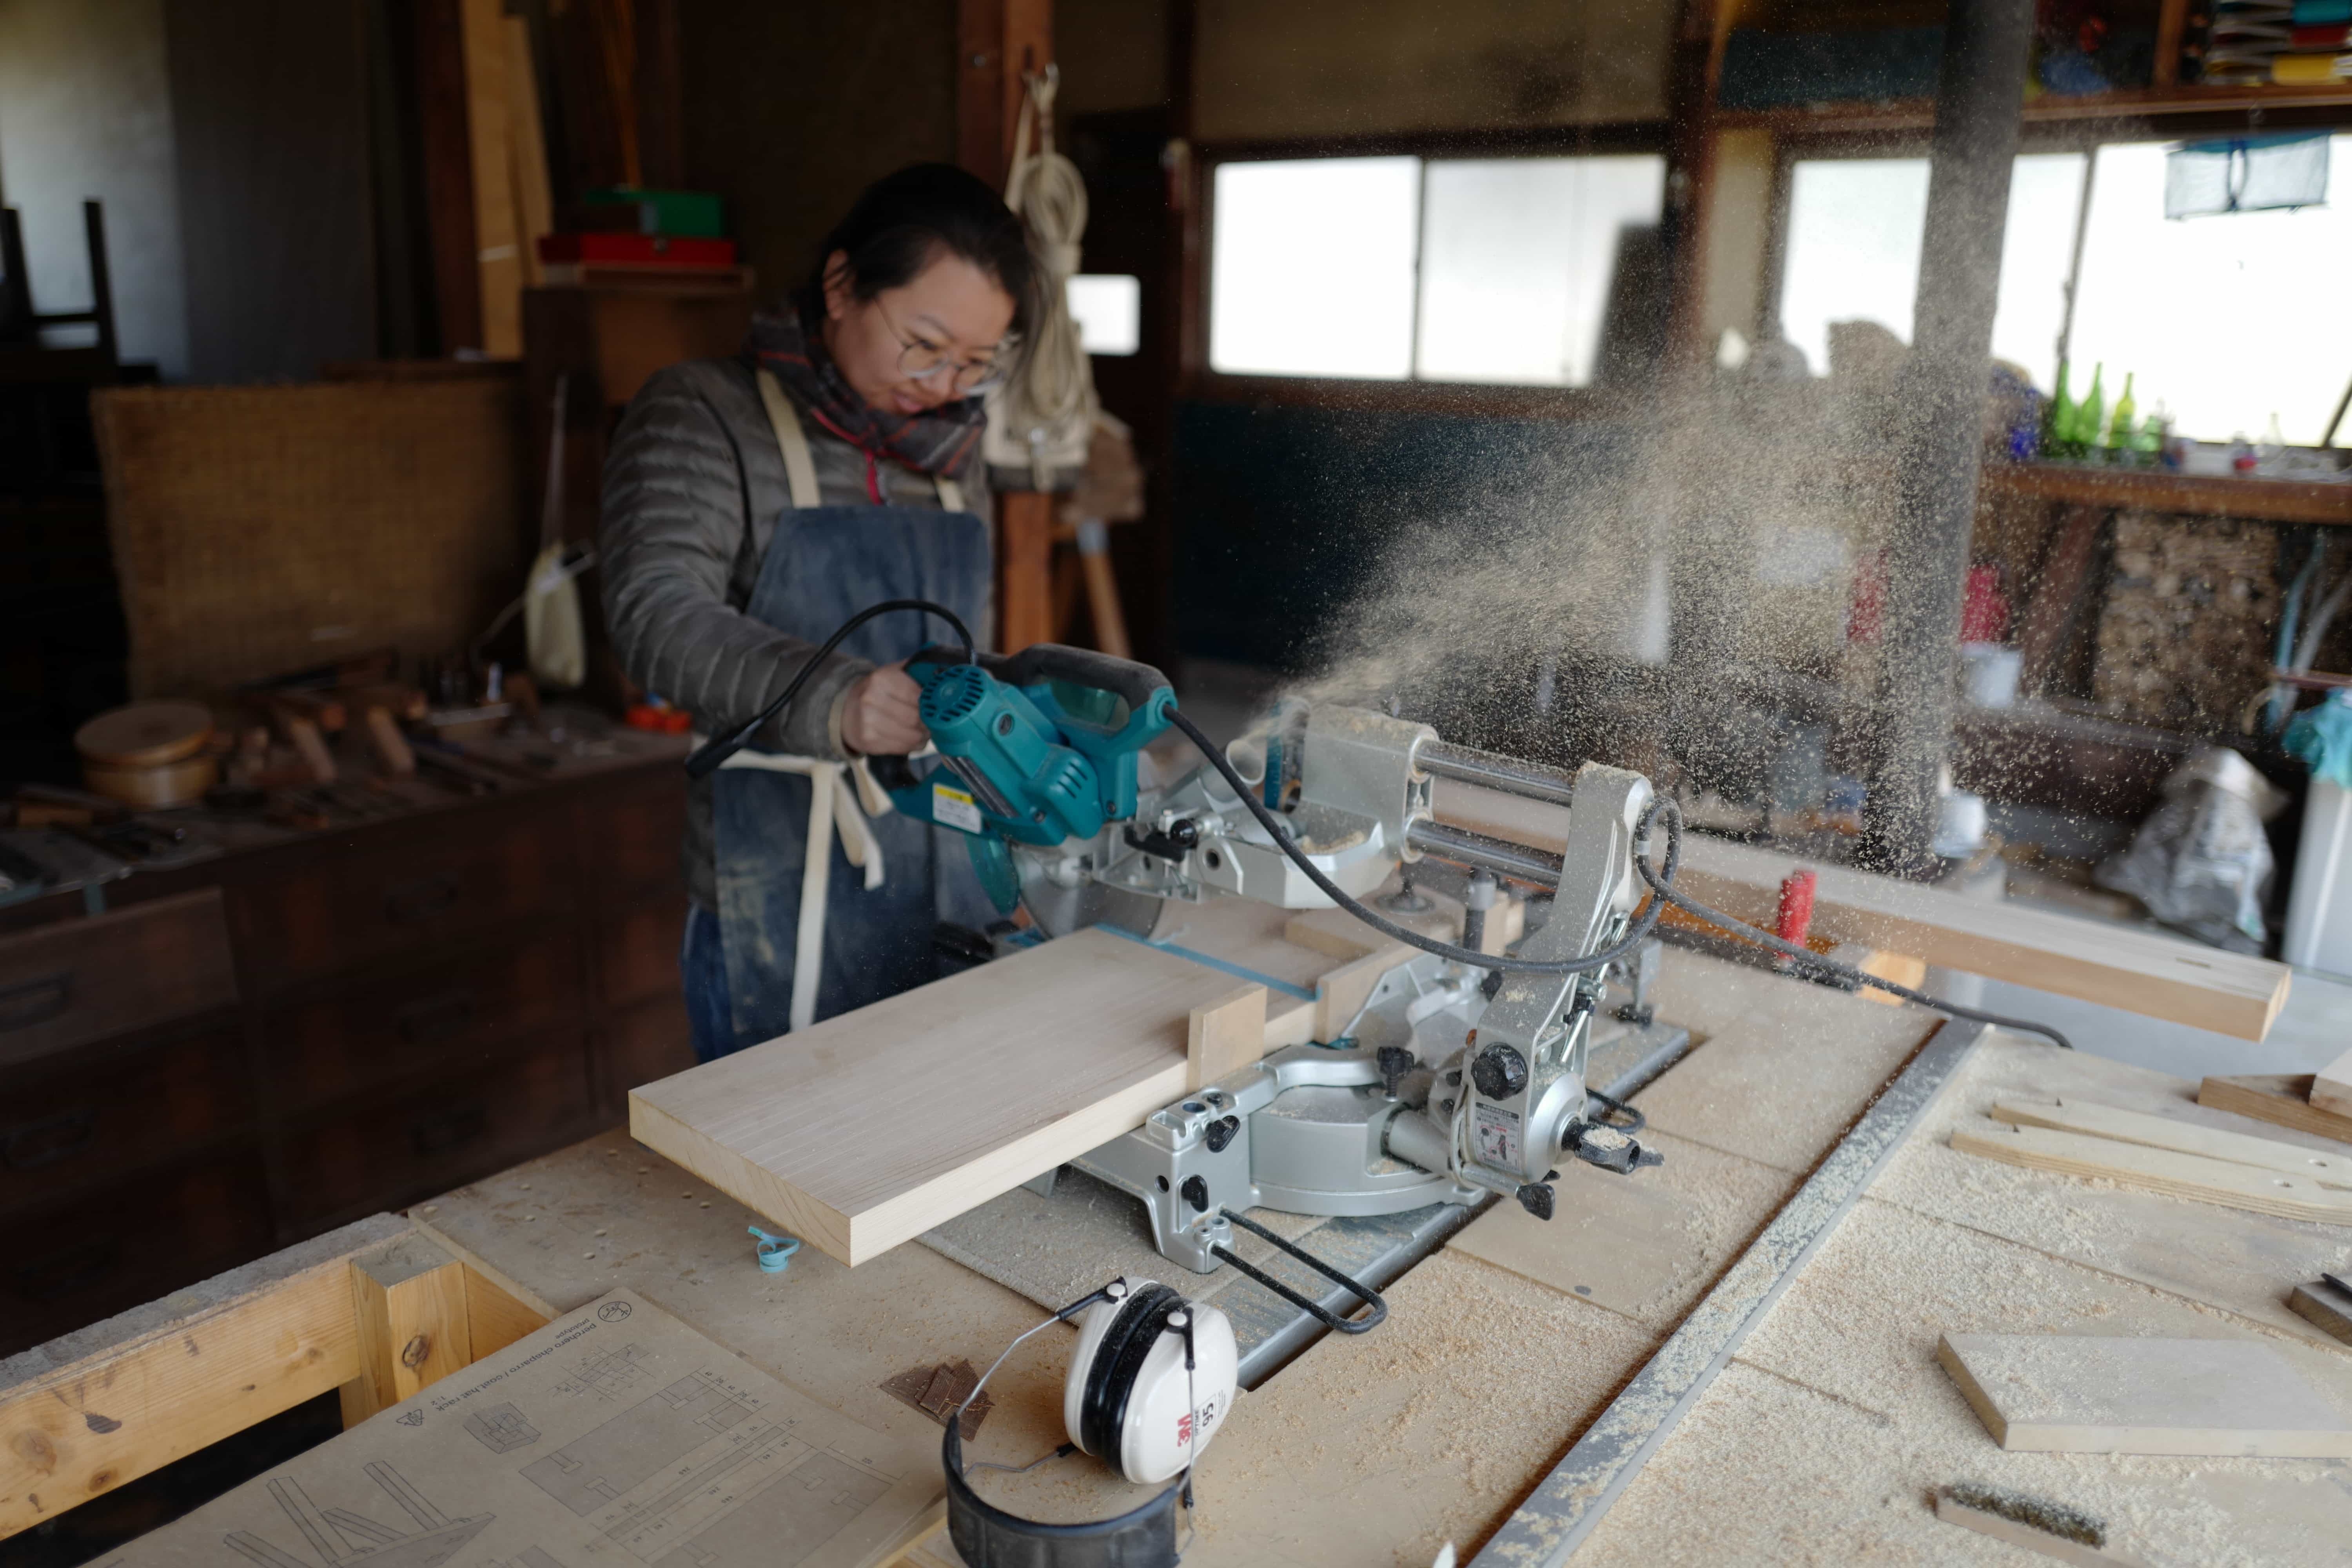
Cutting the wood to size
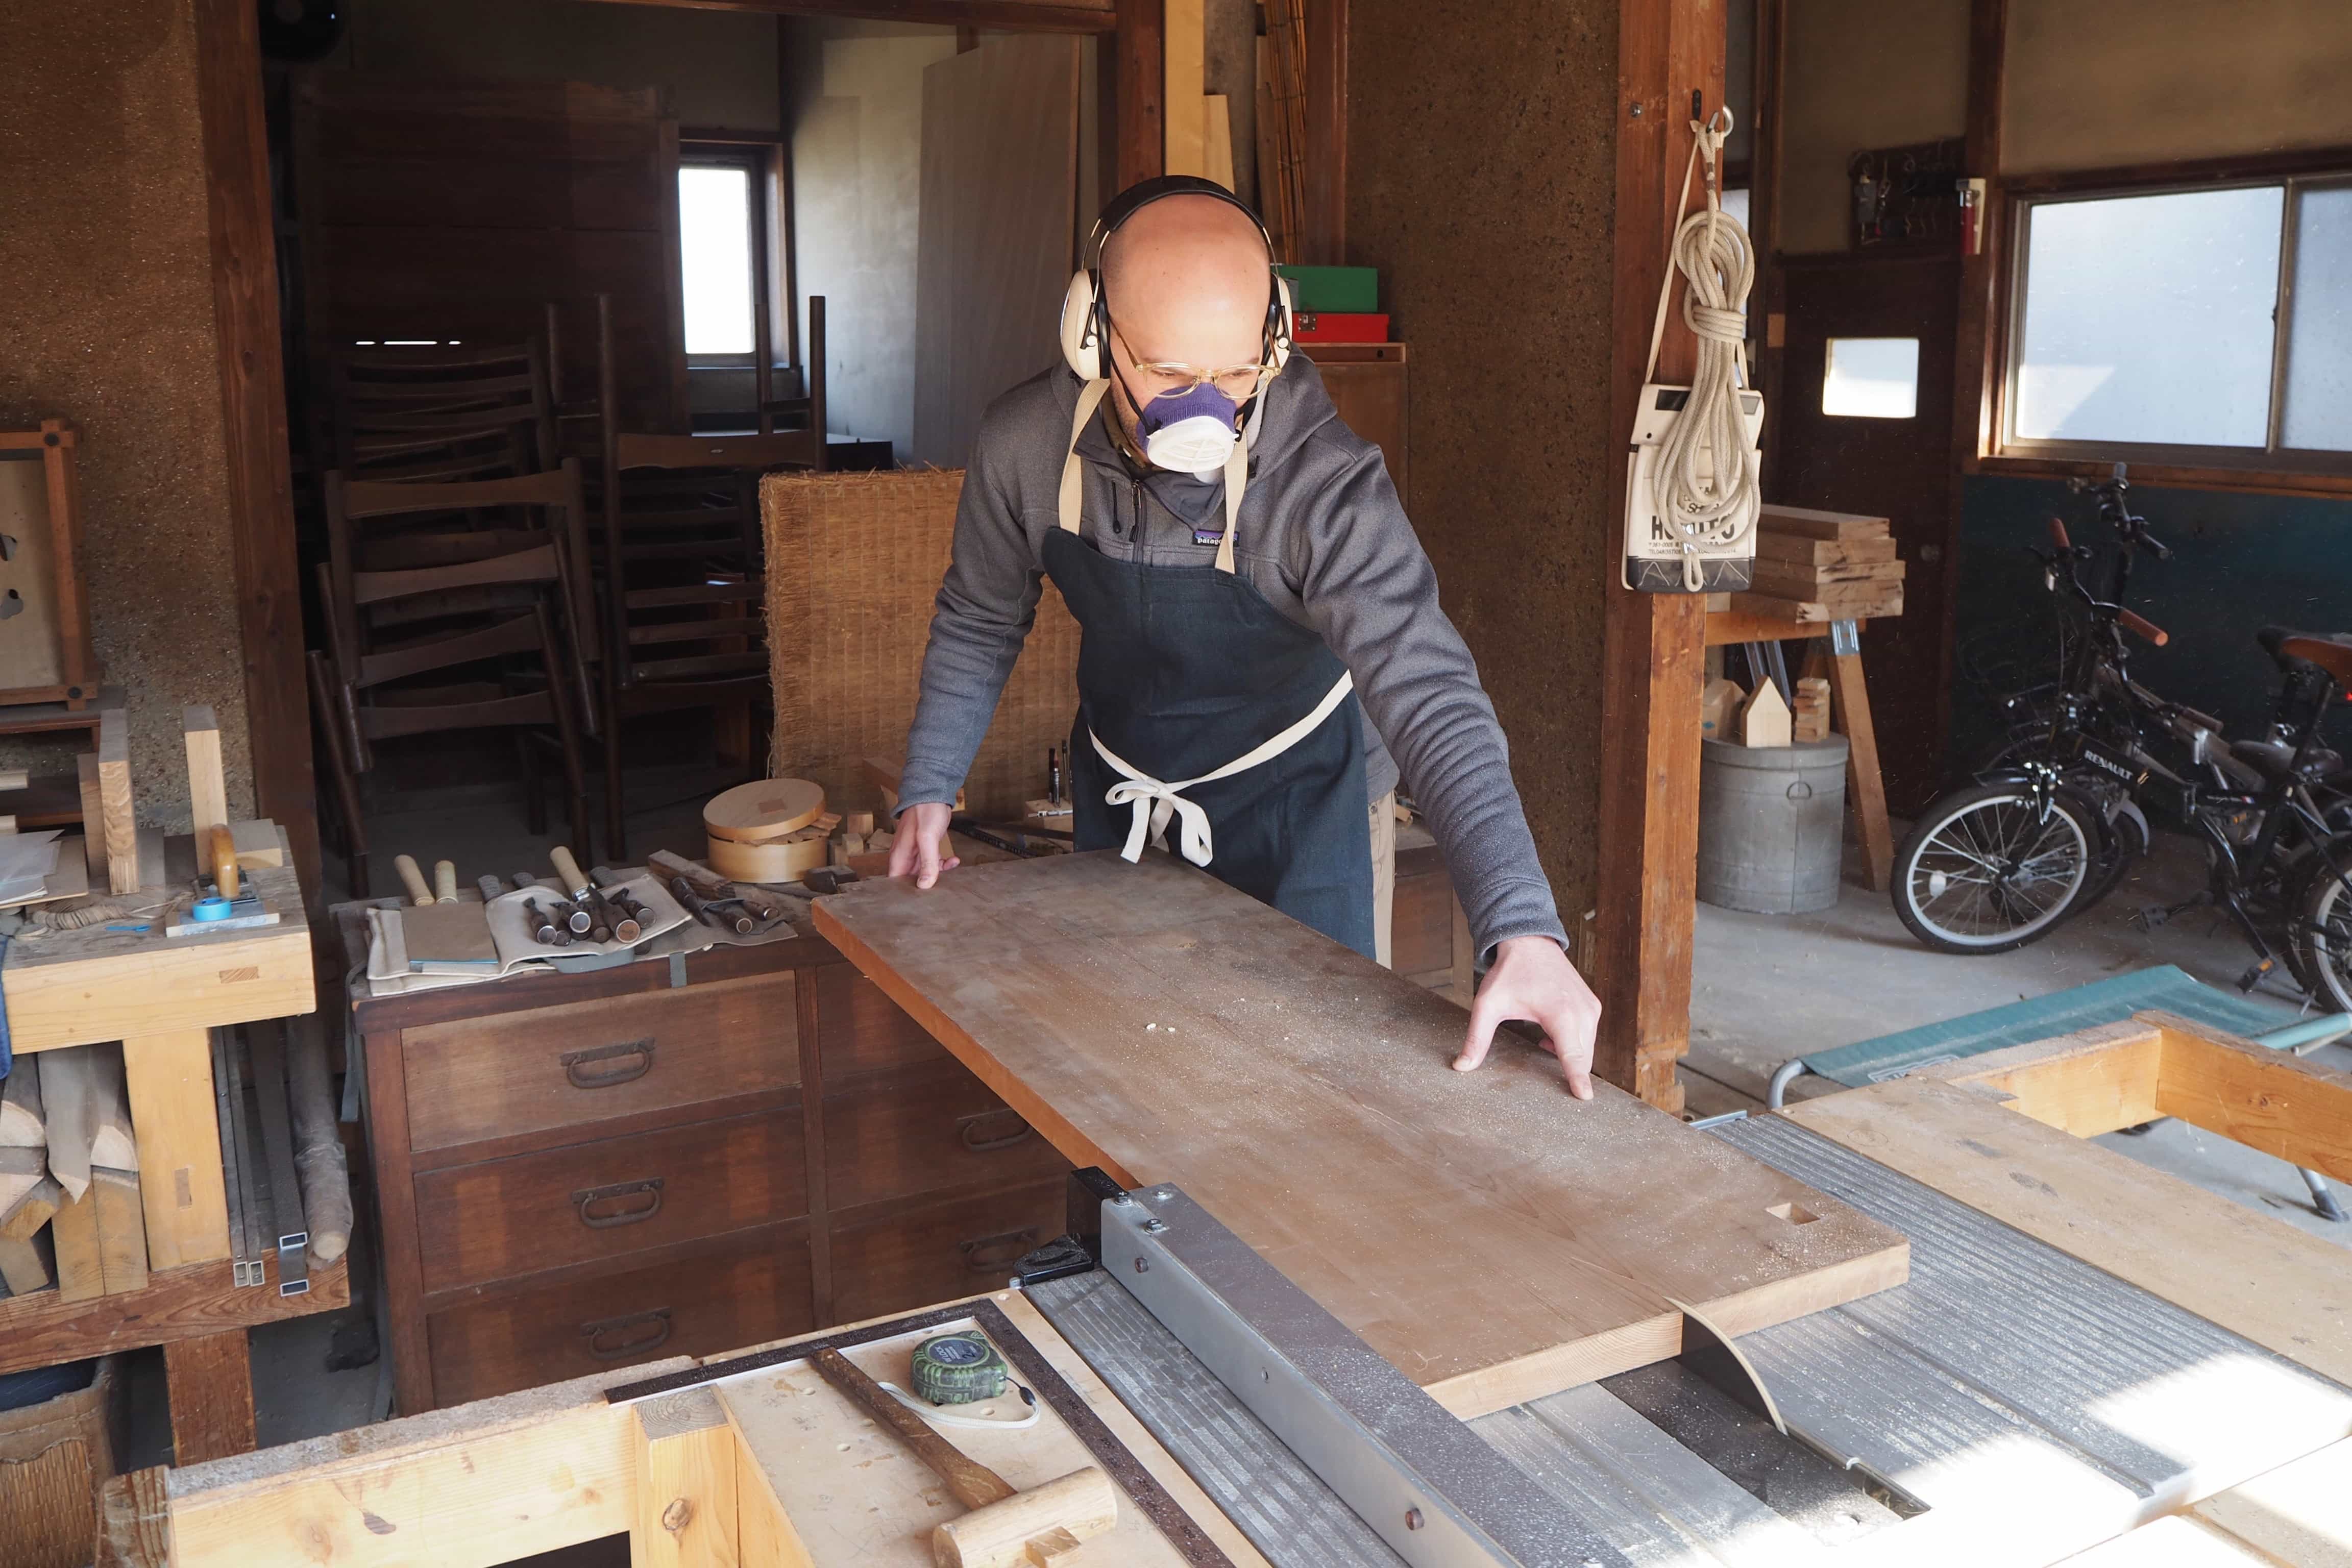
The wood we used was reclaimed Japanese cedar which we cut to approximate size using table and mitre saws. It was particularly nice to be recycling “old” wood rather than contributing to the problem of deforestation.
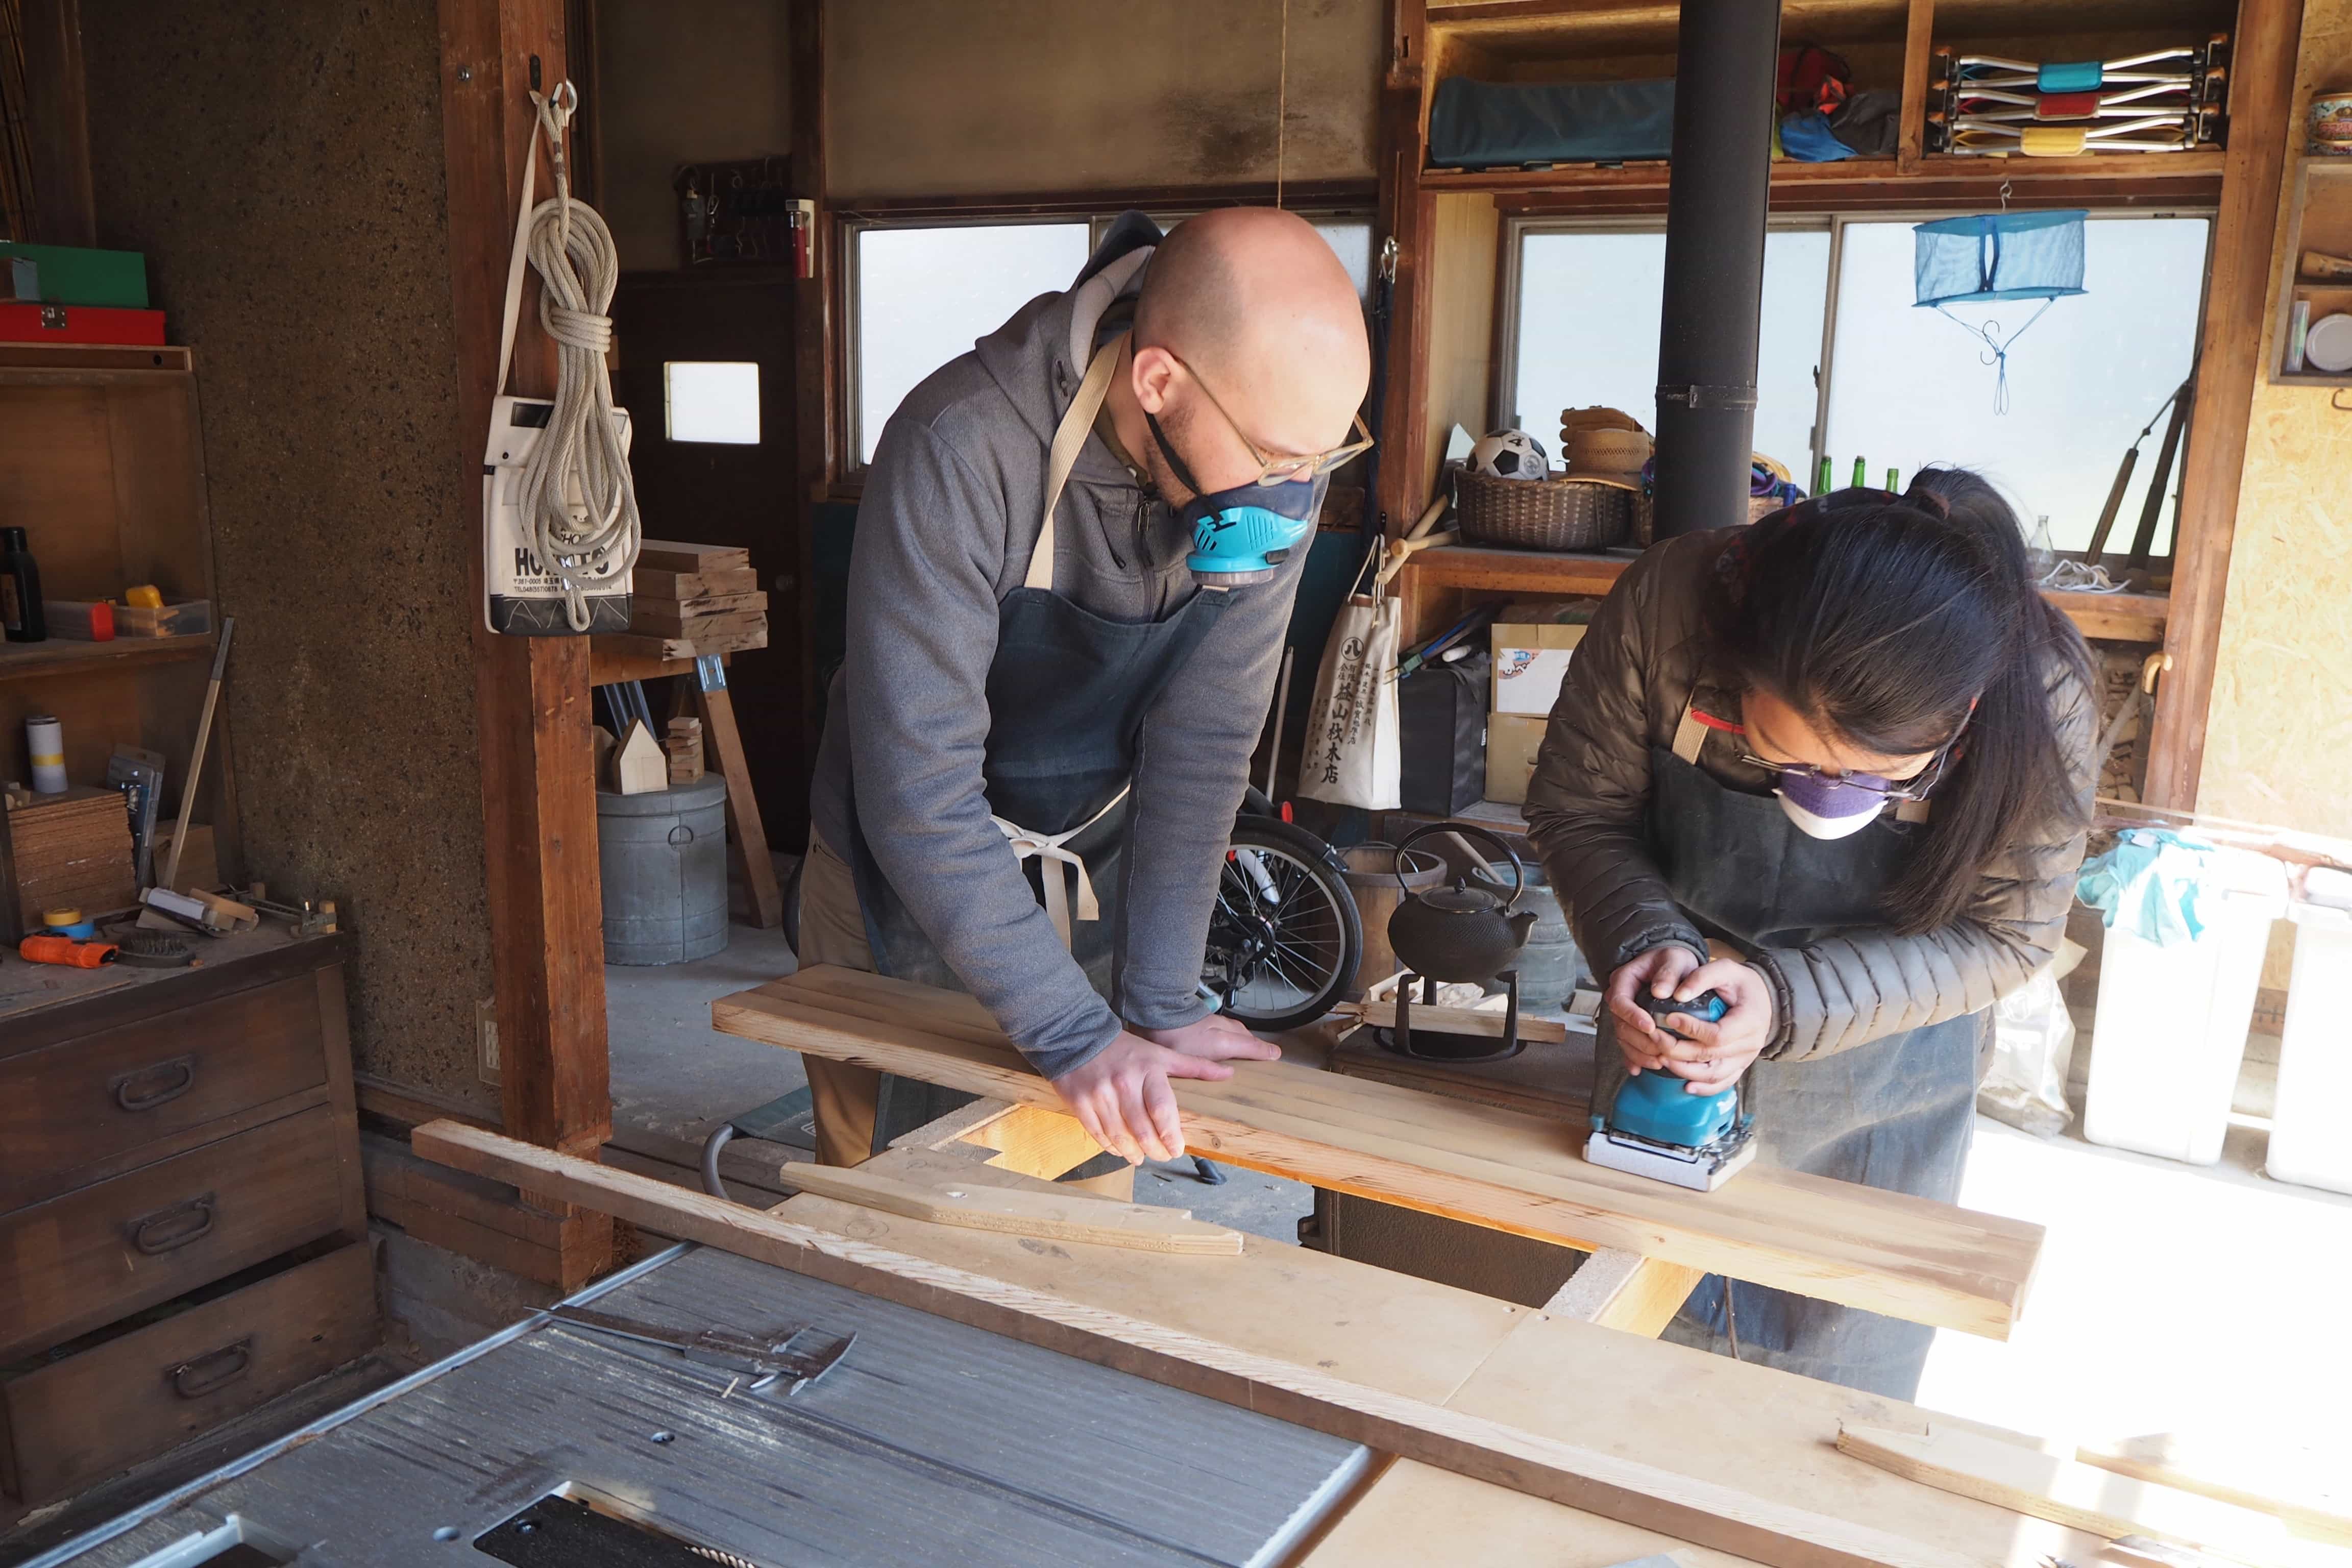
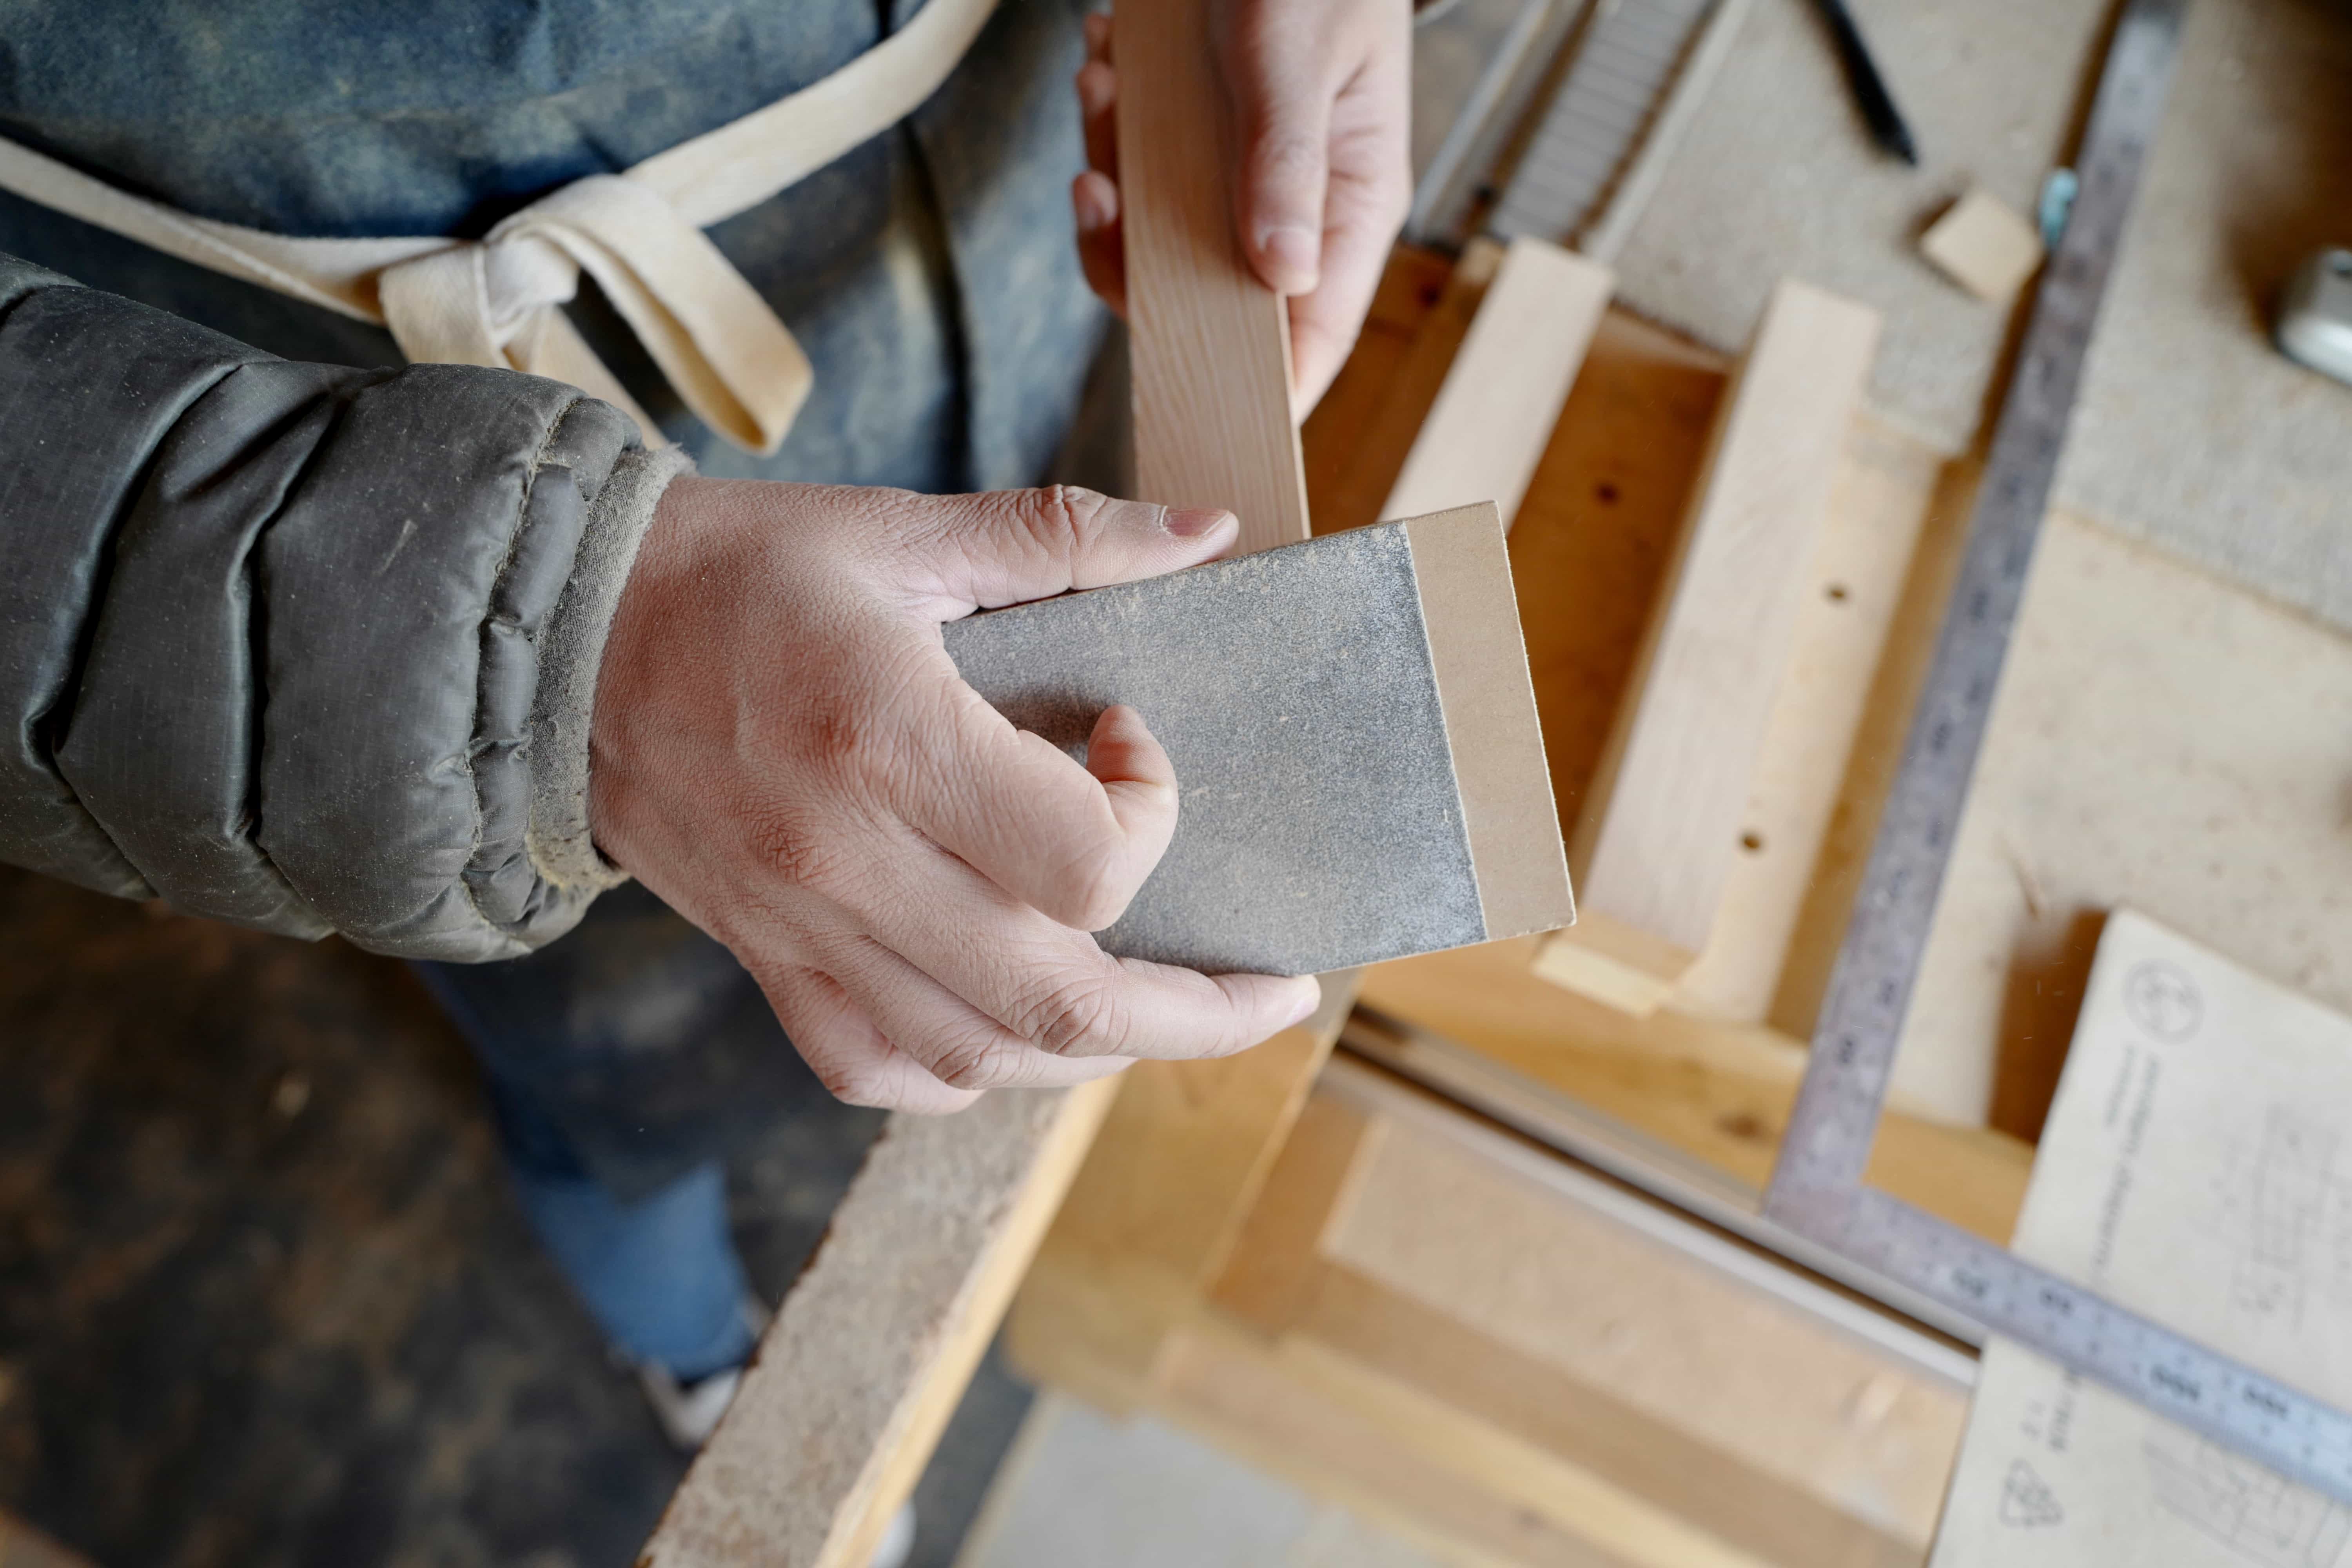
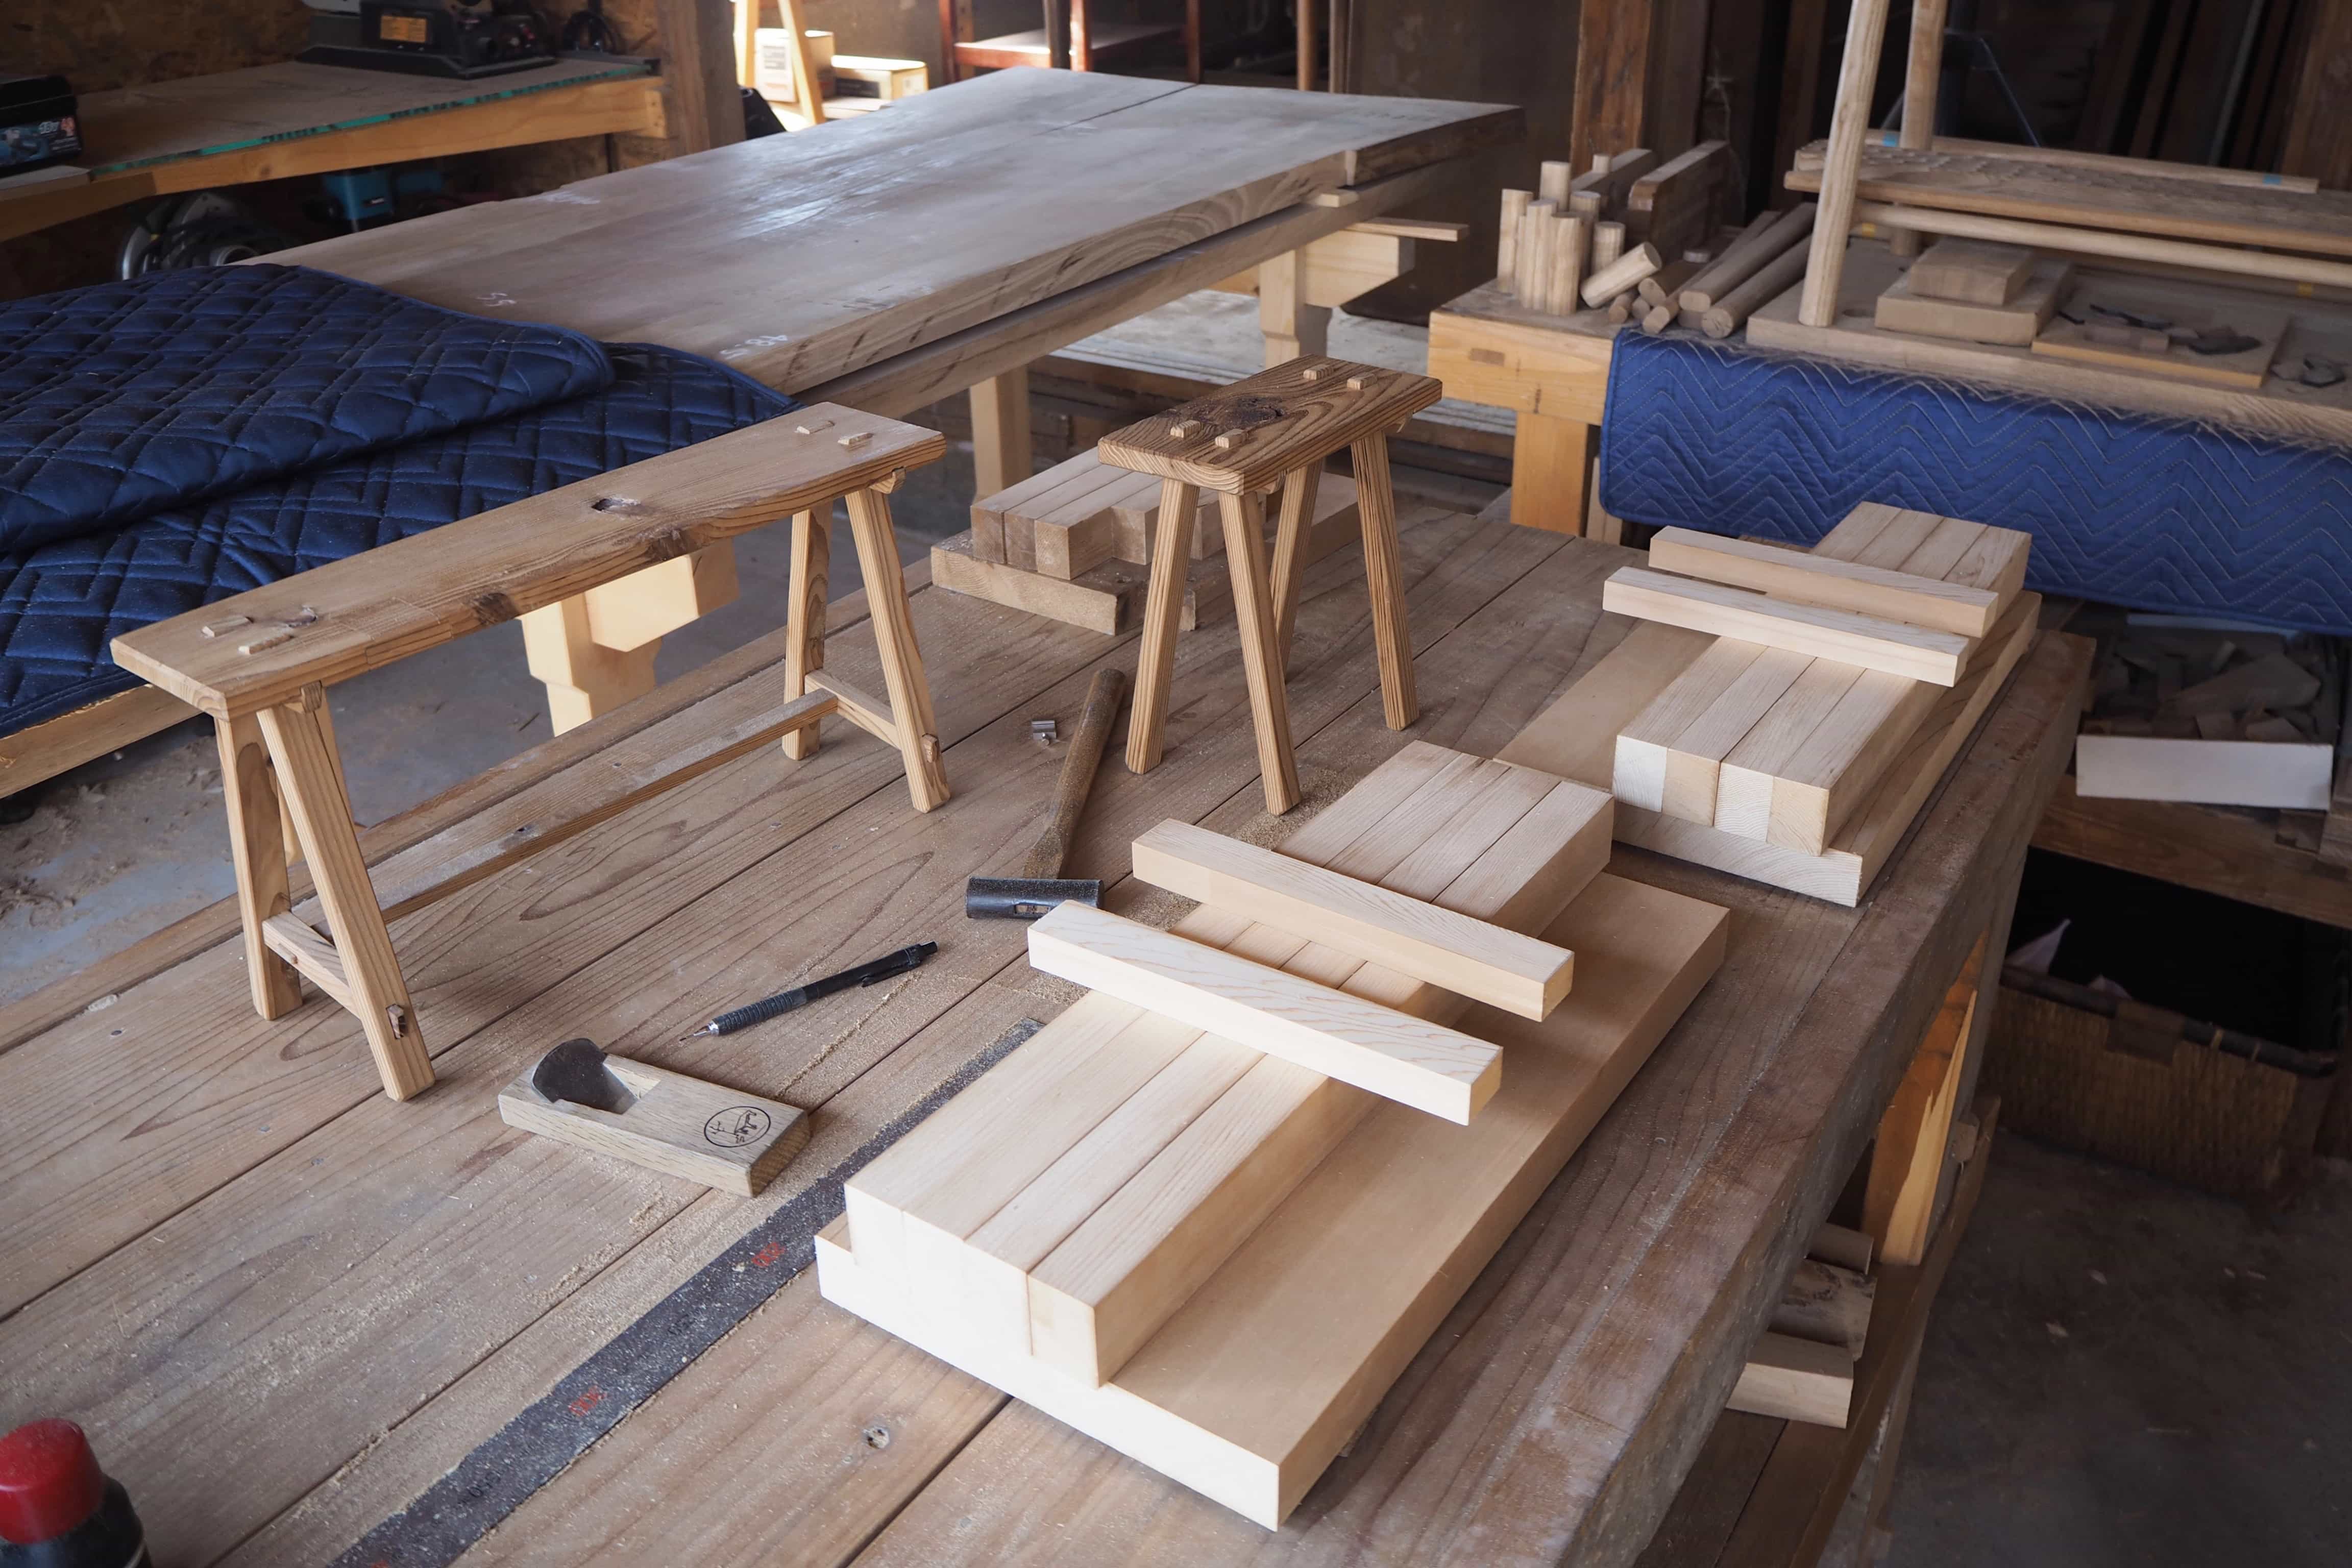
After some vigorous sanding, we were left with a happy pile of evenly sized pieces that would eventually become a seat top, four legs and two pins that lock each pair of legs together.
Chiselling holes in
the seat
The hardest part of the process which took most of the time was chiselling the holes for the locked-pin trench joint (a fancy tenon and mortice joint).
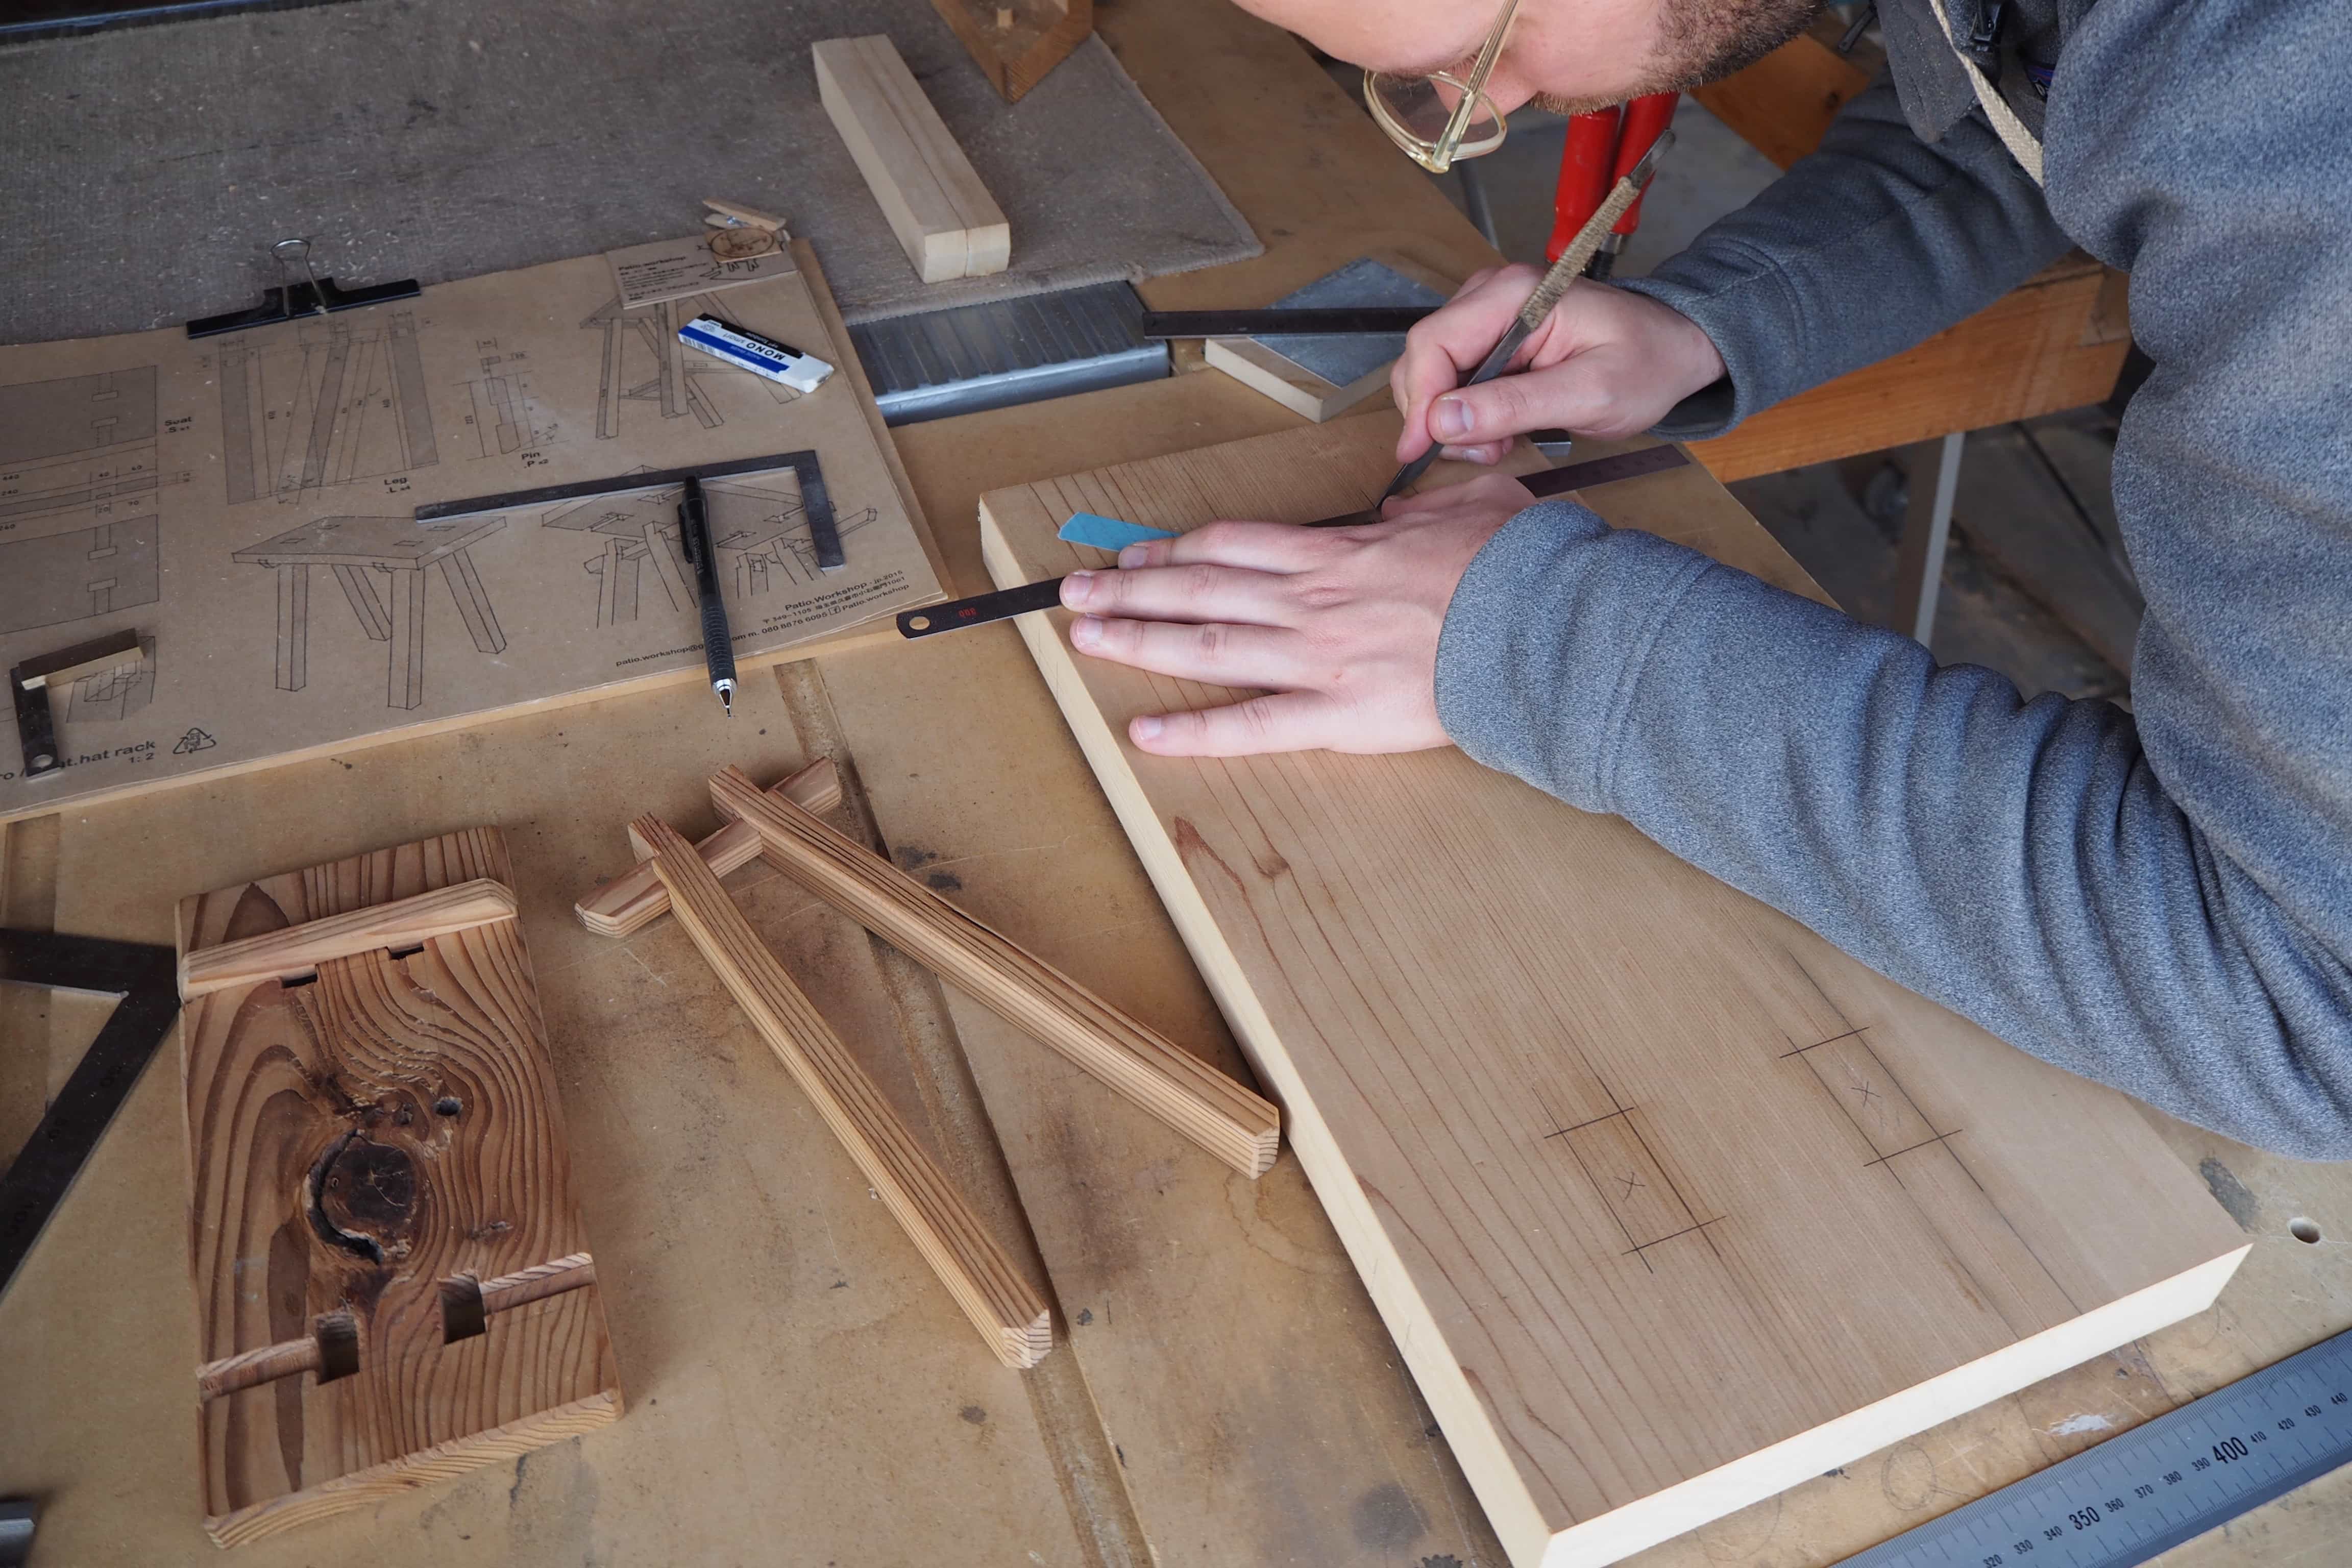
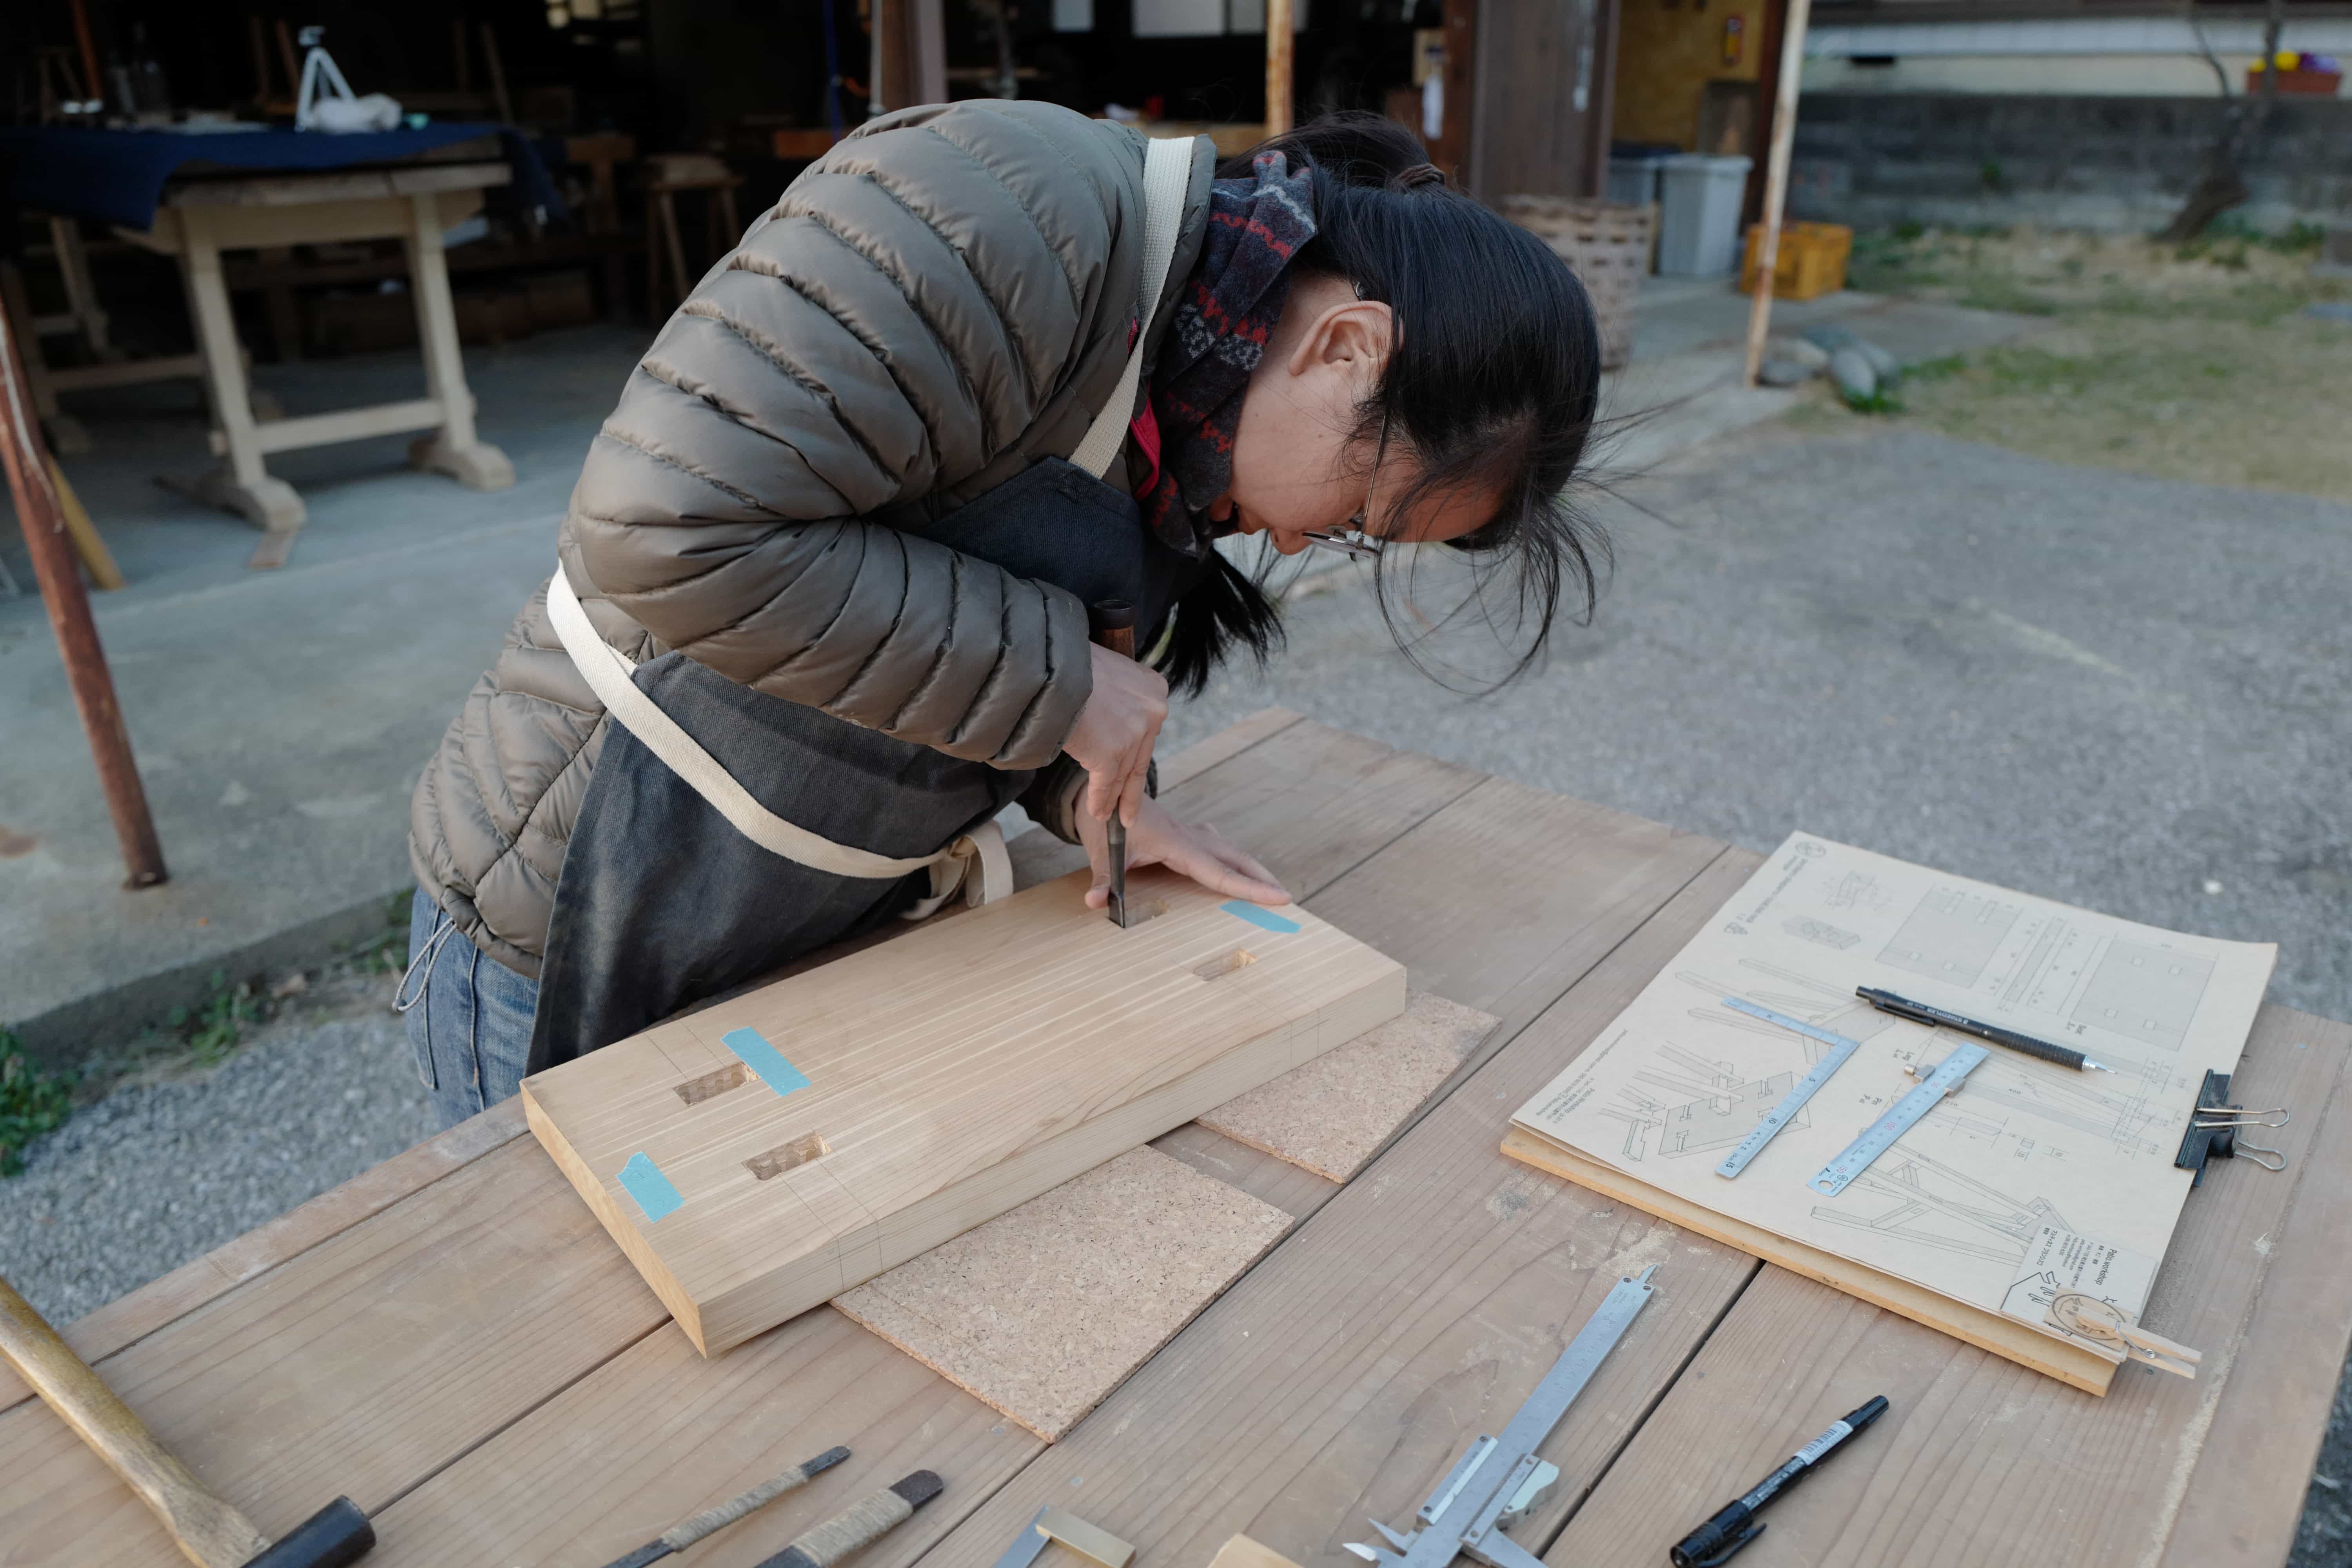
We started by carefully marking out the wood that would need to be removed and scored the pencil lines with a knife to reduce the splitting of the edges later on.
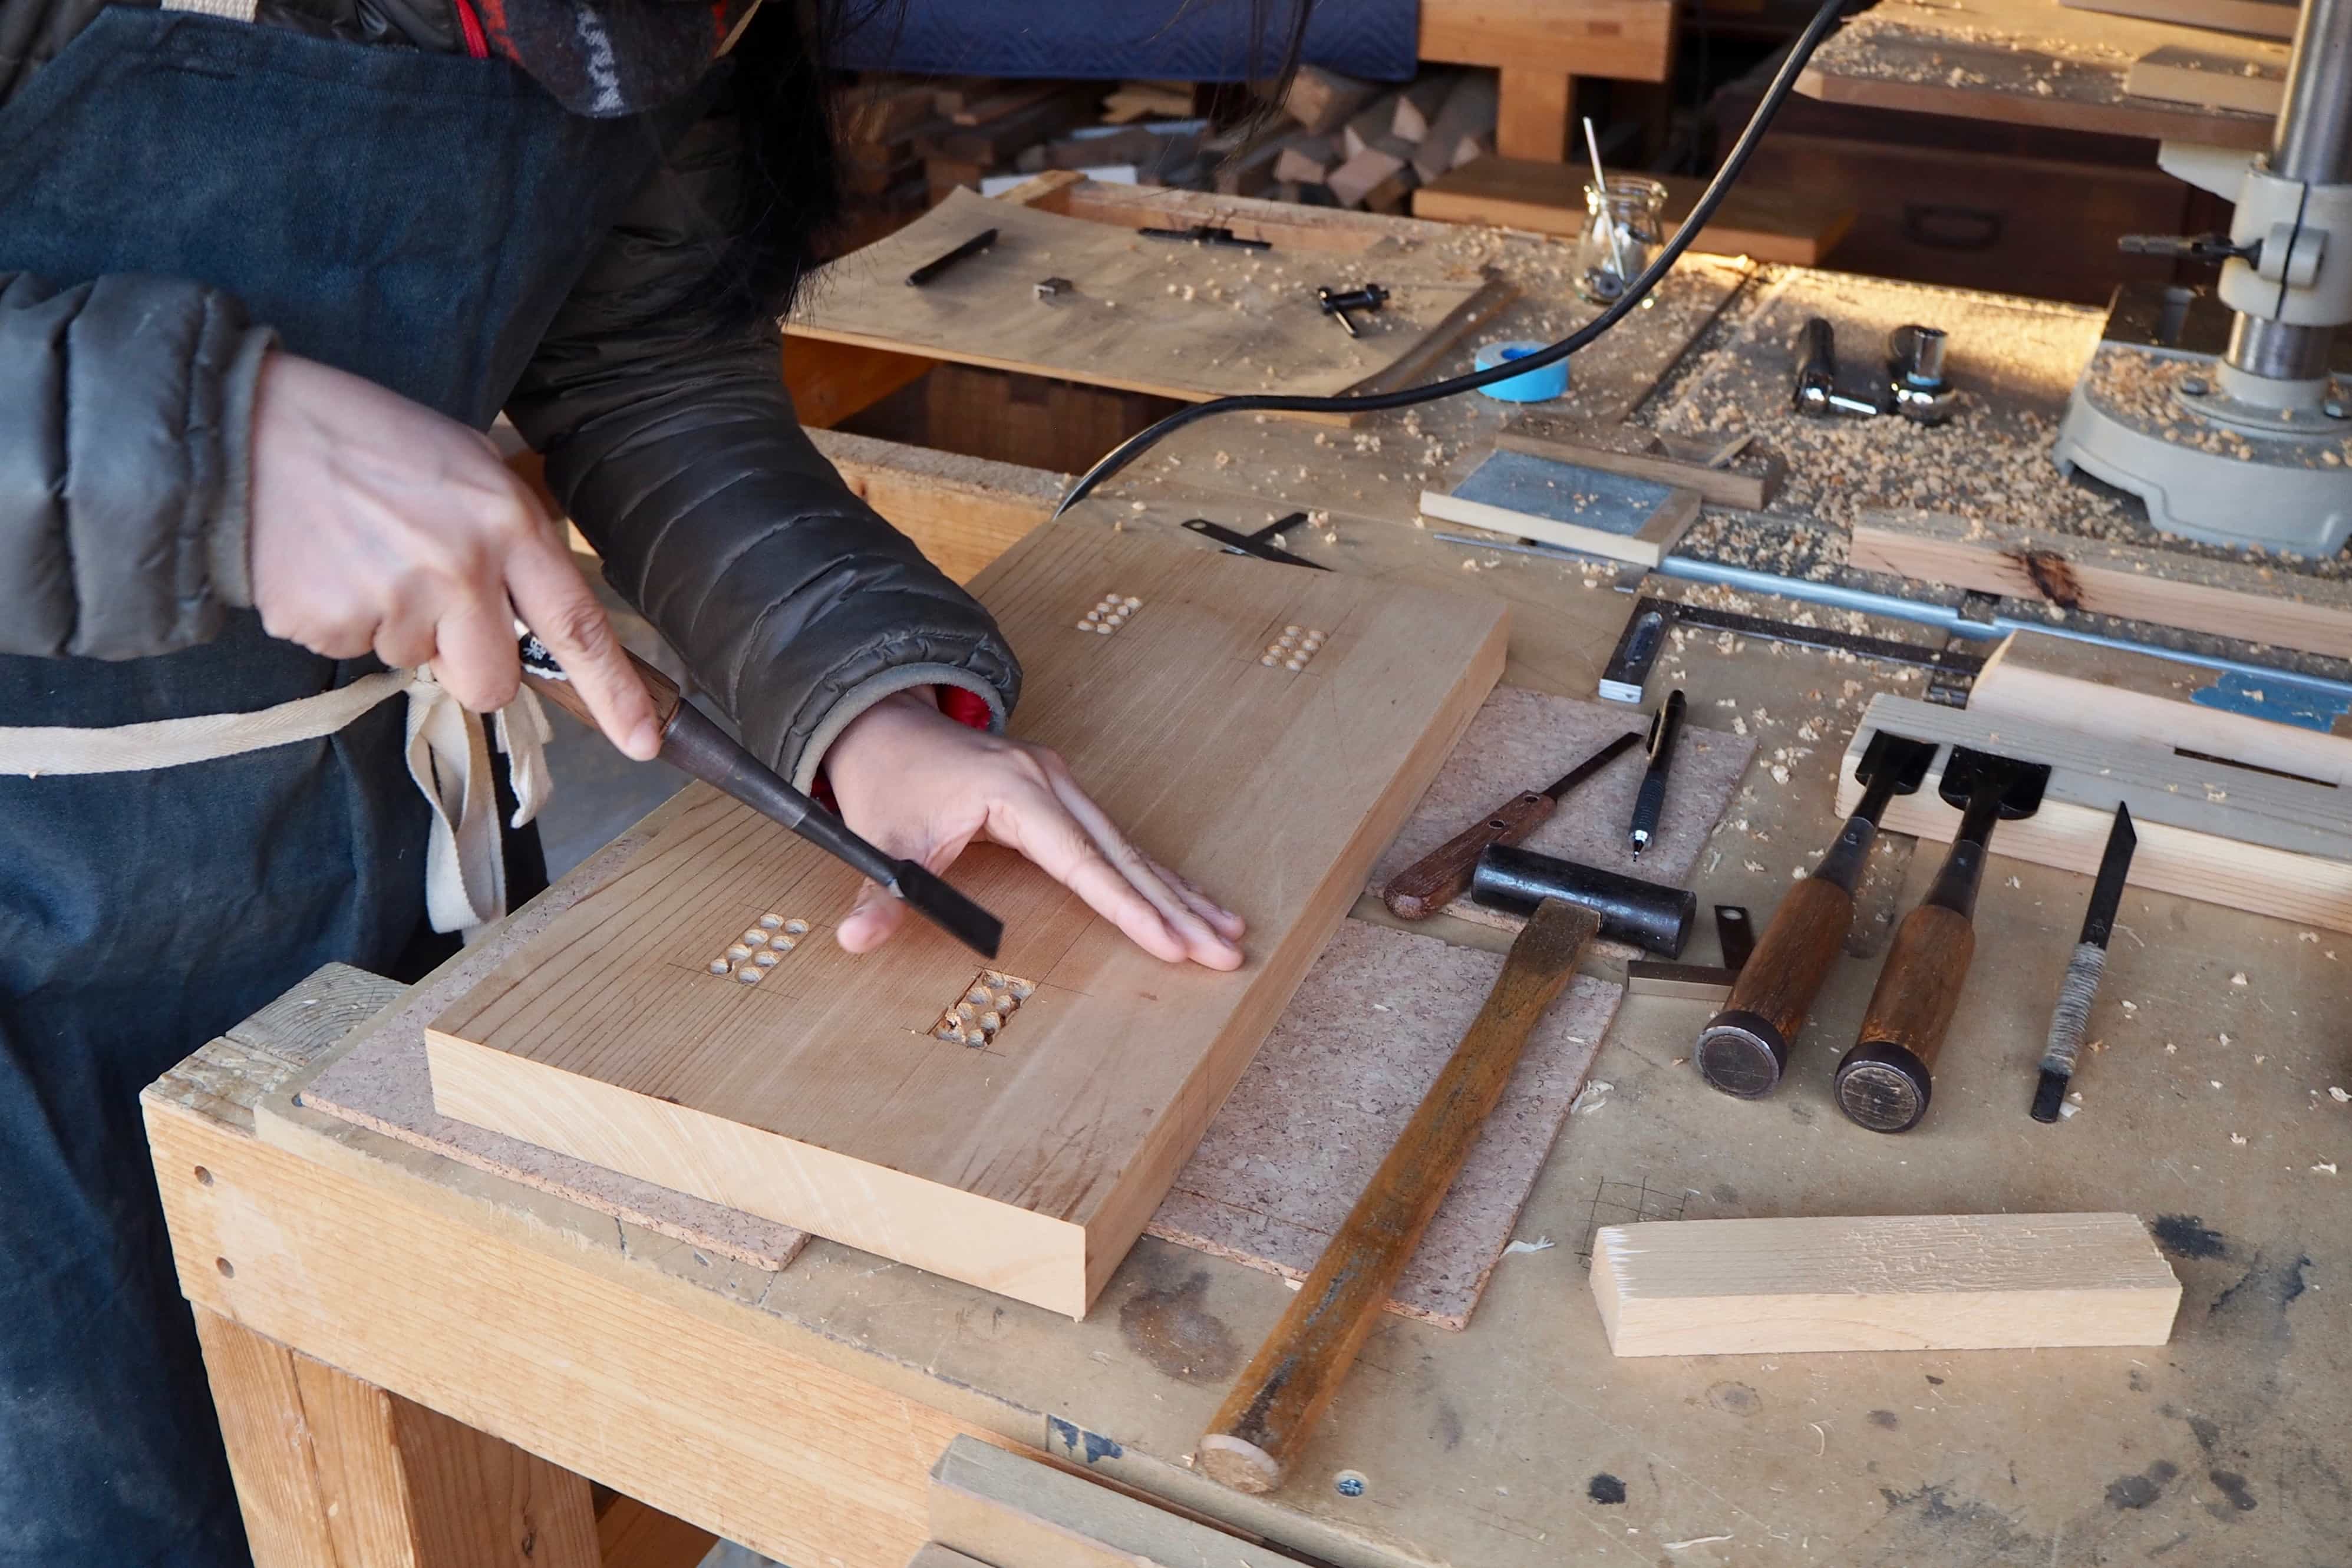
A drill press was used to remove the inner core of each rectangular hole which we then refined using chisels of various sizes. While it was quite easy to get a
Every time we thought we’d got it right we would find another tiny “belly” where the wood wasn’t perfectly flat and would require more chiselling. Without Paco’s patience and expertise, I’m not sure we would have ever finished it!

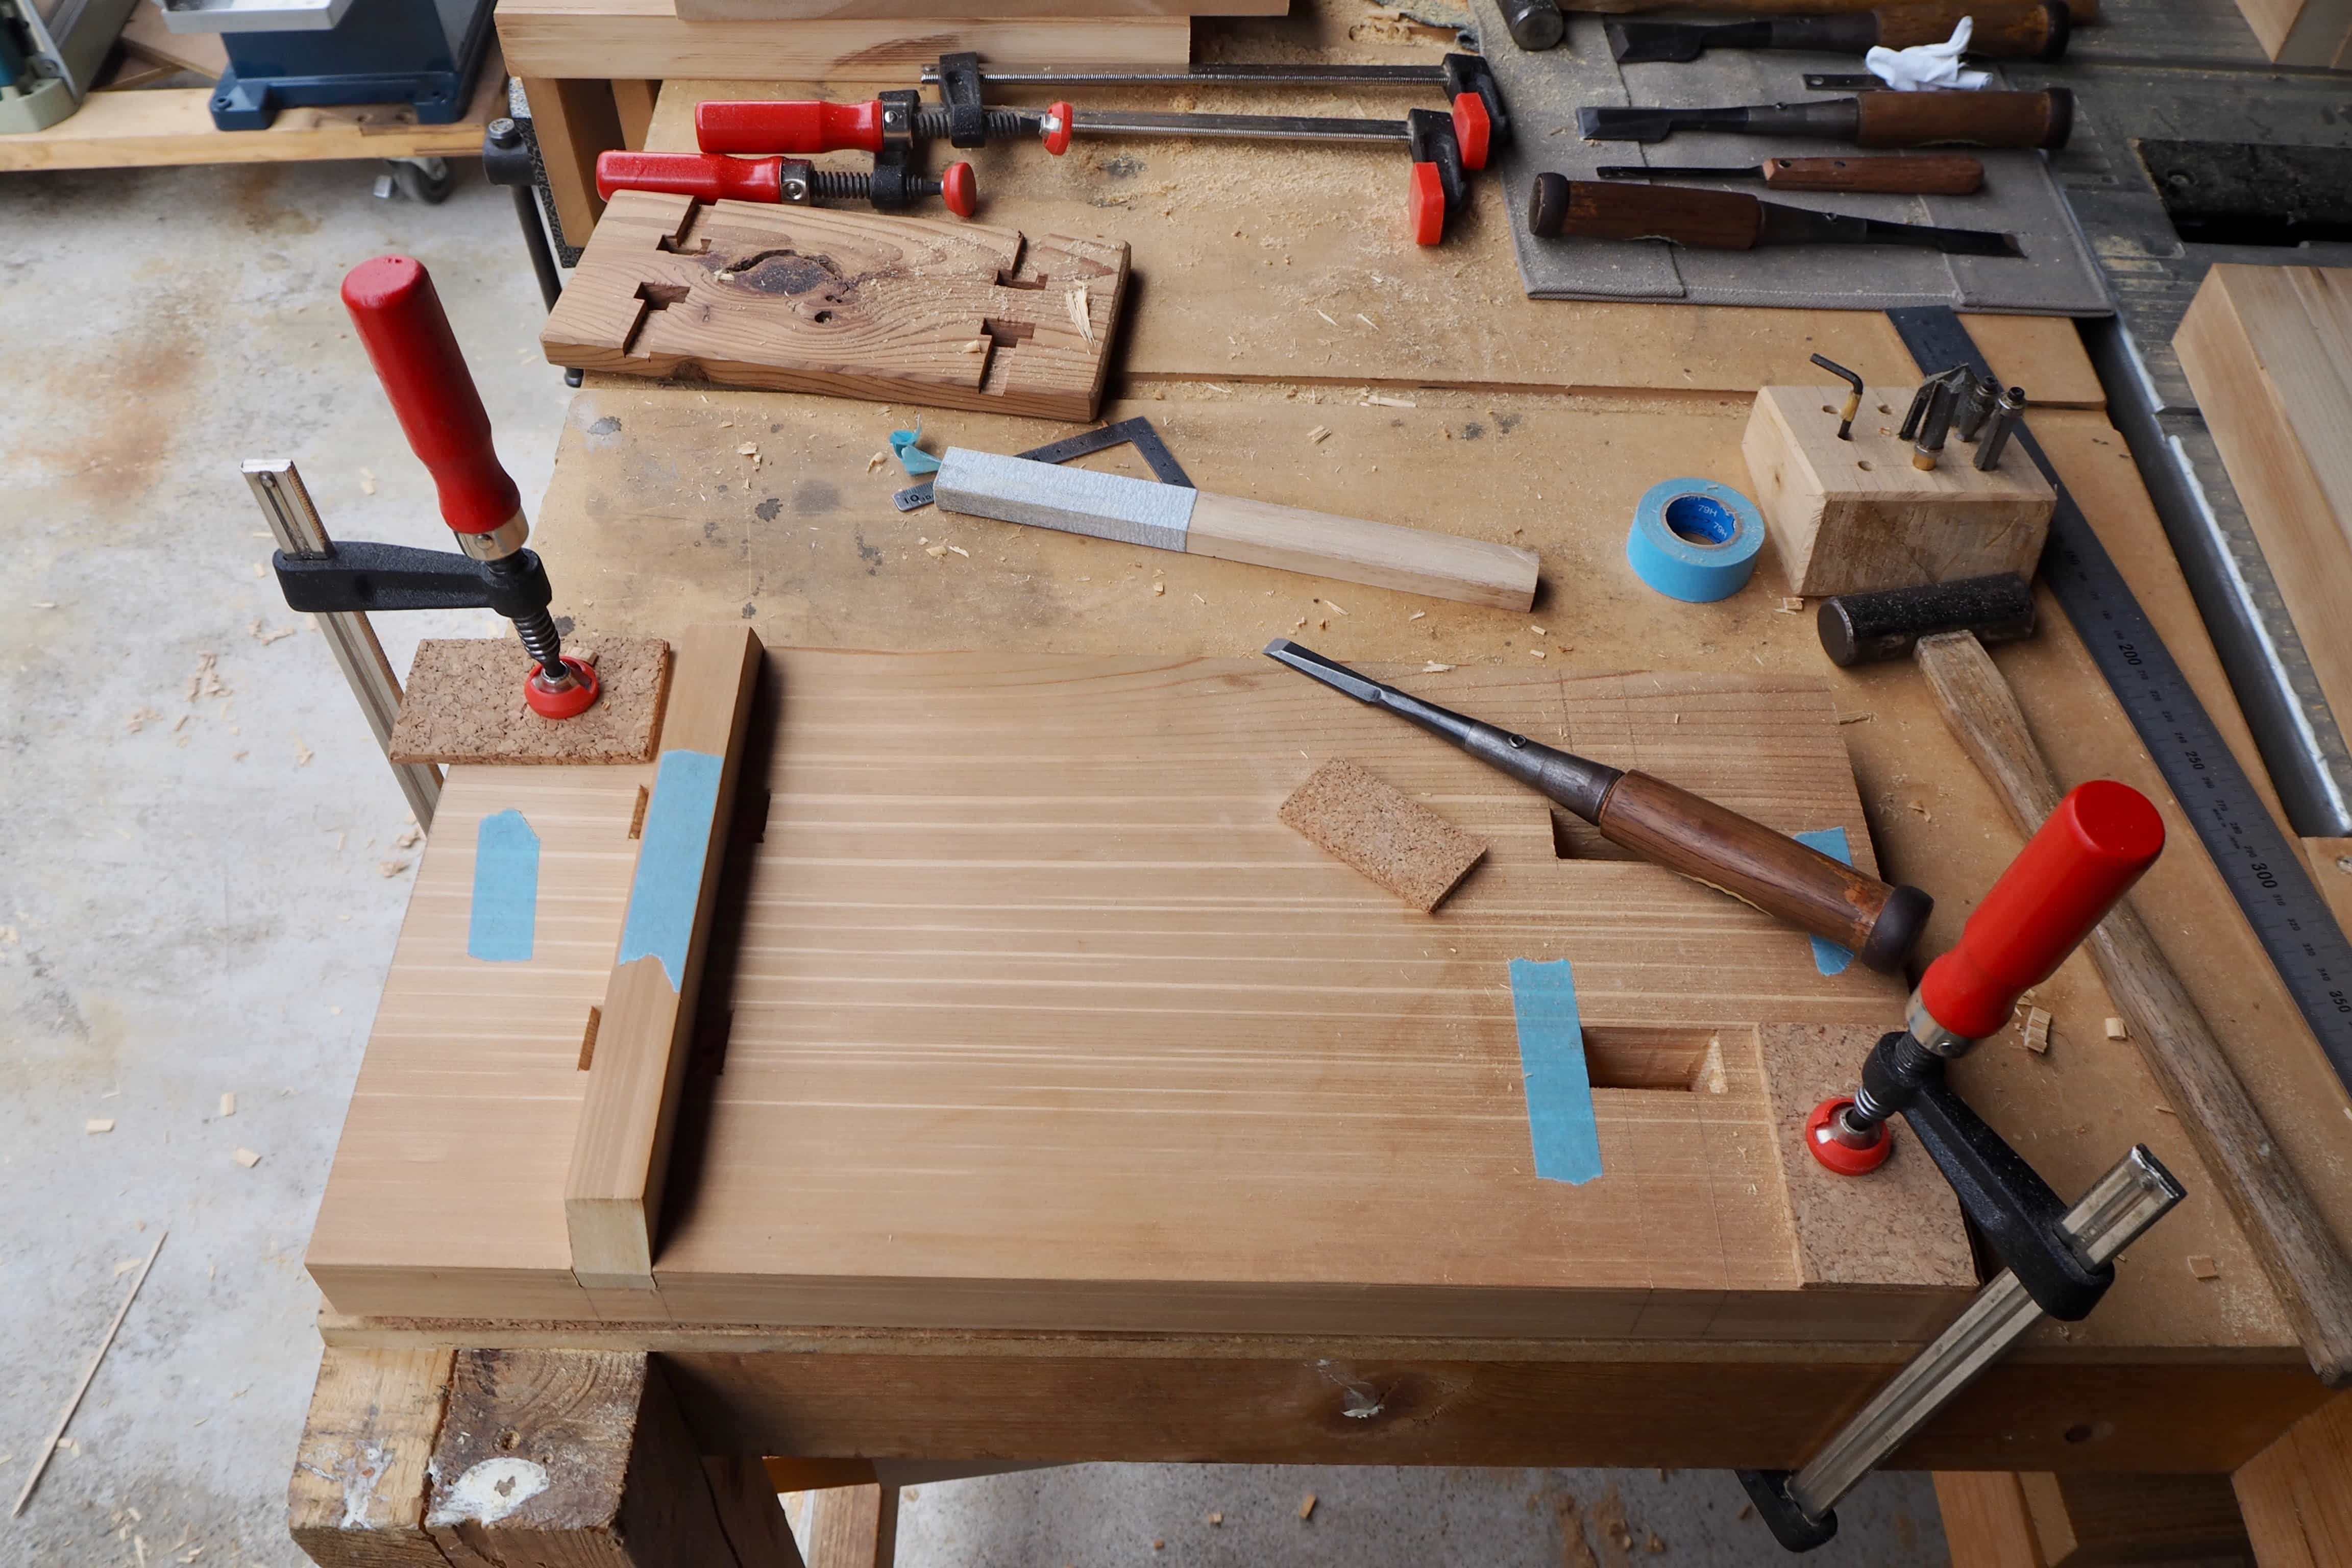
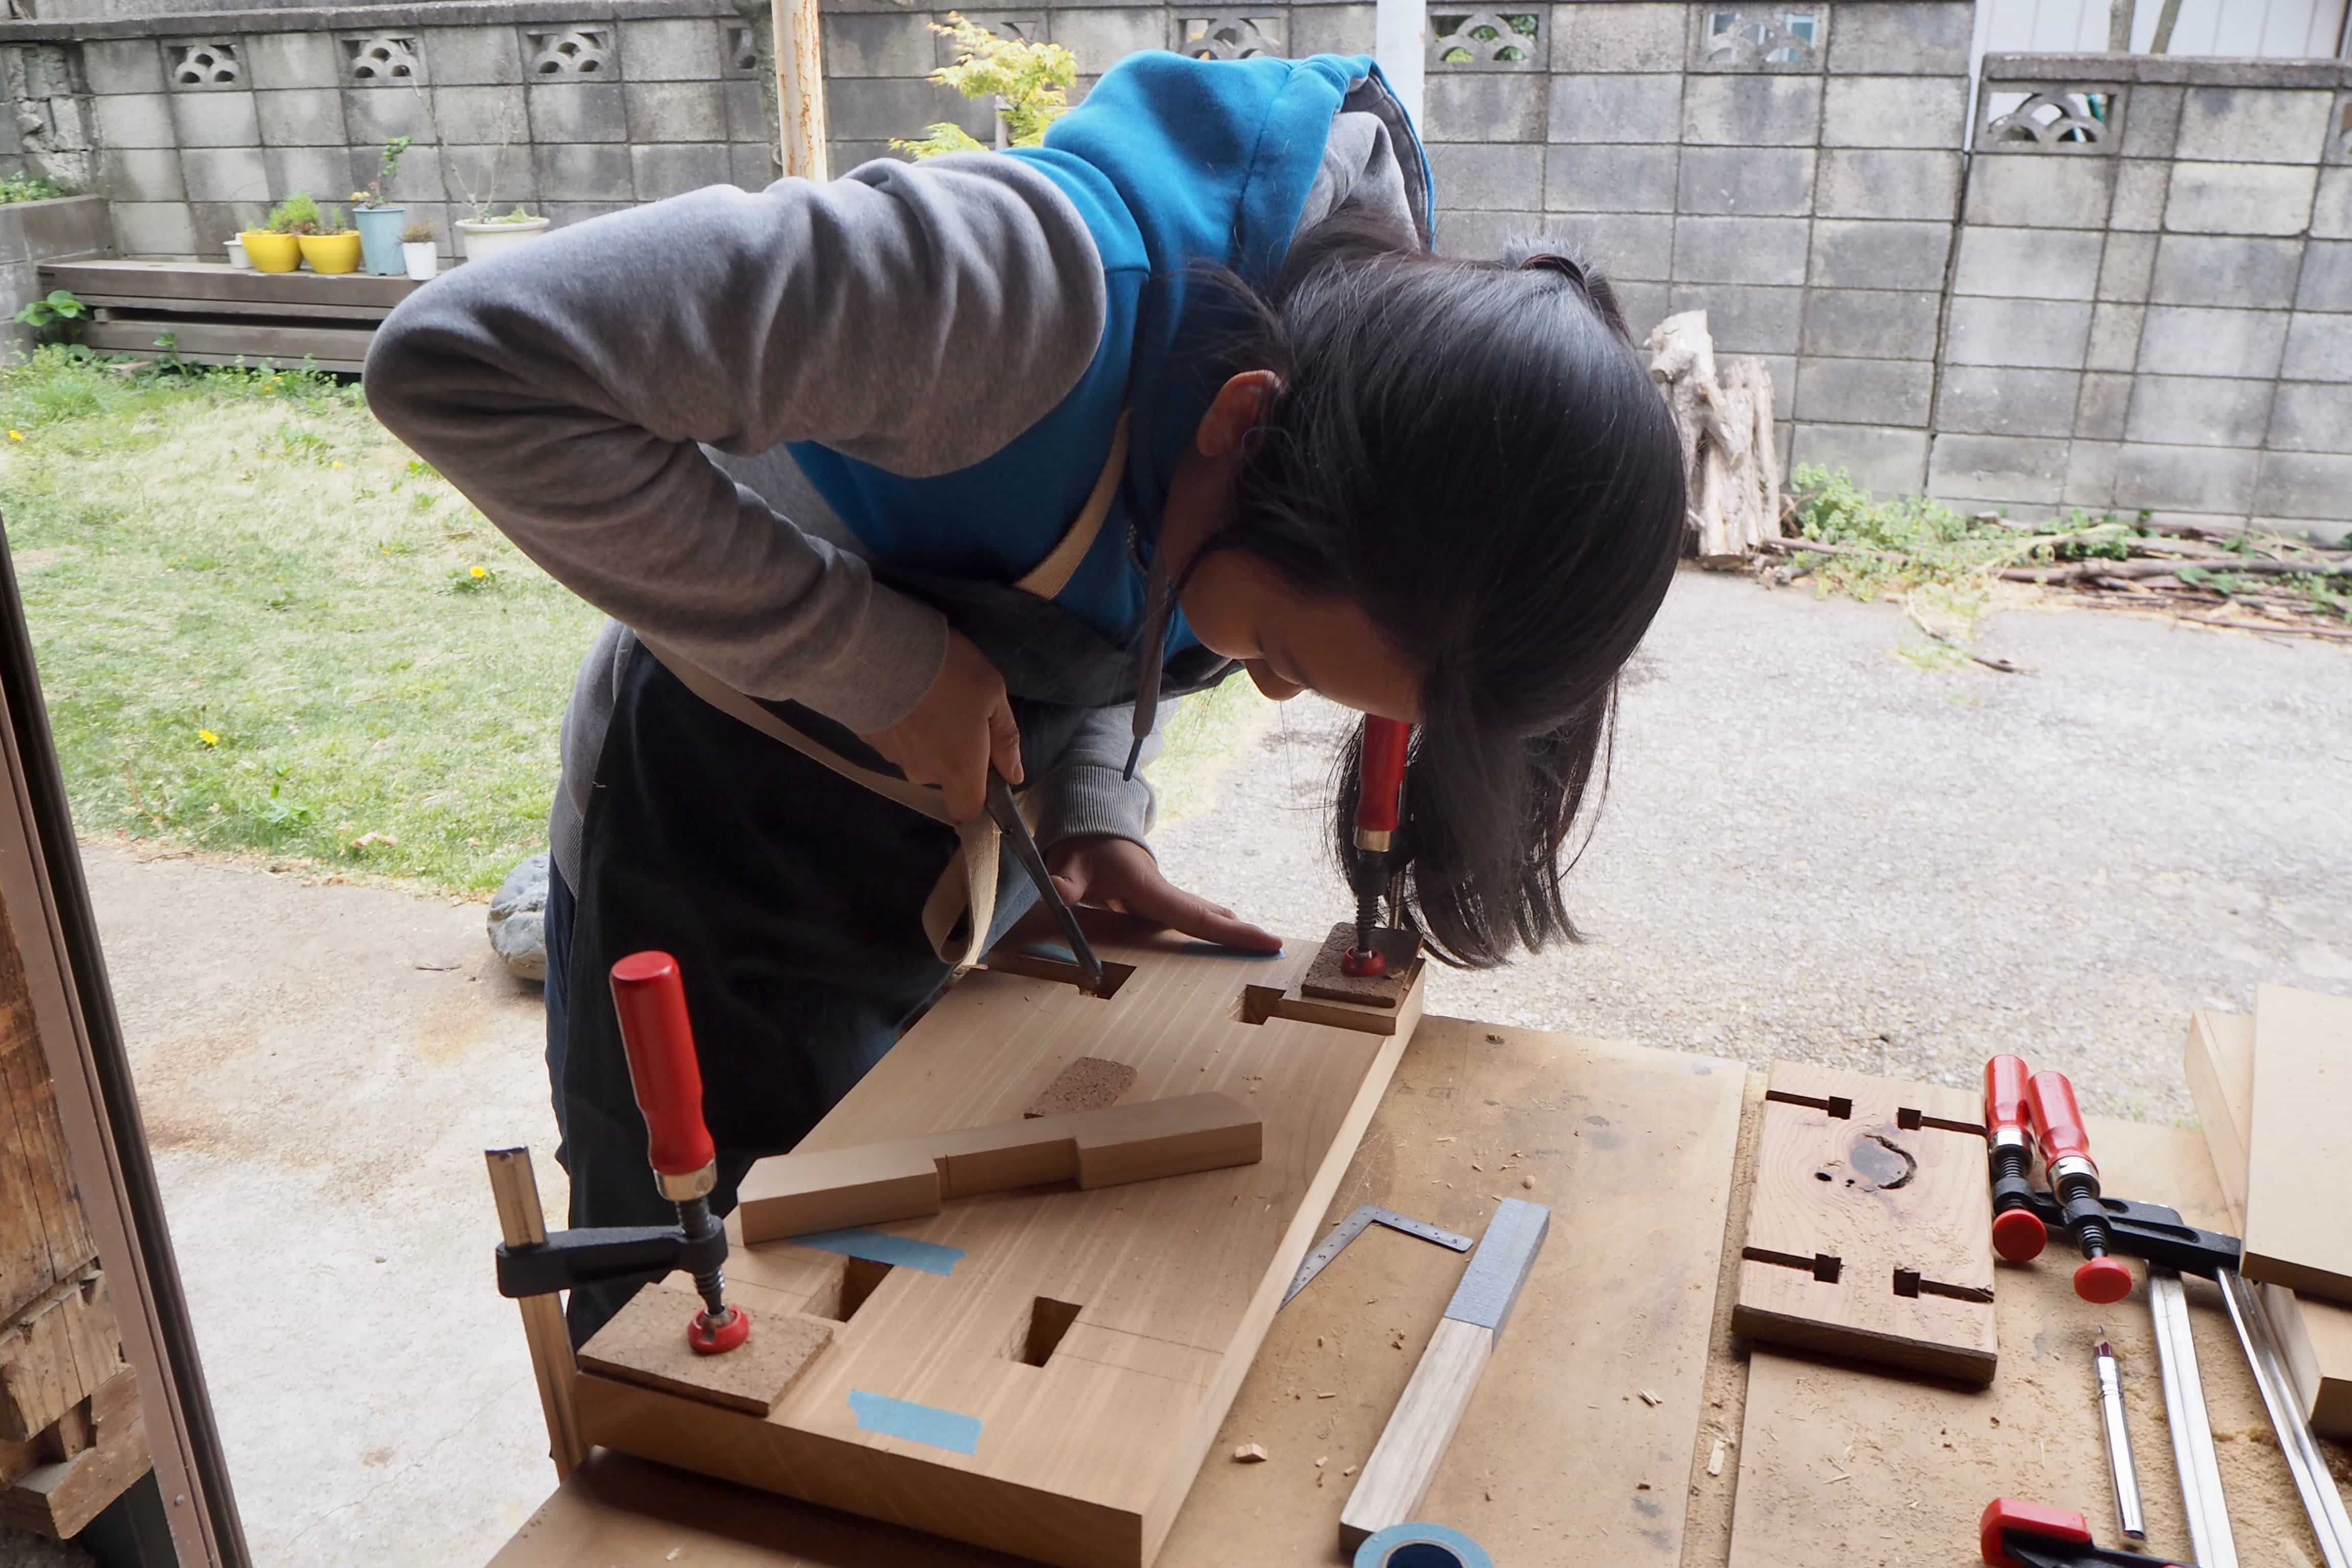
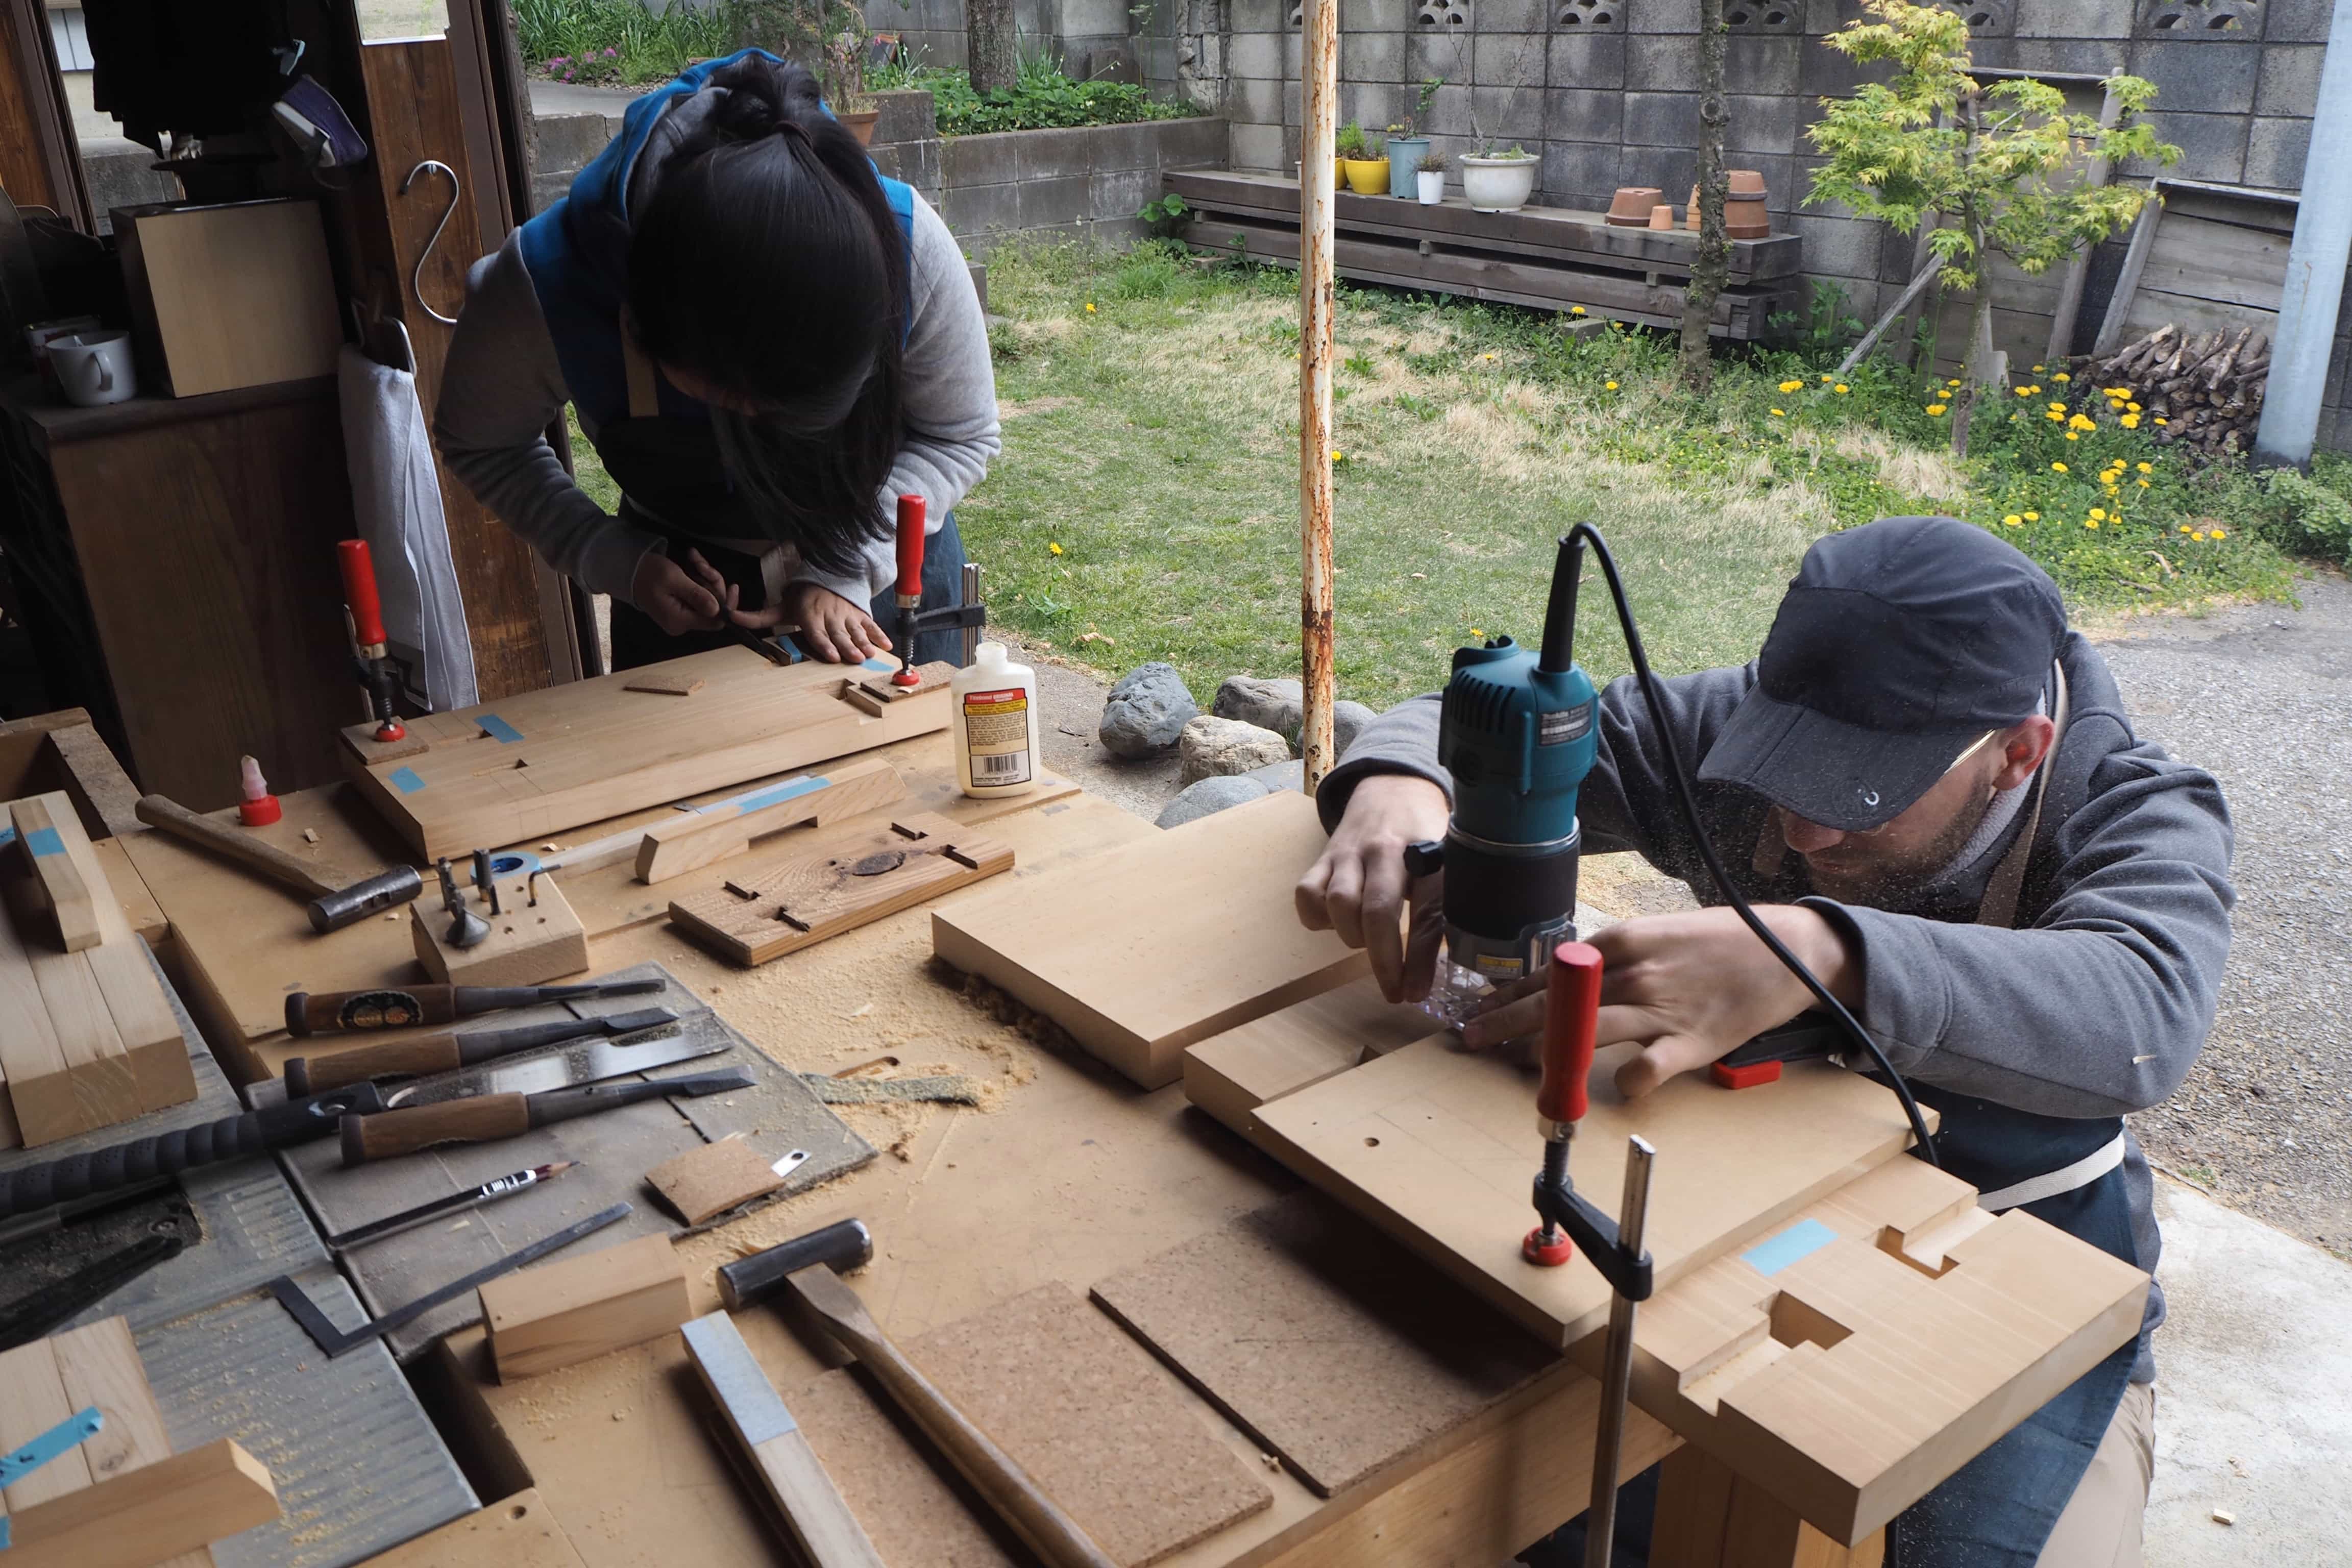
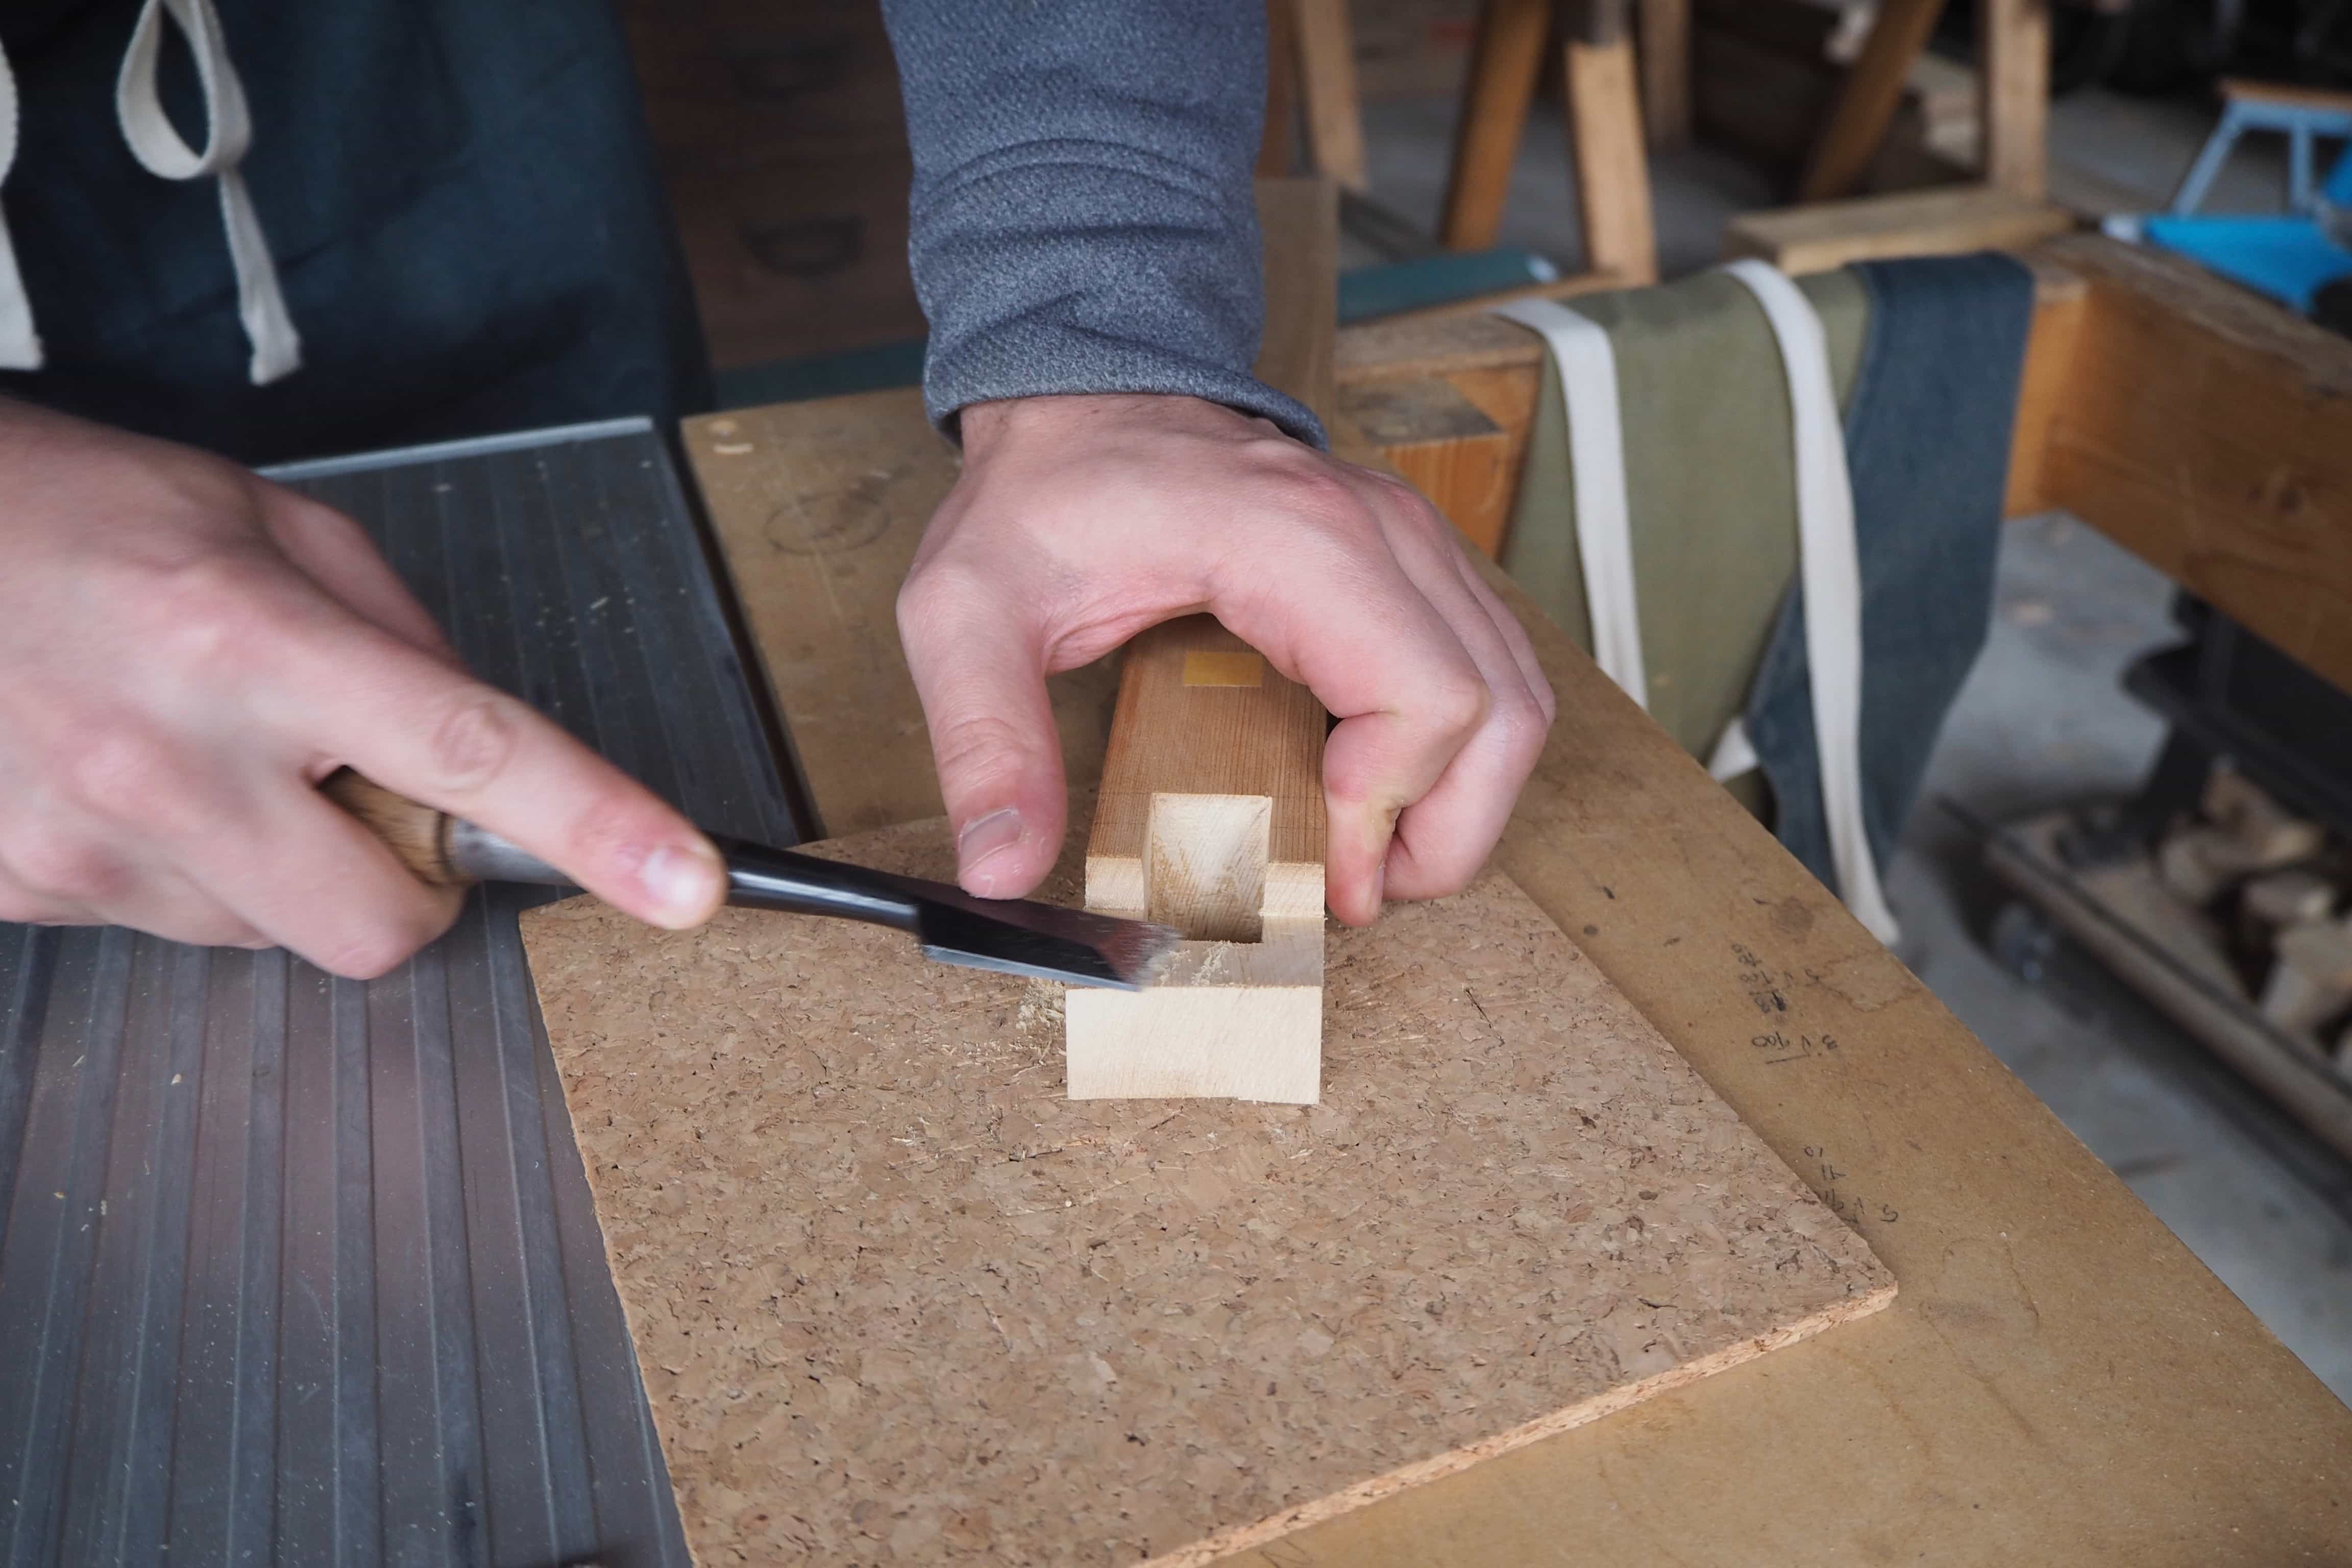
Having cut notches out of the locking pins, we cut channels for them to sit on the underside of the seat using a router for the bulk of the work and then cleaned things up with a chisel.
The blue tape you can see in some photos was used to mark which pin belonged to which side of the stool and its orientation.
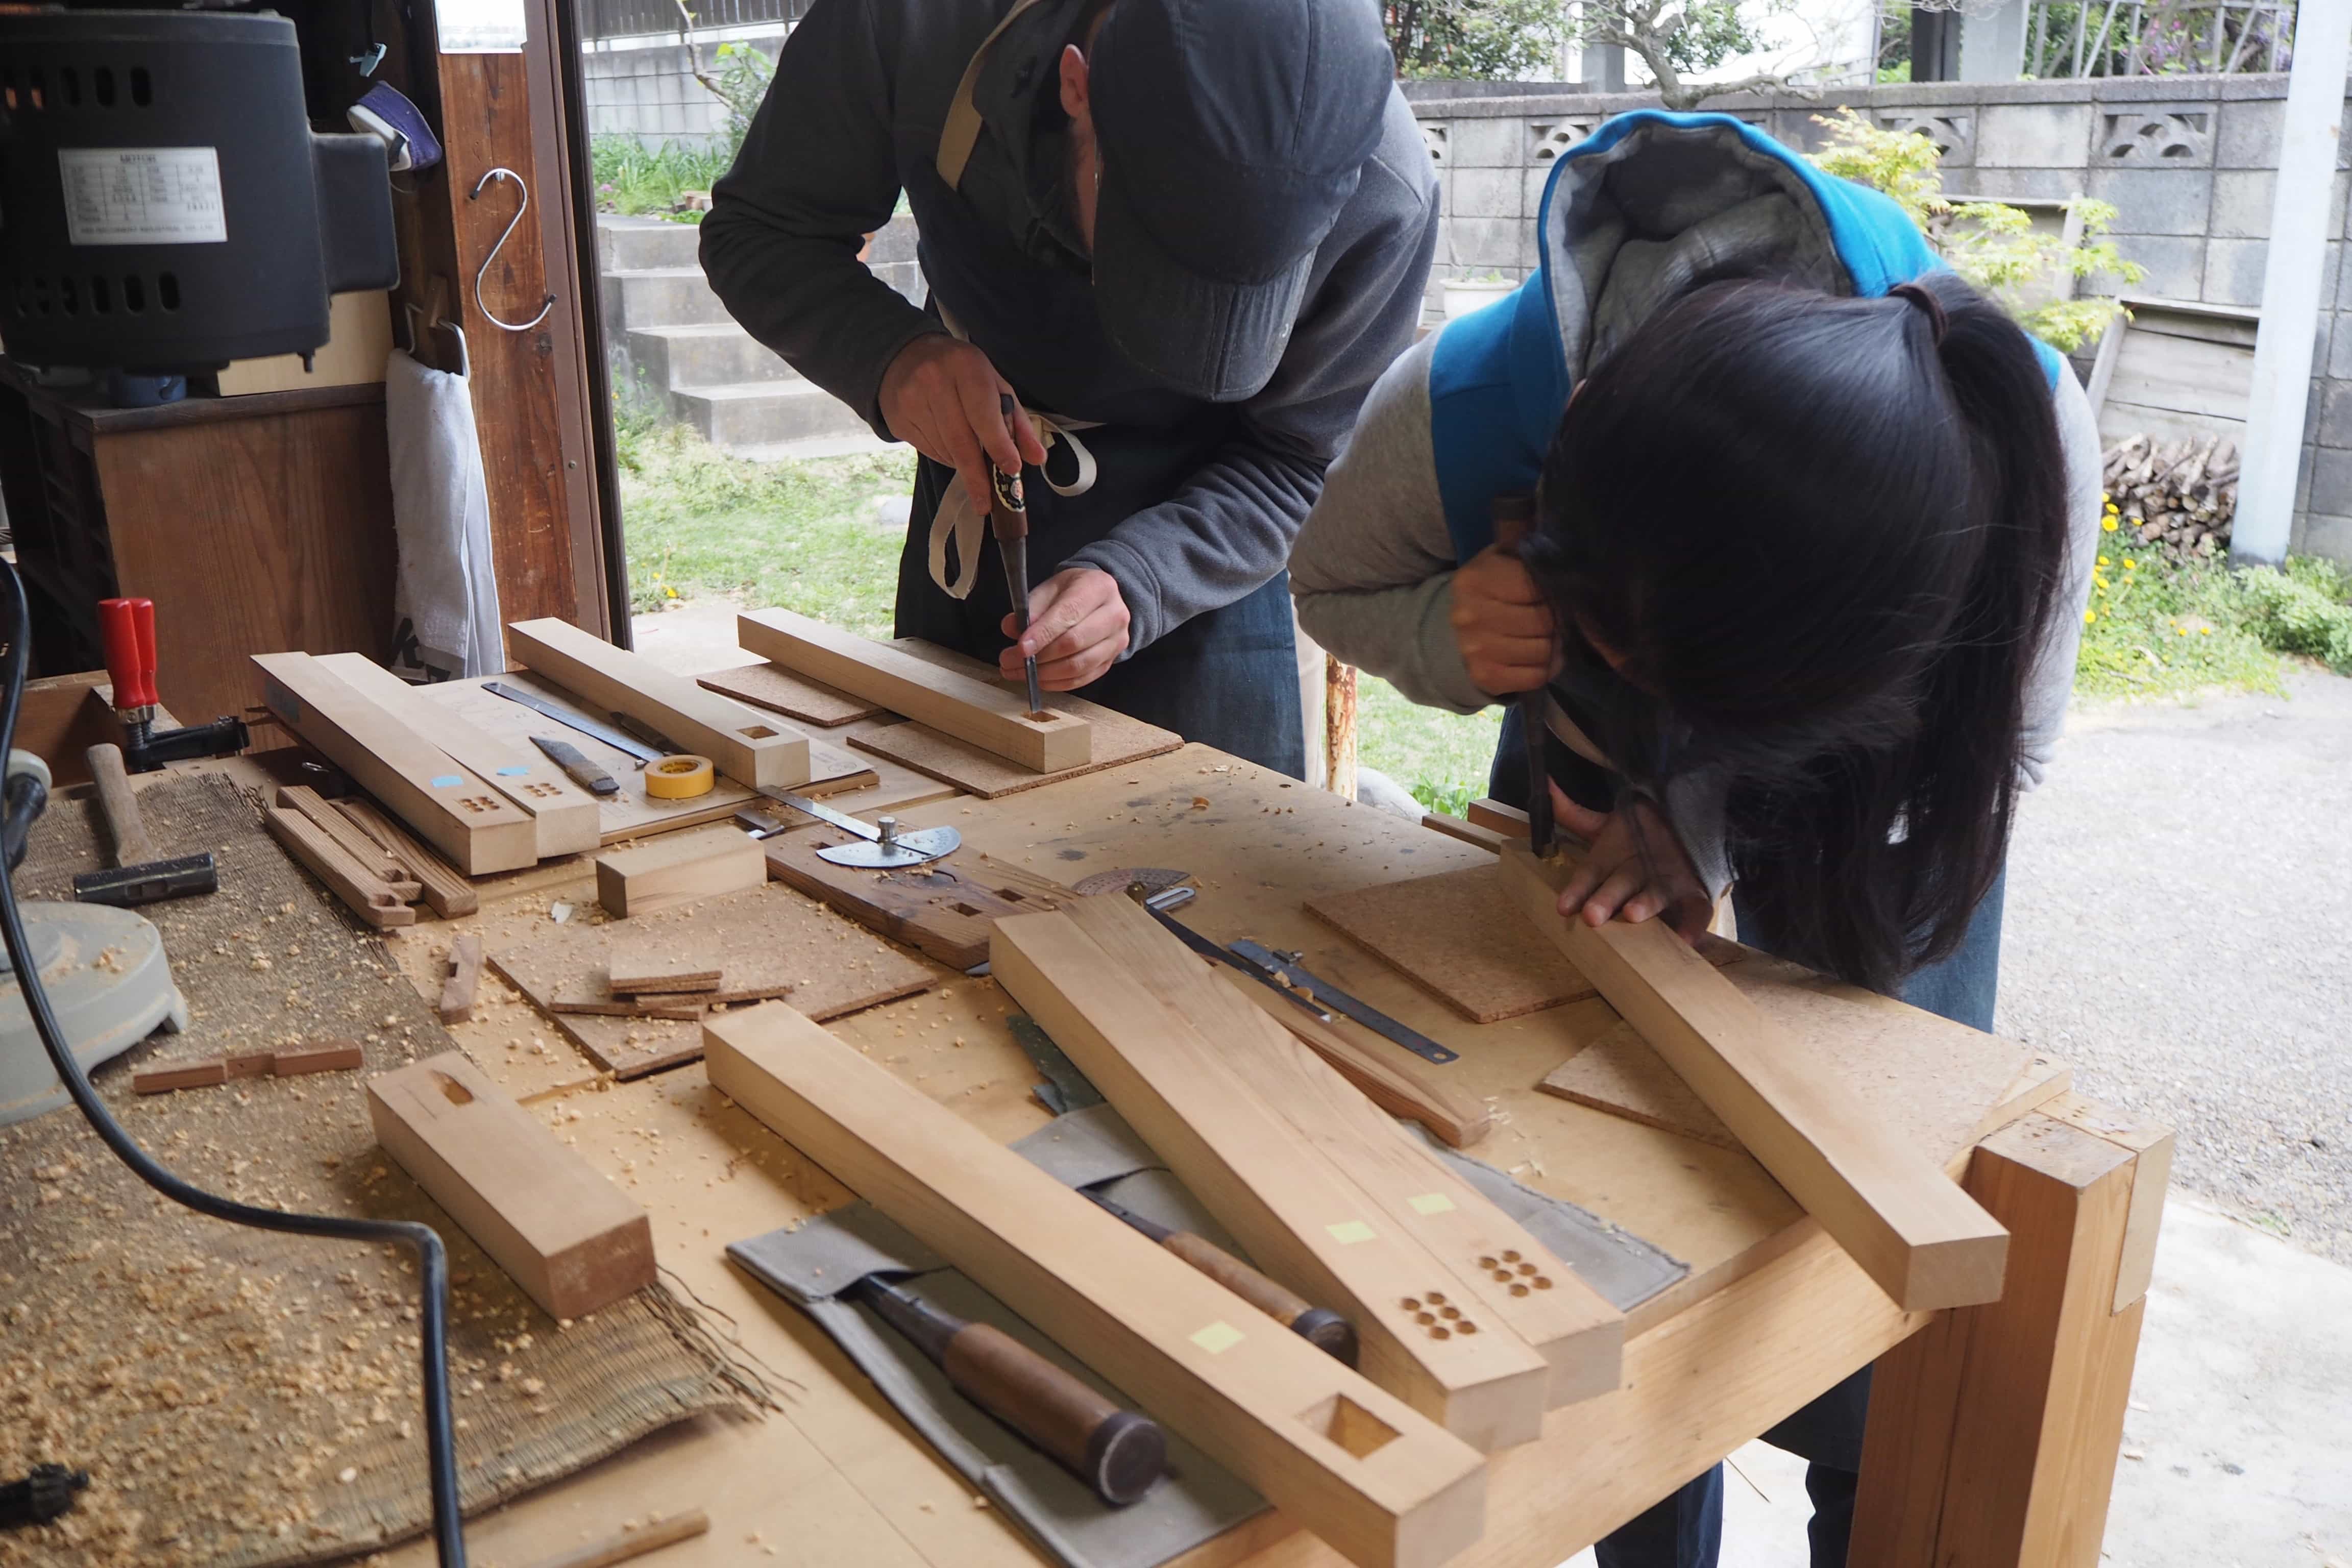
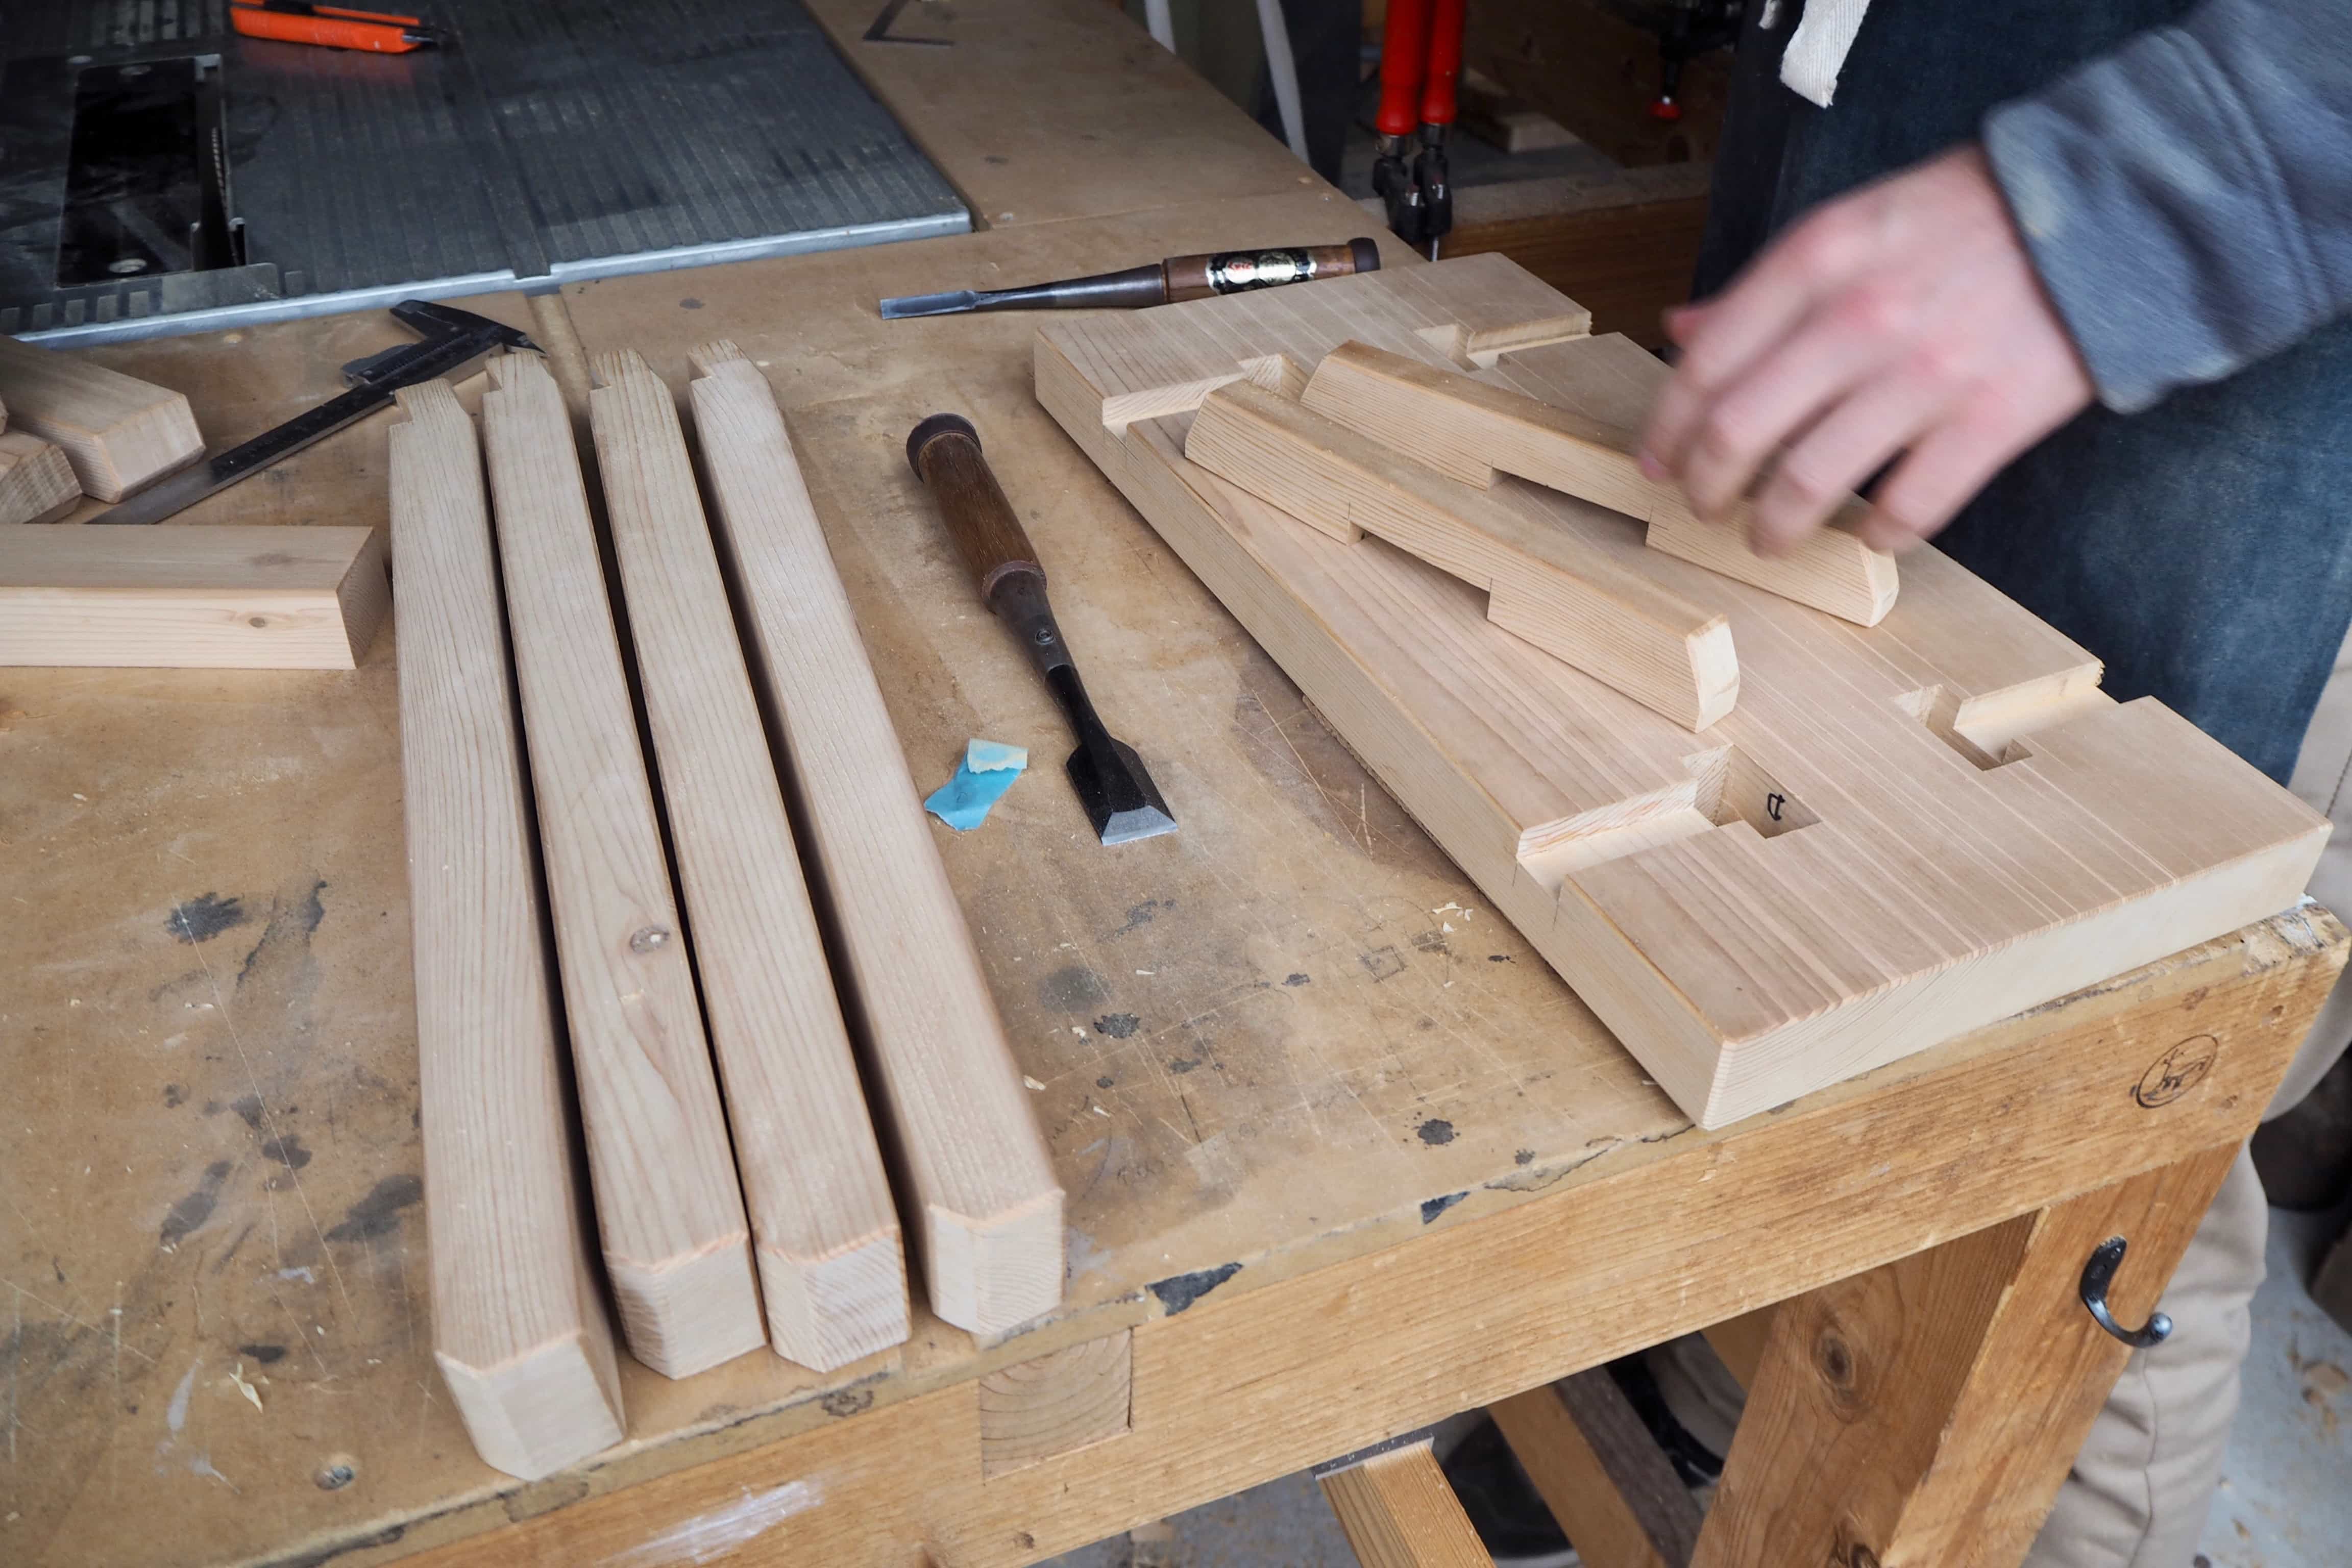
Preparing the legs joints
On day two of the build, we moved onto the legs. These were particularly tricky because the tenon needed to be precisely angled to slot into the seat with an additional mortice hole cut lengthways to accommodate the locking pin. No right angles here.

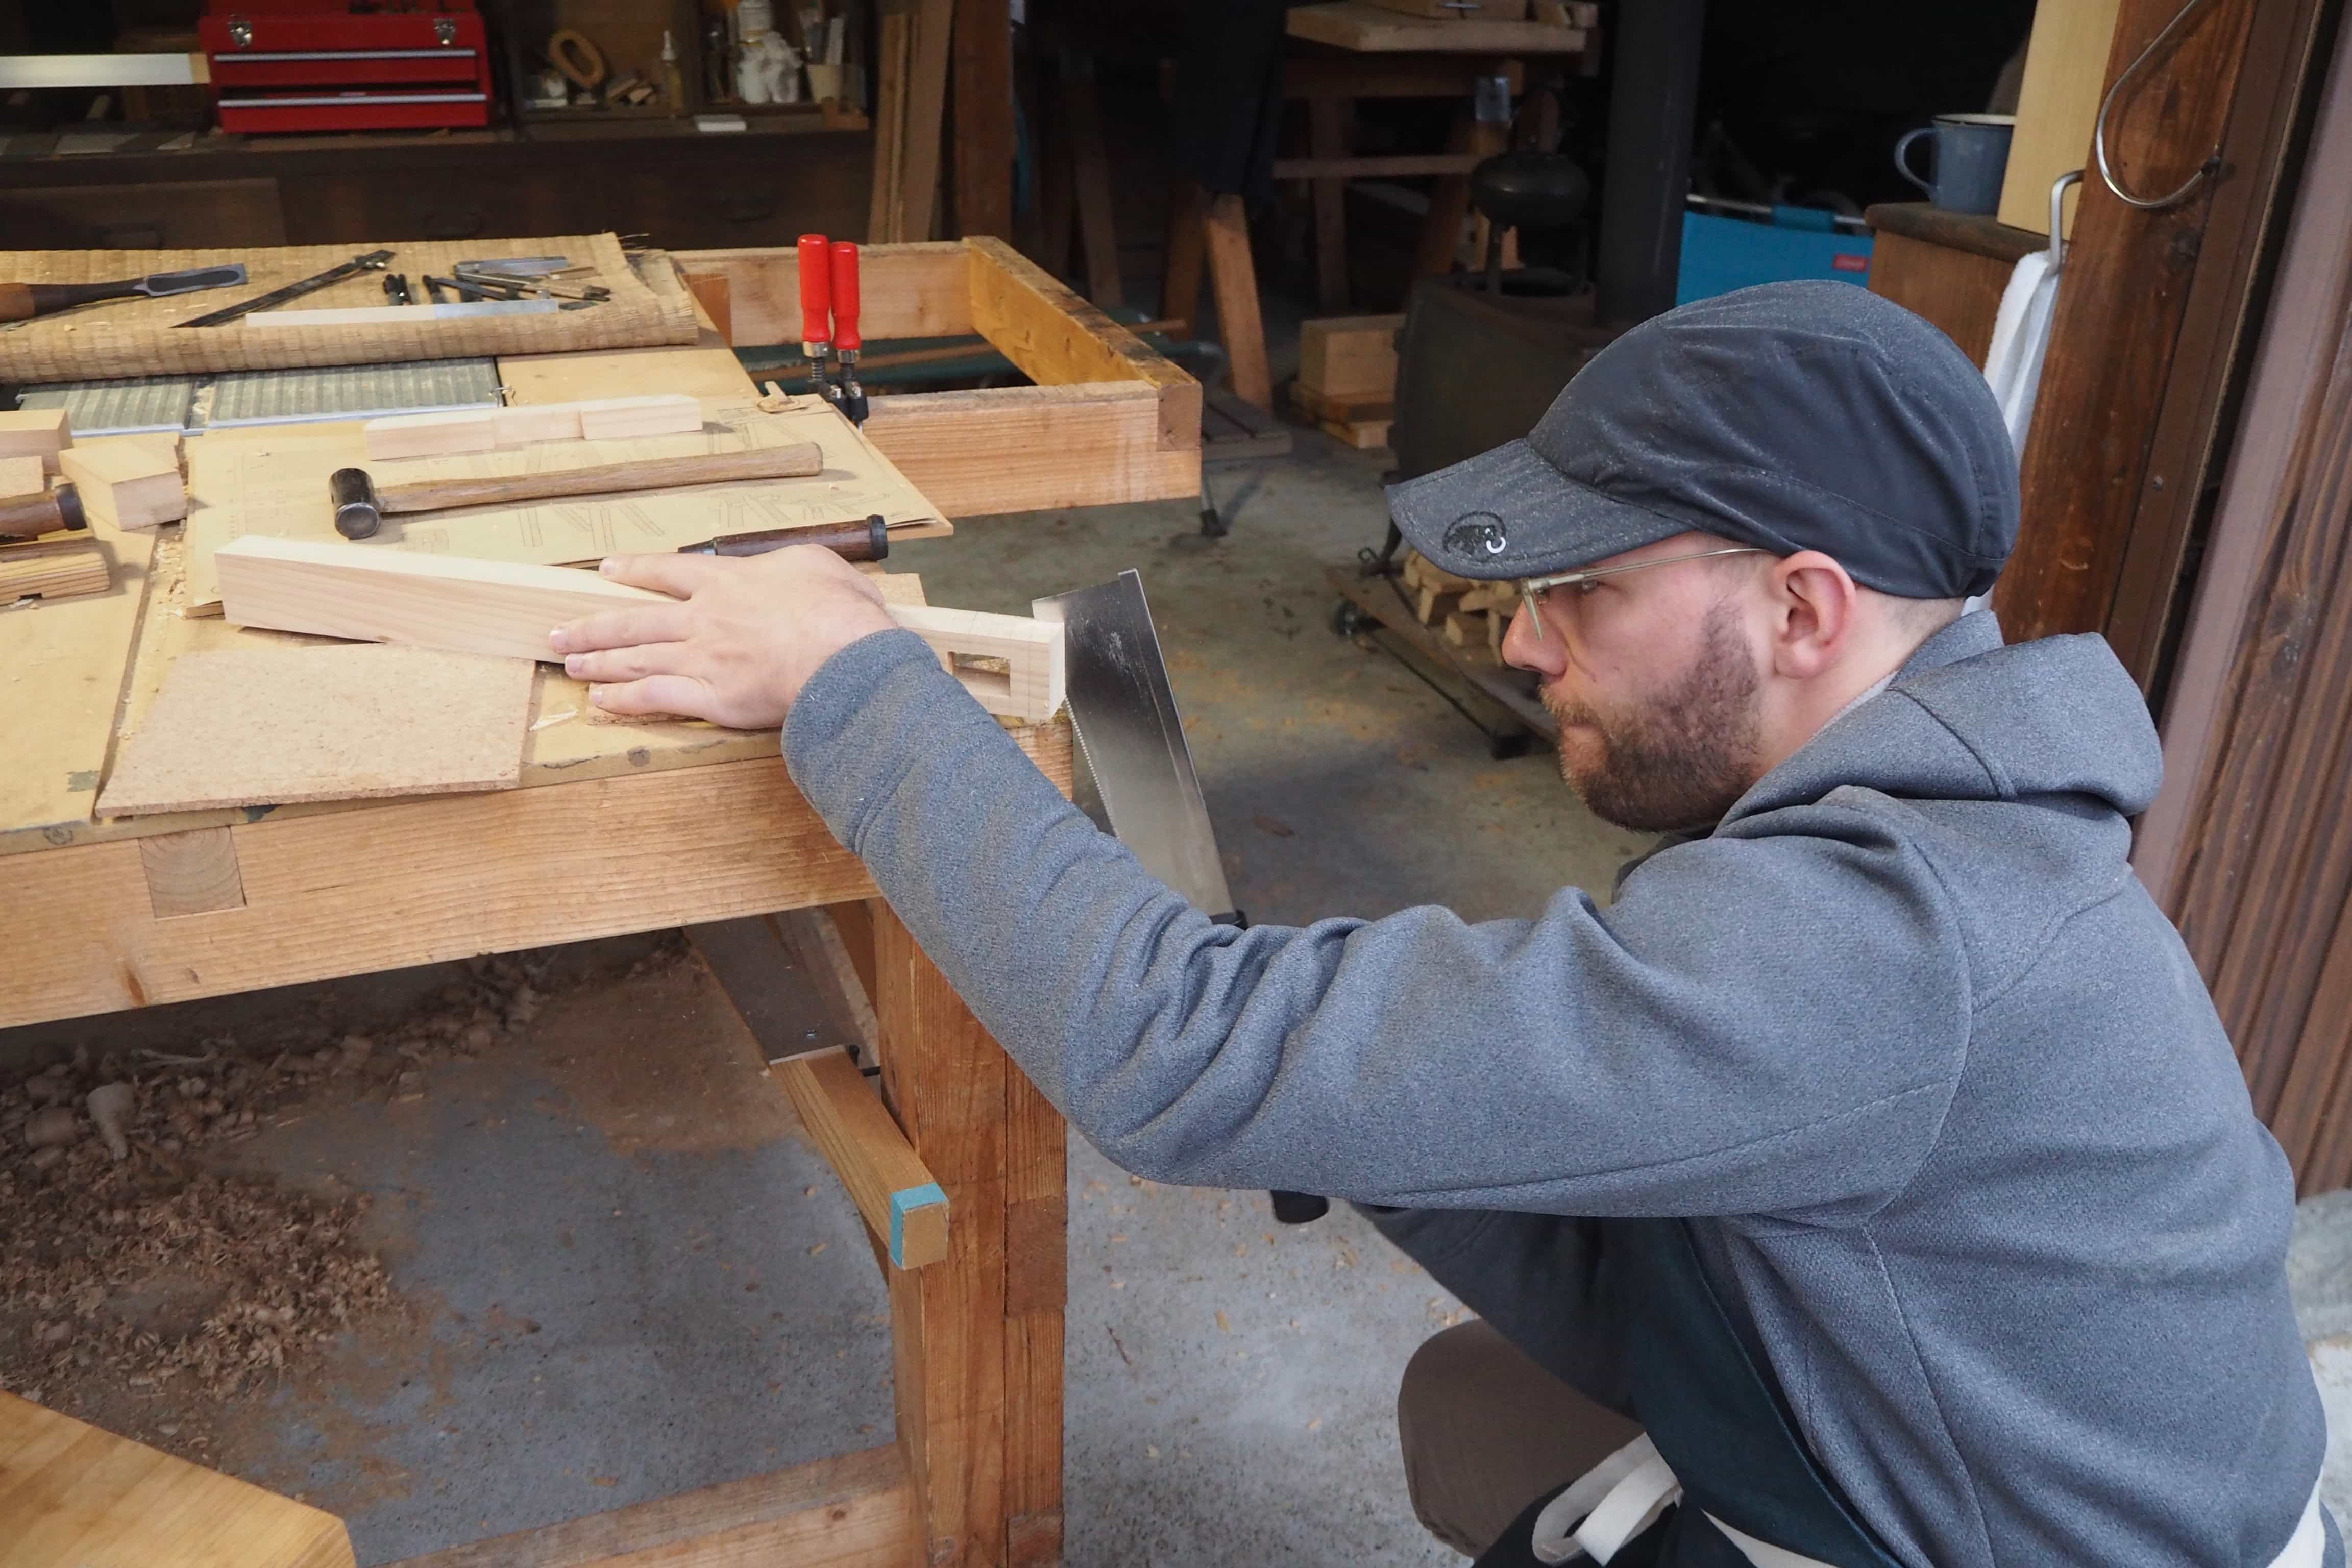
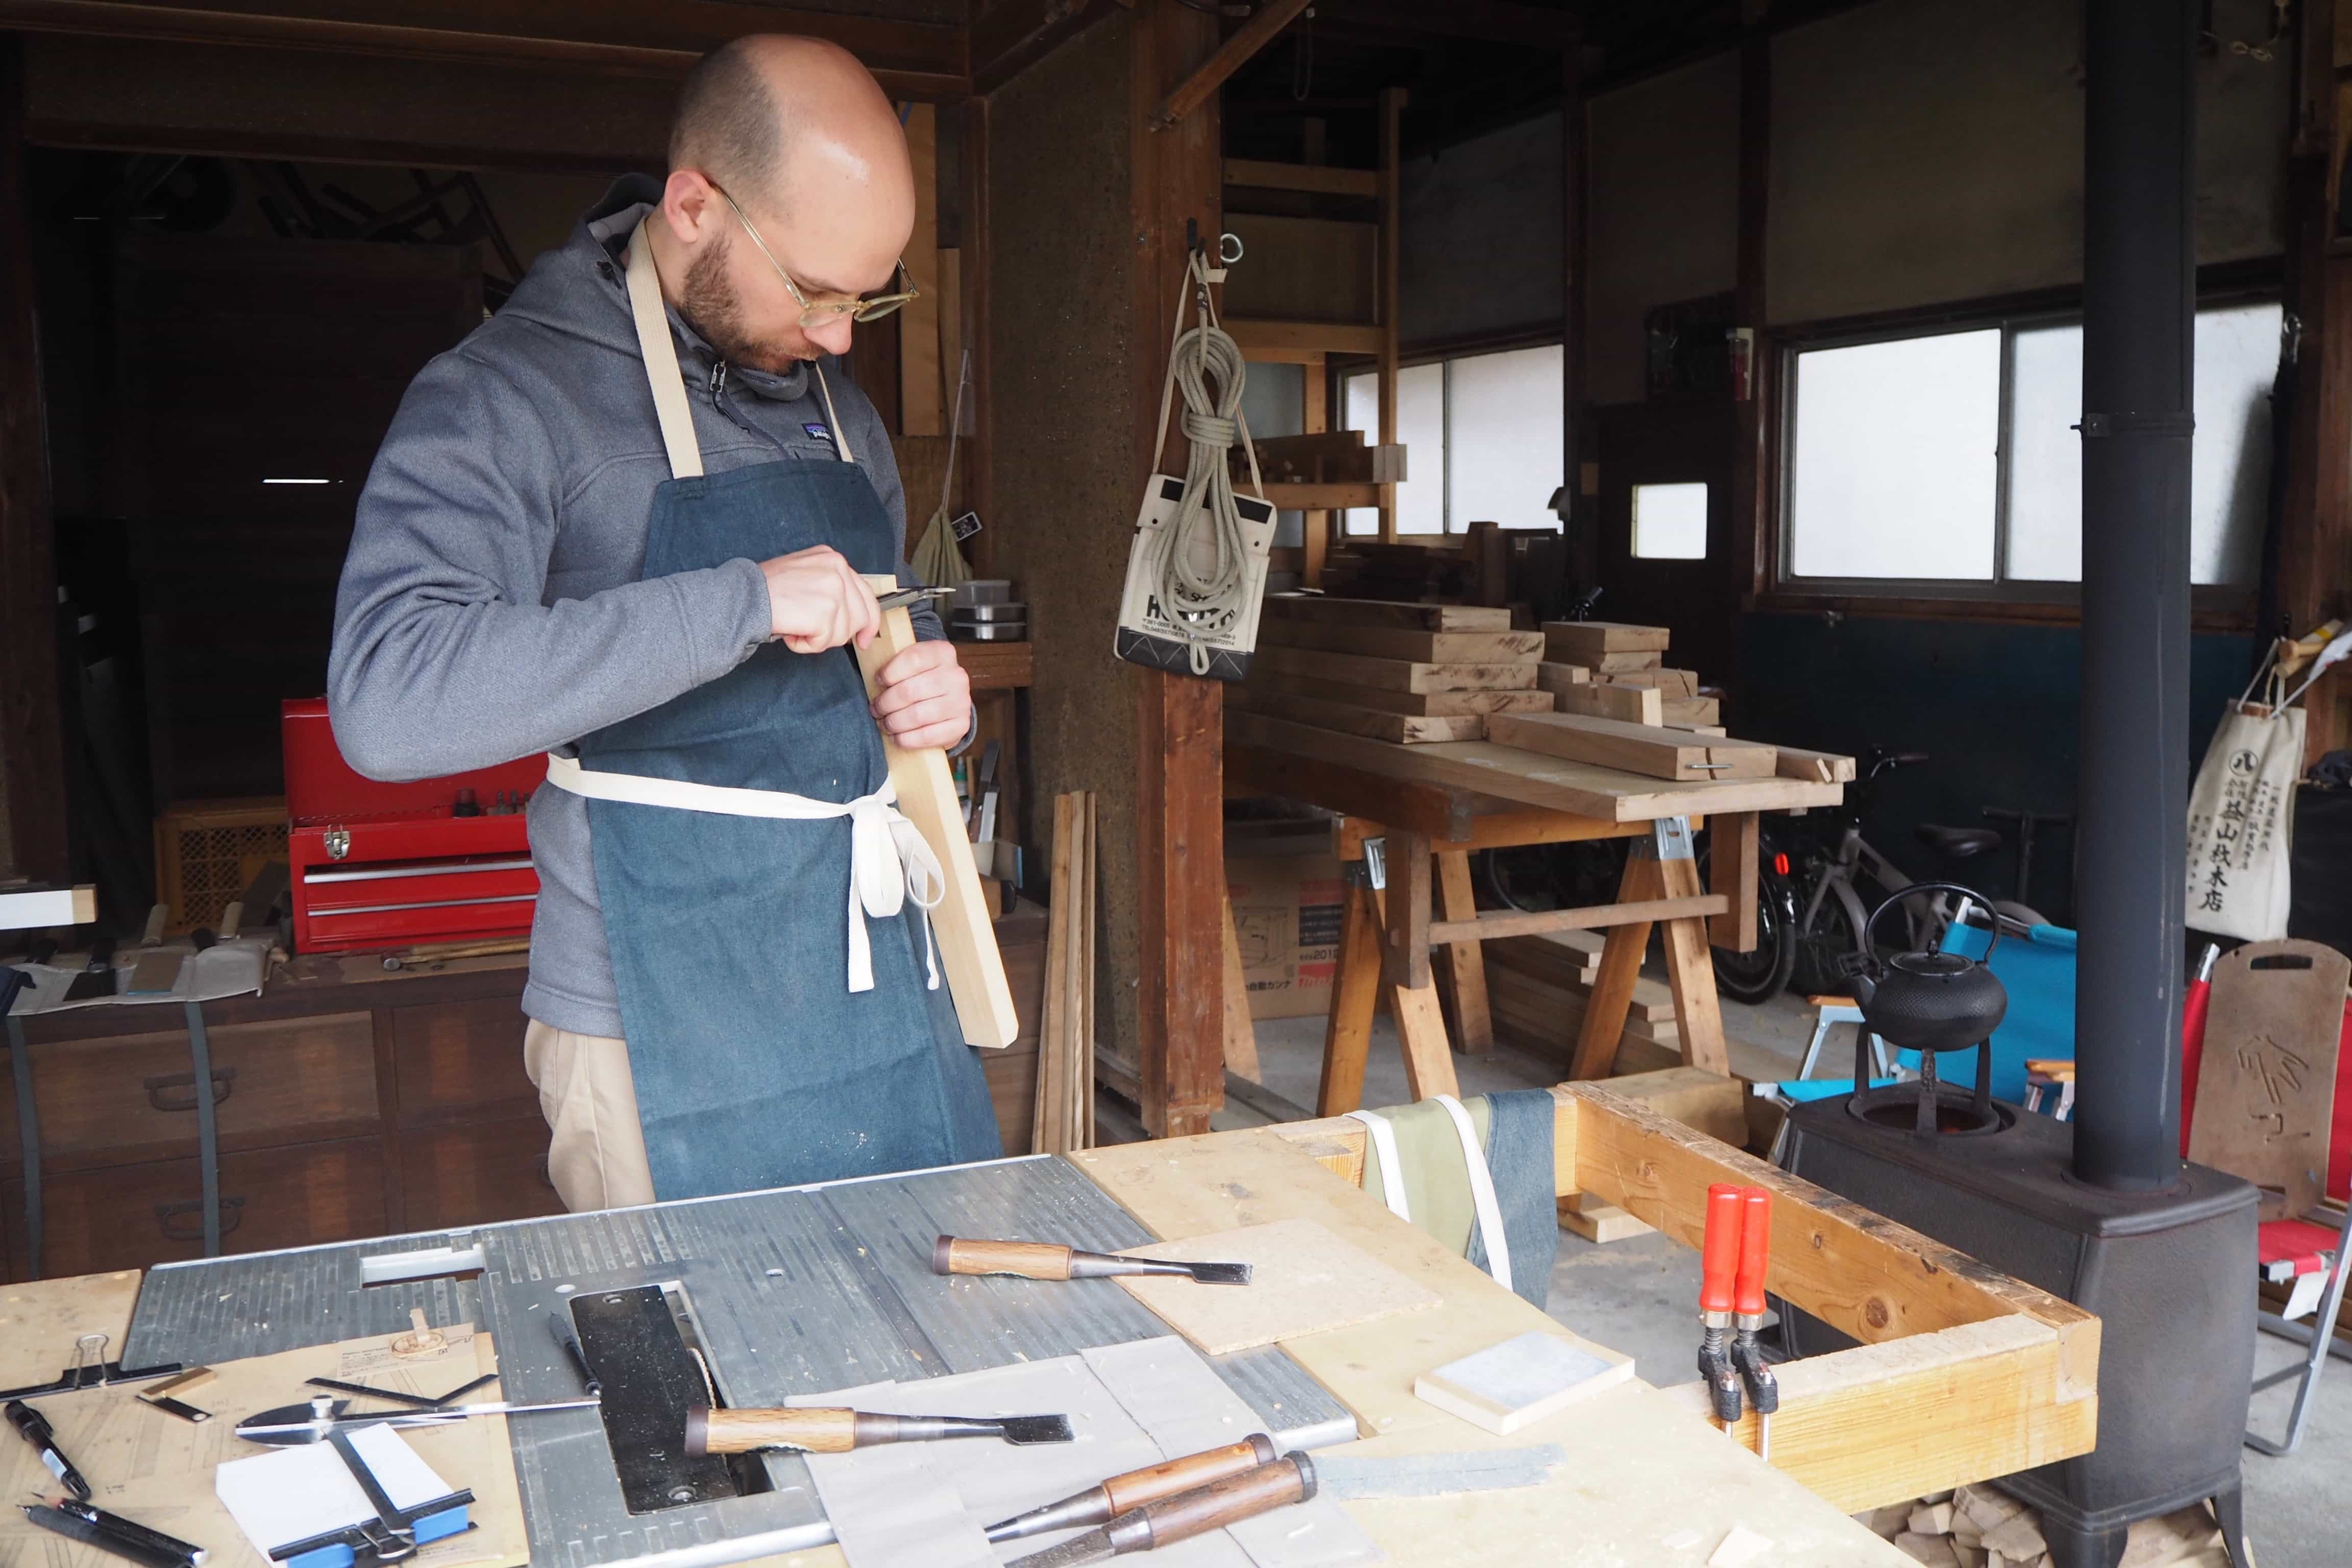
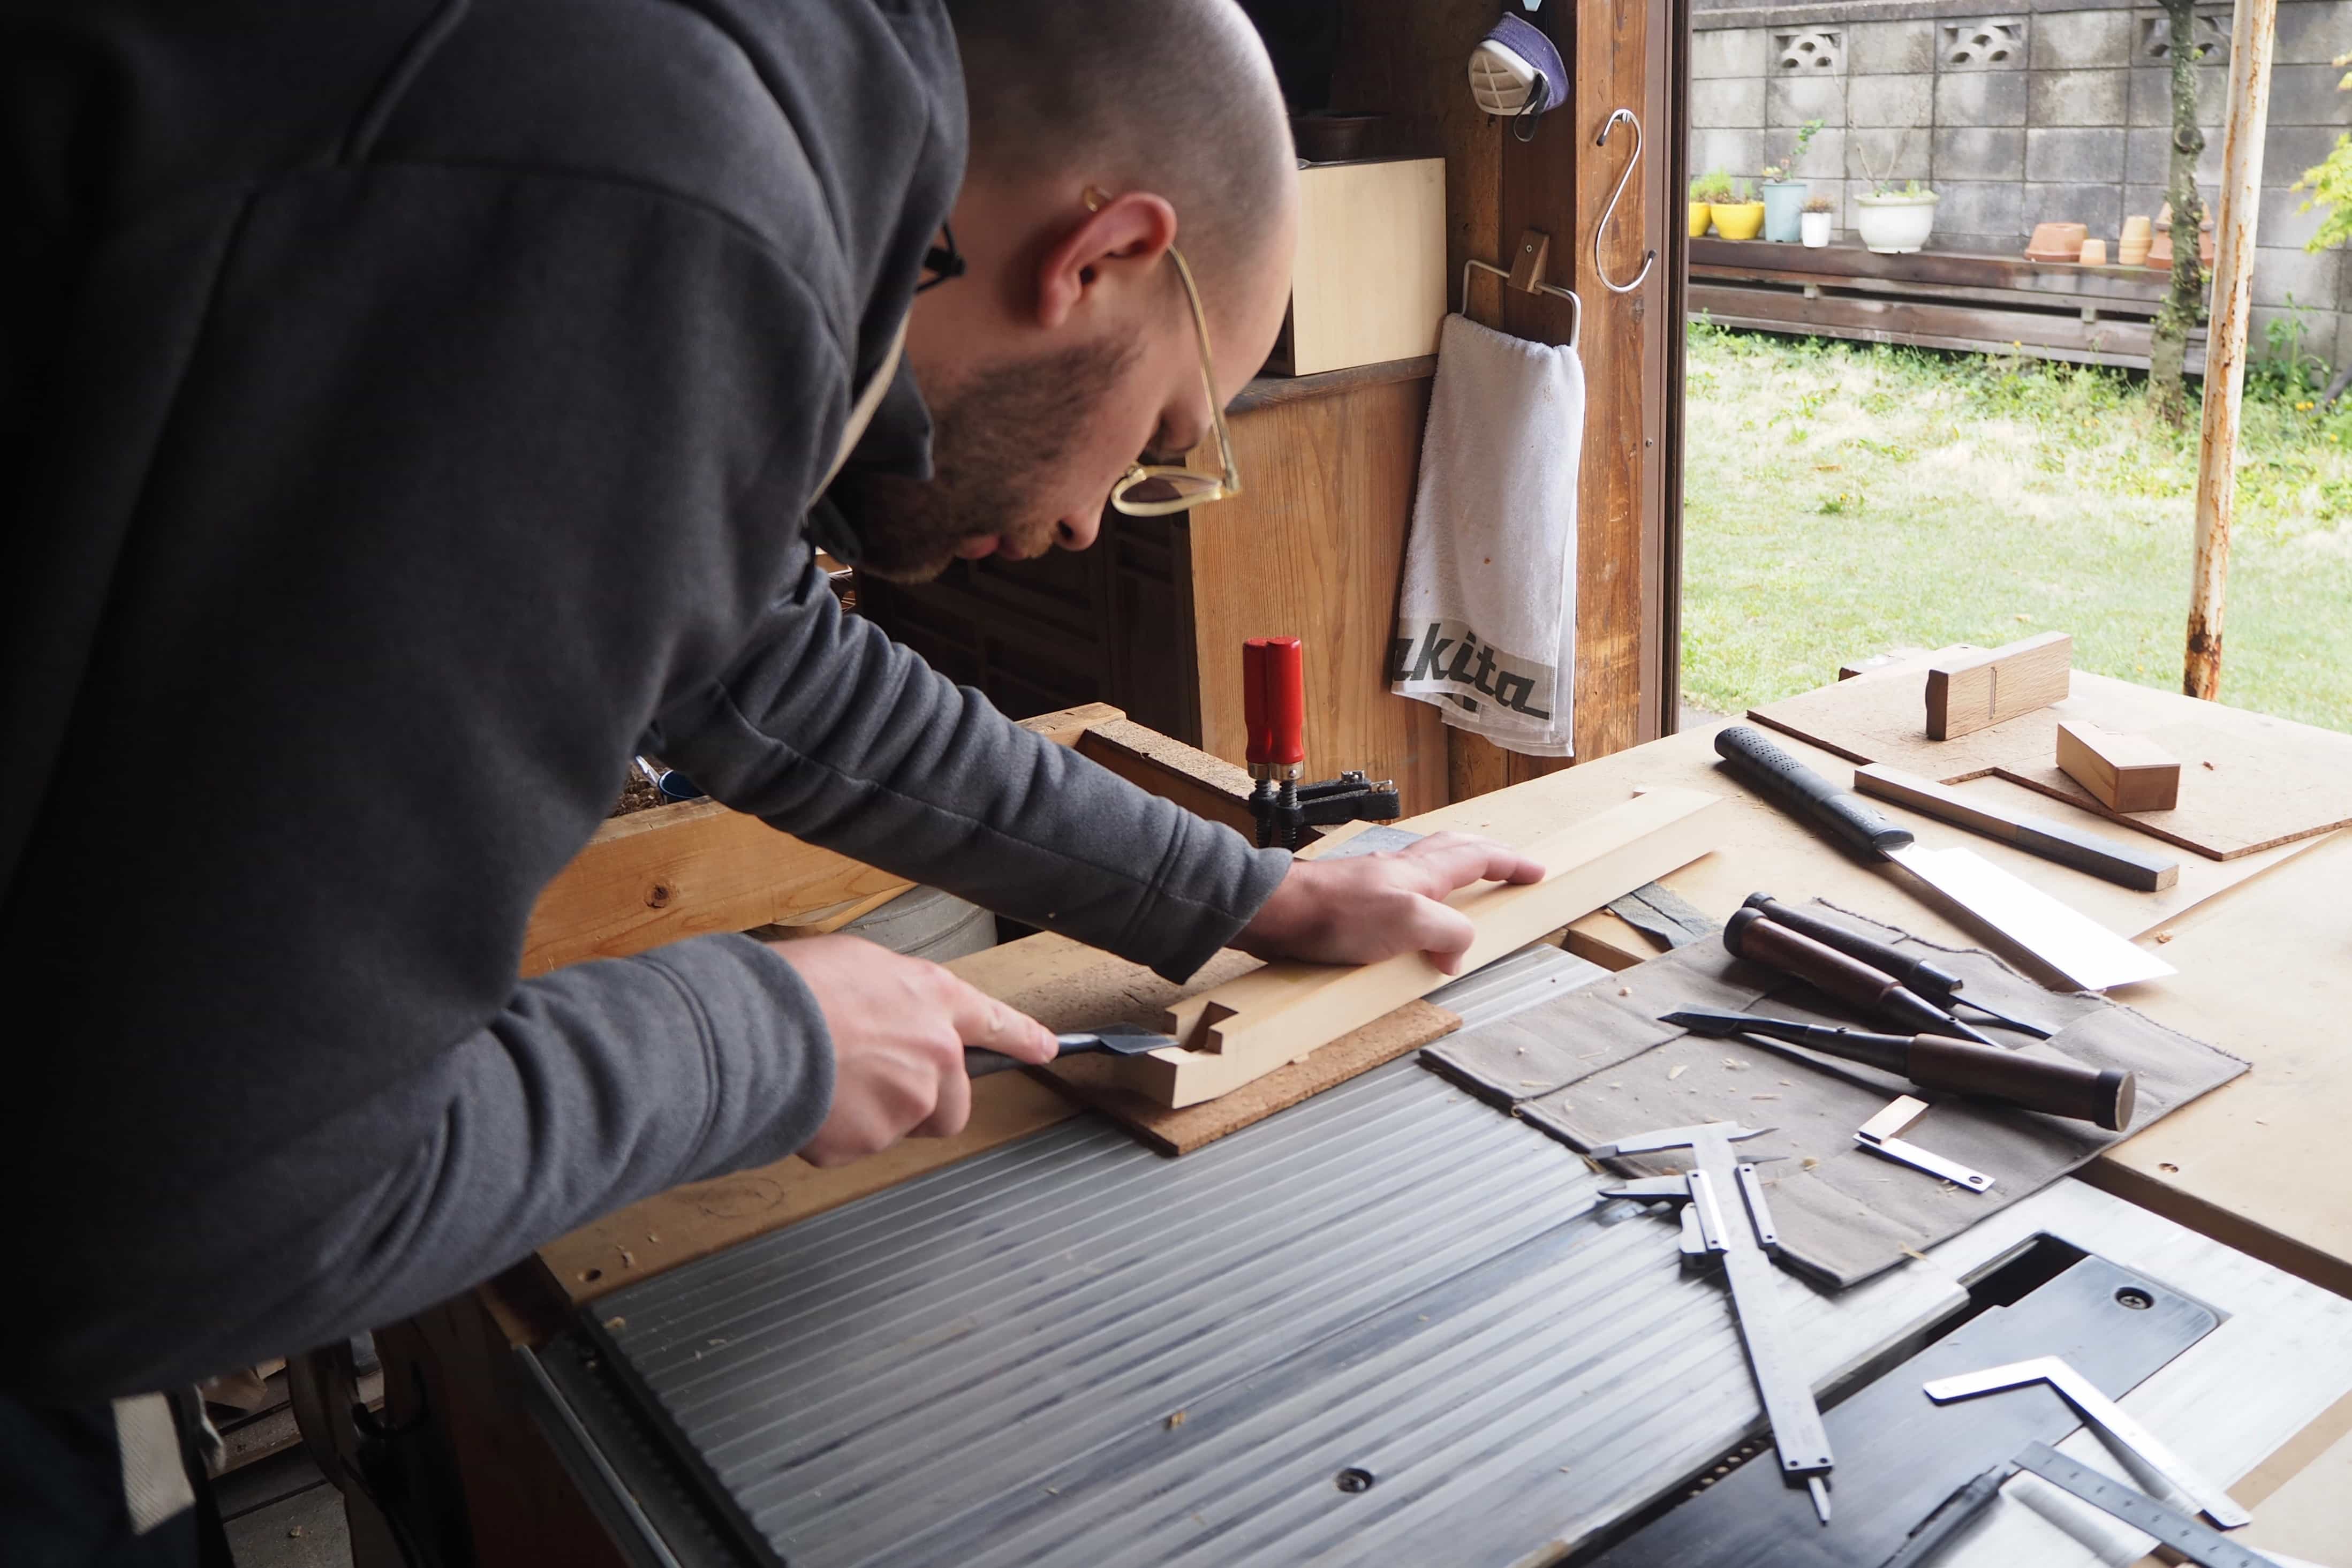
For the legs, we also got a chance to learn how to use a Japanese hand saw or nokogiri (鋸) which cut on the pull stroke whereas their western cousins cut on the push stroke. We practised on some offcuts before using it on the legs.
While you can’t get as much as your body weight behind the stroke as with western saws, the grace and accuracy of the nokogiri has led its popularity to grow among woodworkers the world over.
internationaltimber.com
Chamfering the edges
To make the edges more pleasant to the touch, we ran a Japanese plane or kanna (鉋) over them to create a chamfer. As with the saw, the kanna is pulled towards the carpenter rather than pushed in the manner of western-style planes.
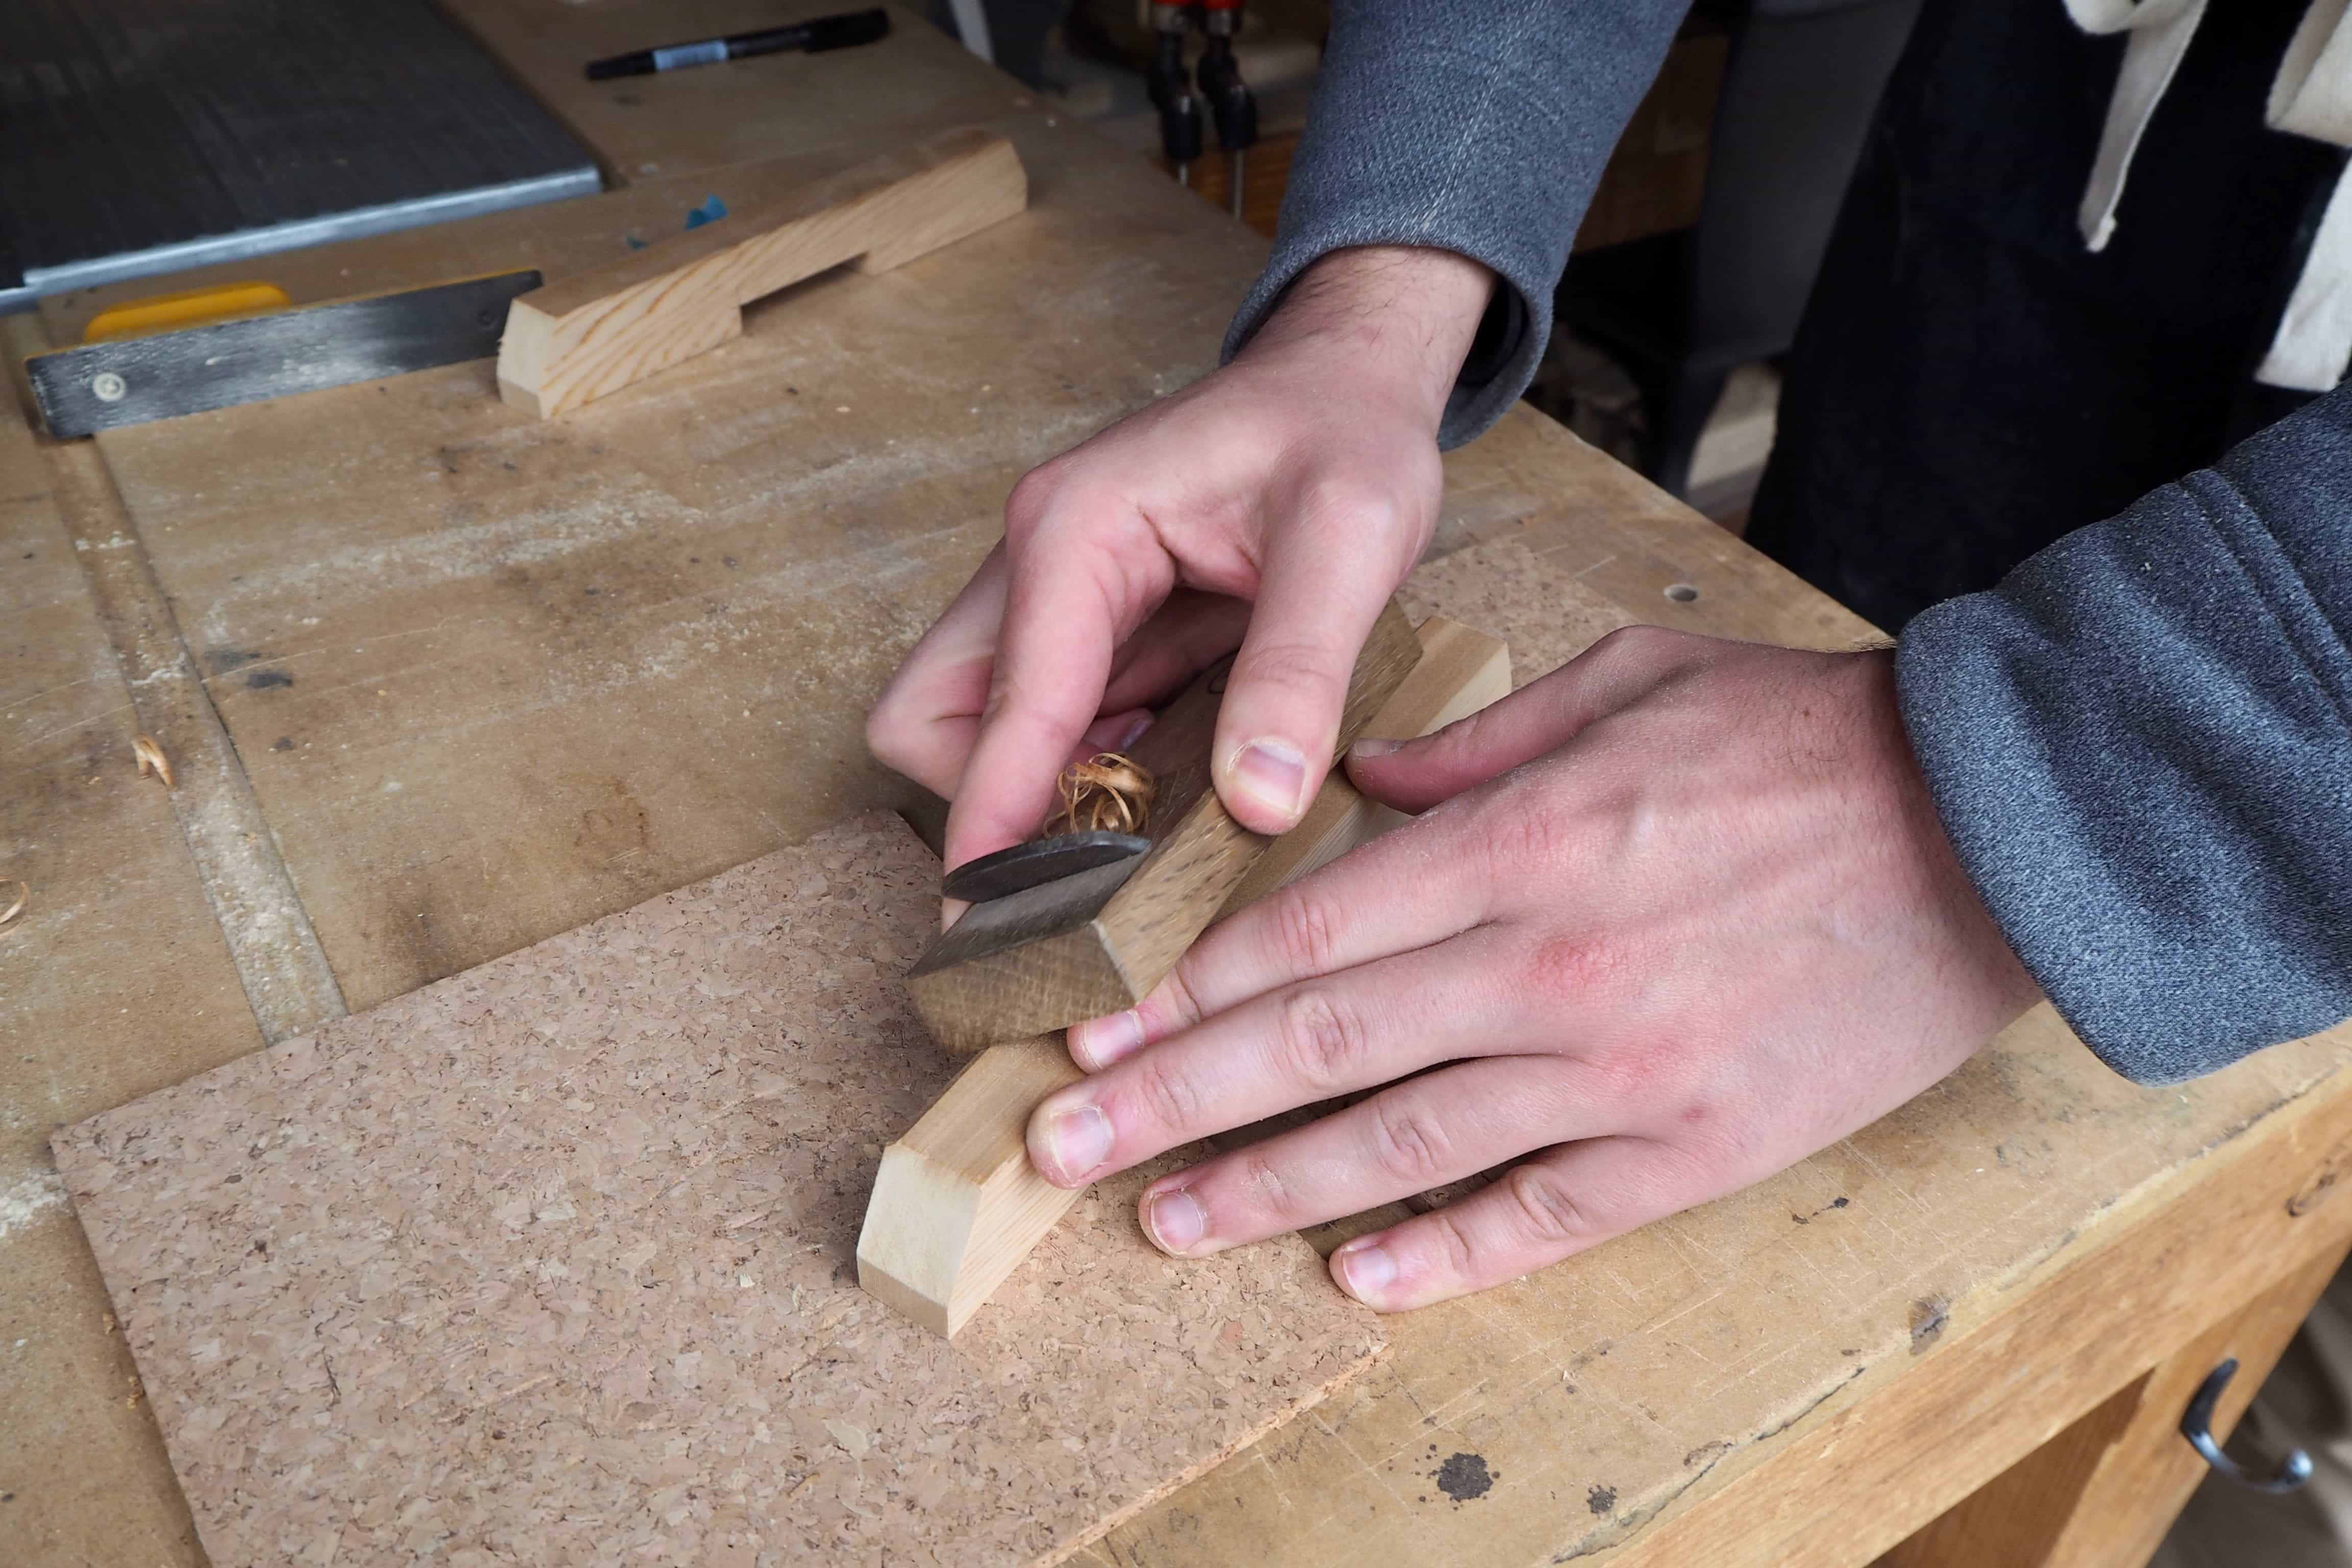
A master carpenter with a highly tuned plane can cut shaves of wood microns thin and regularly compete in Japan to see who can do it the thinnest!
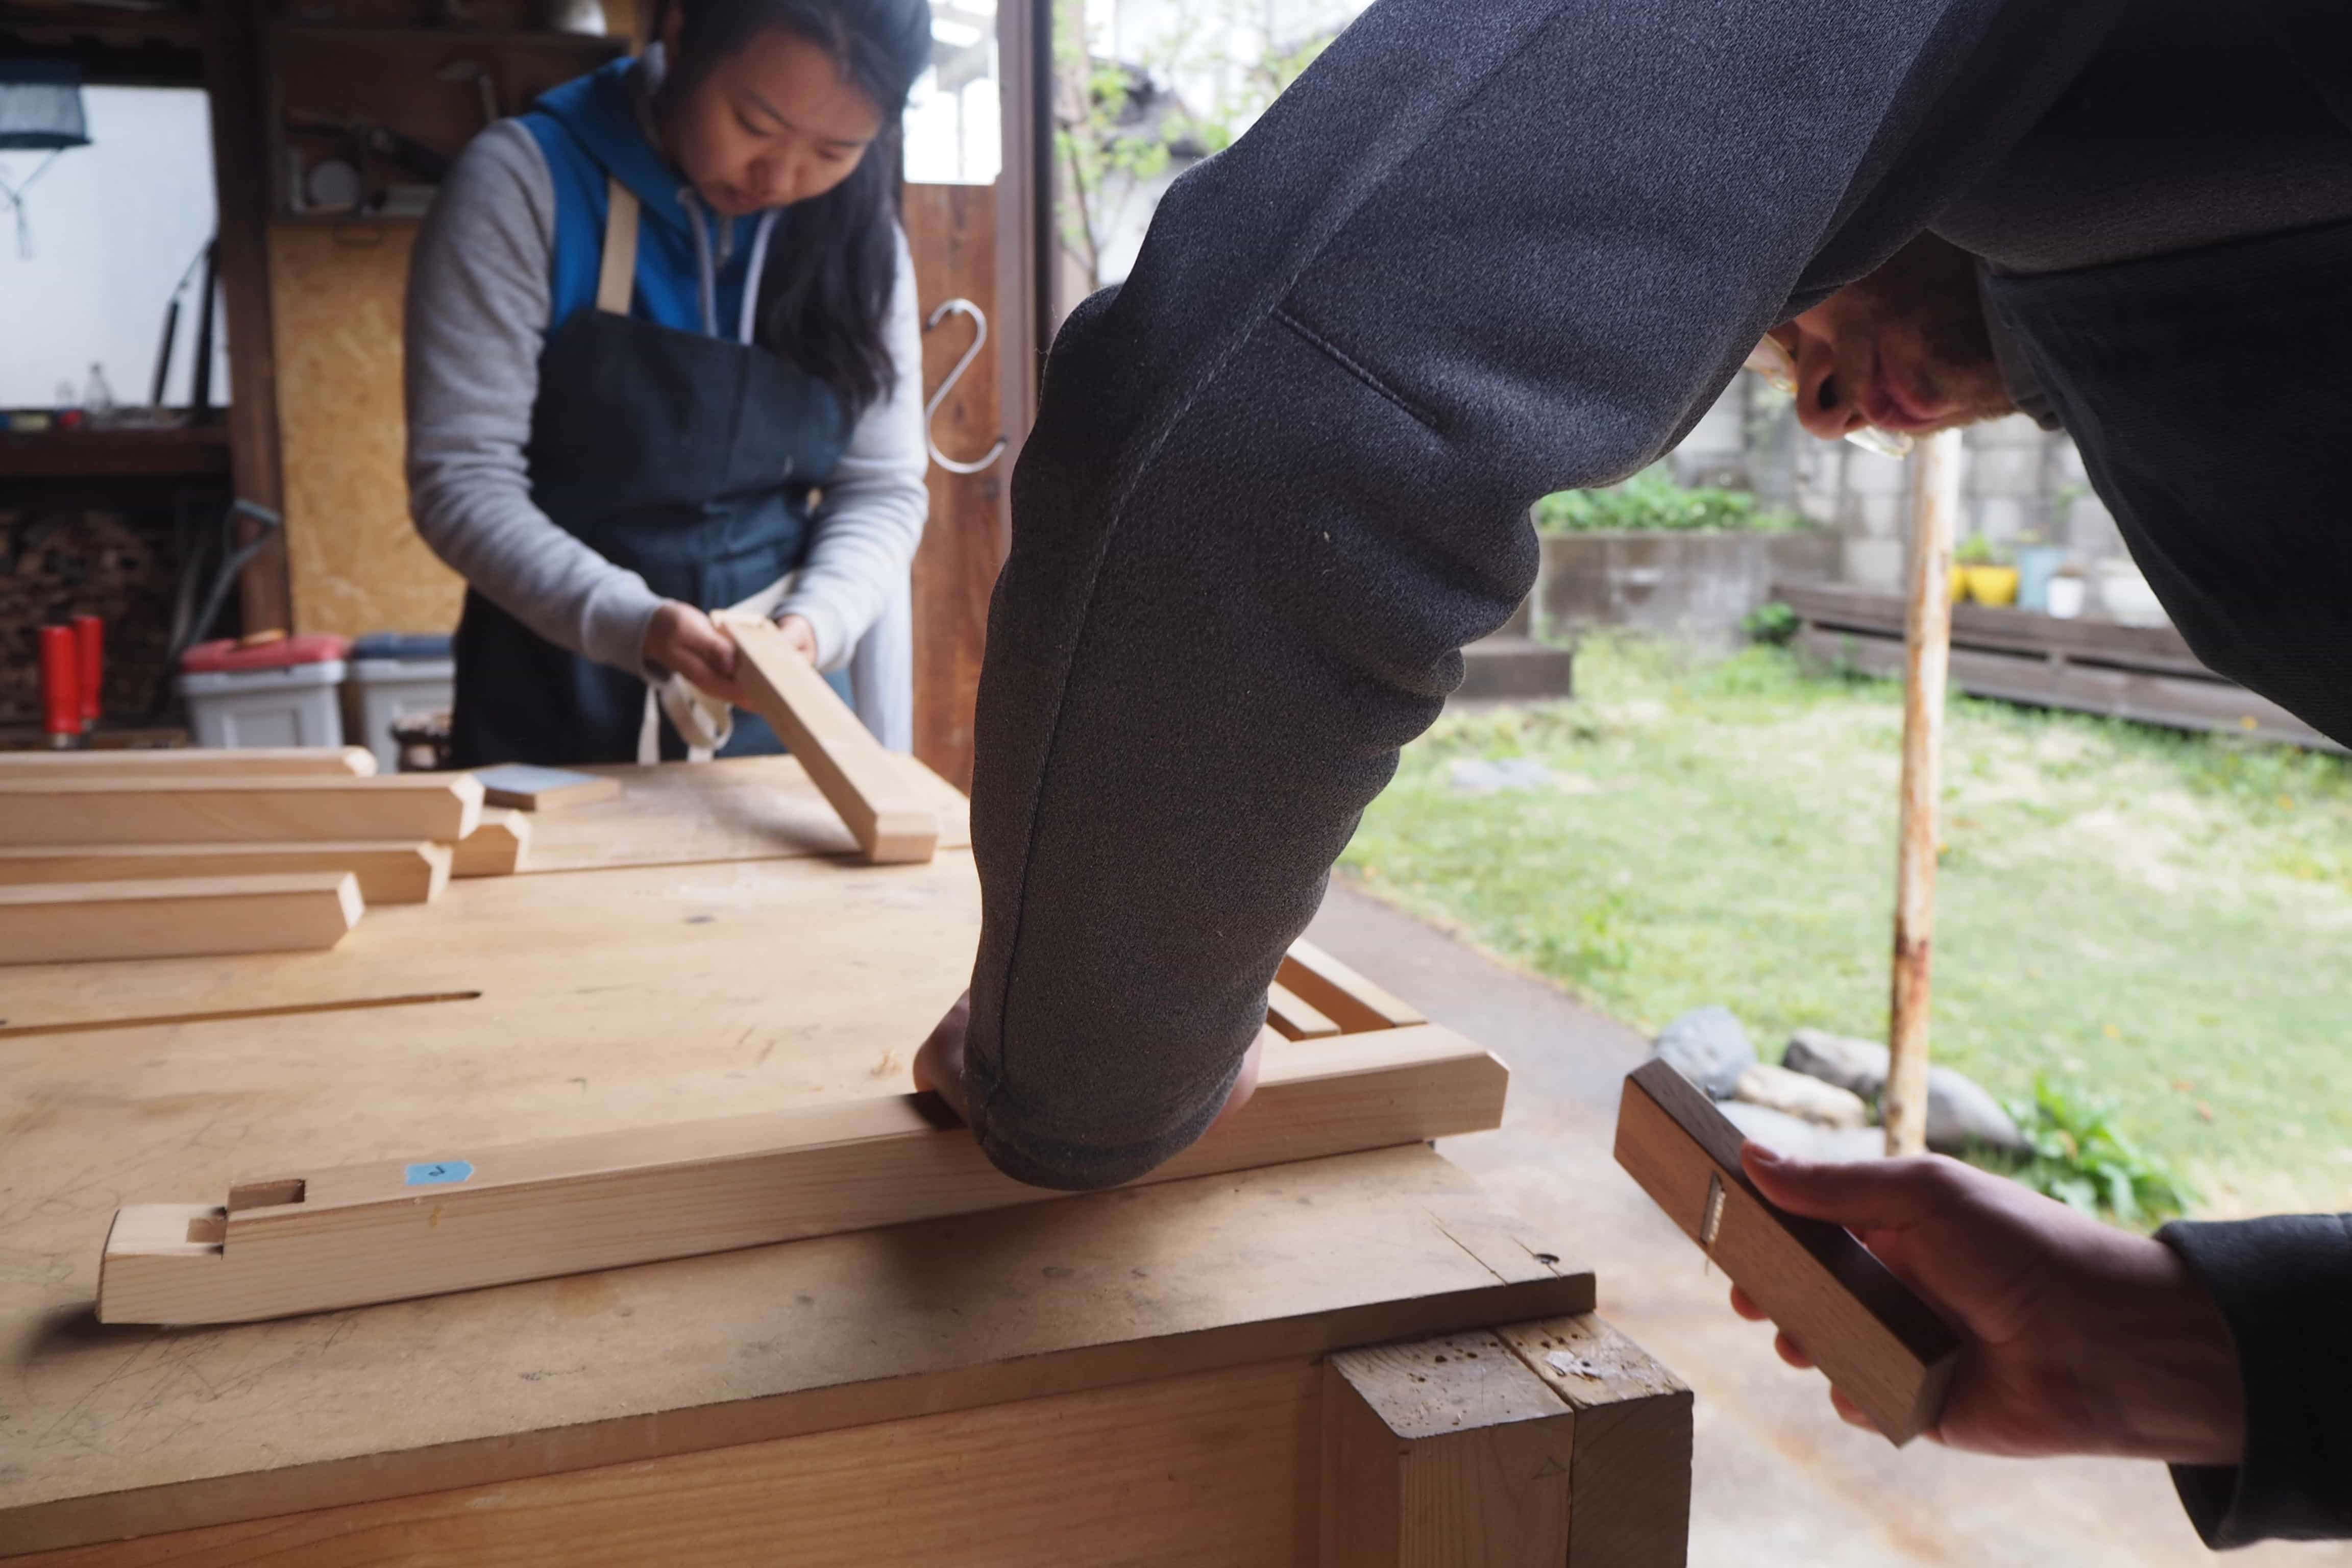
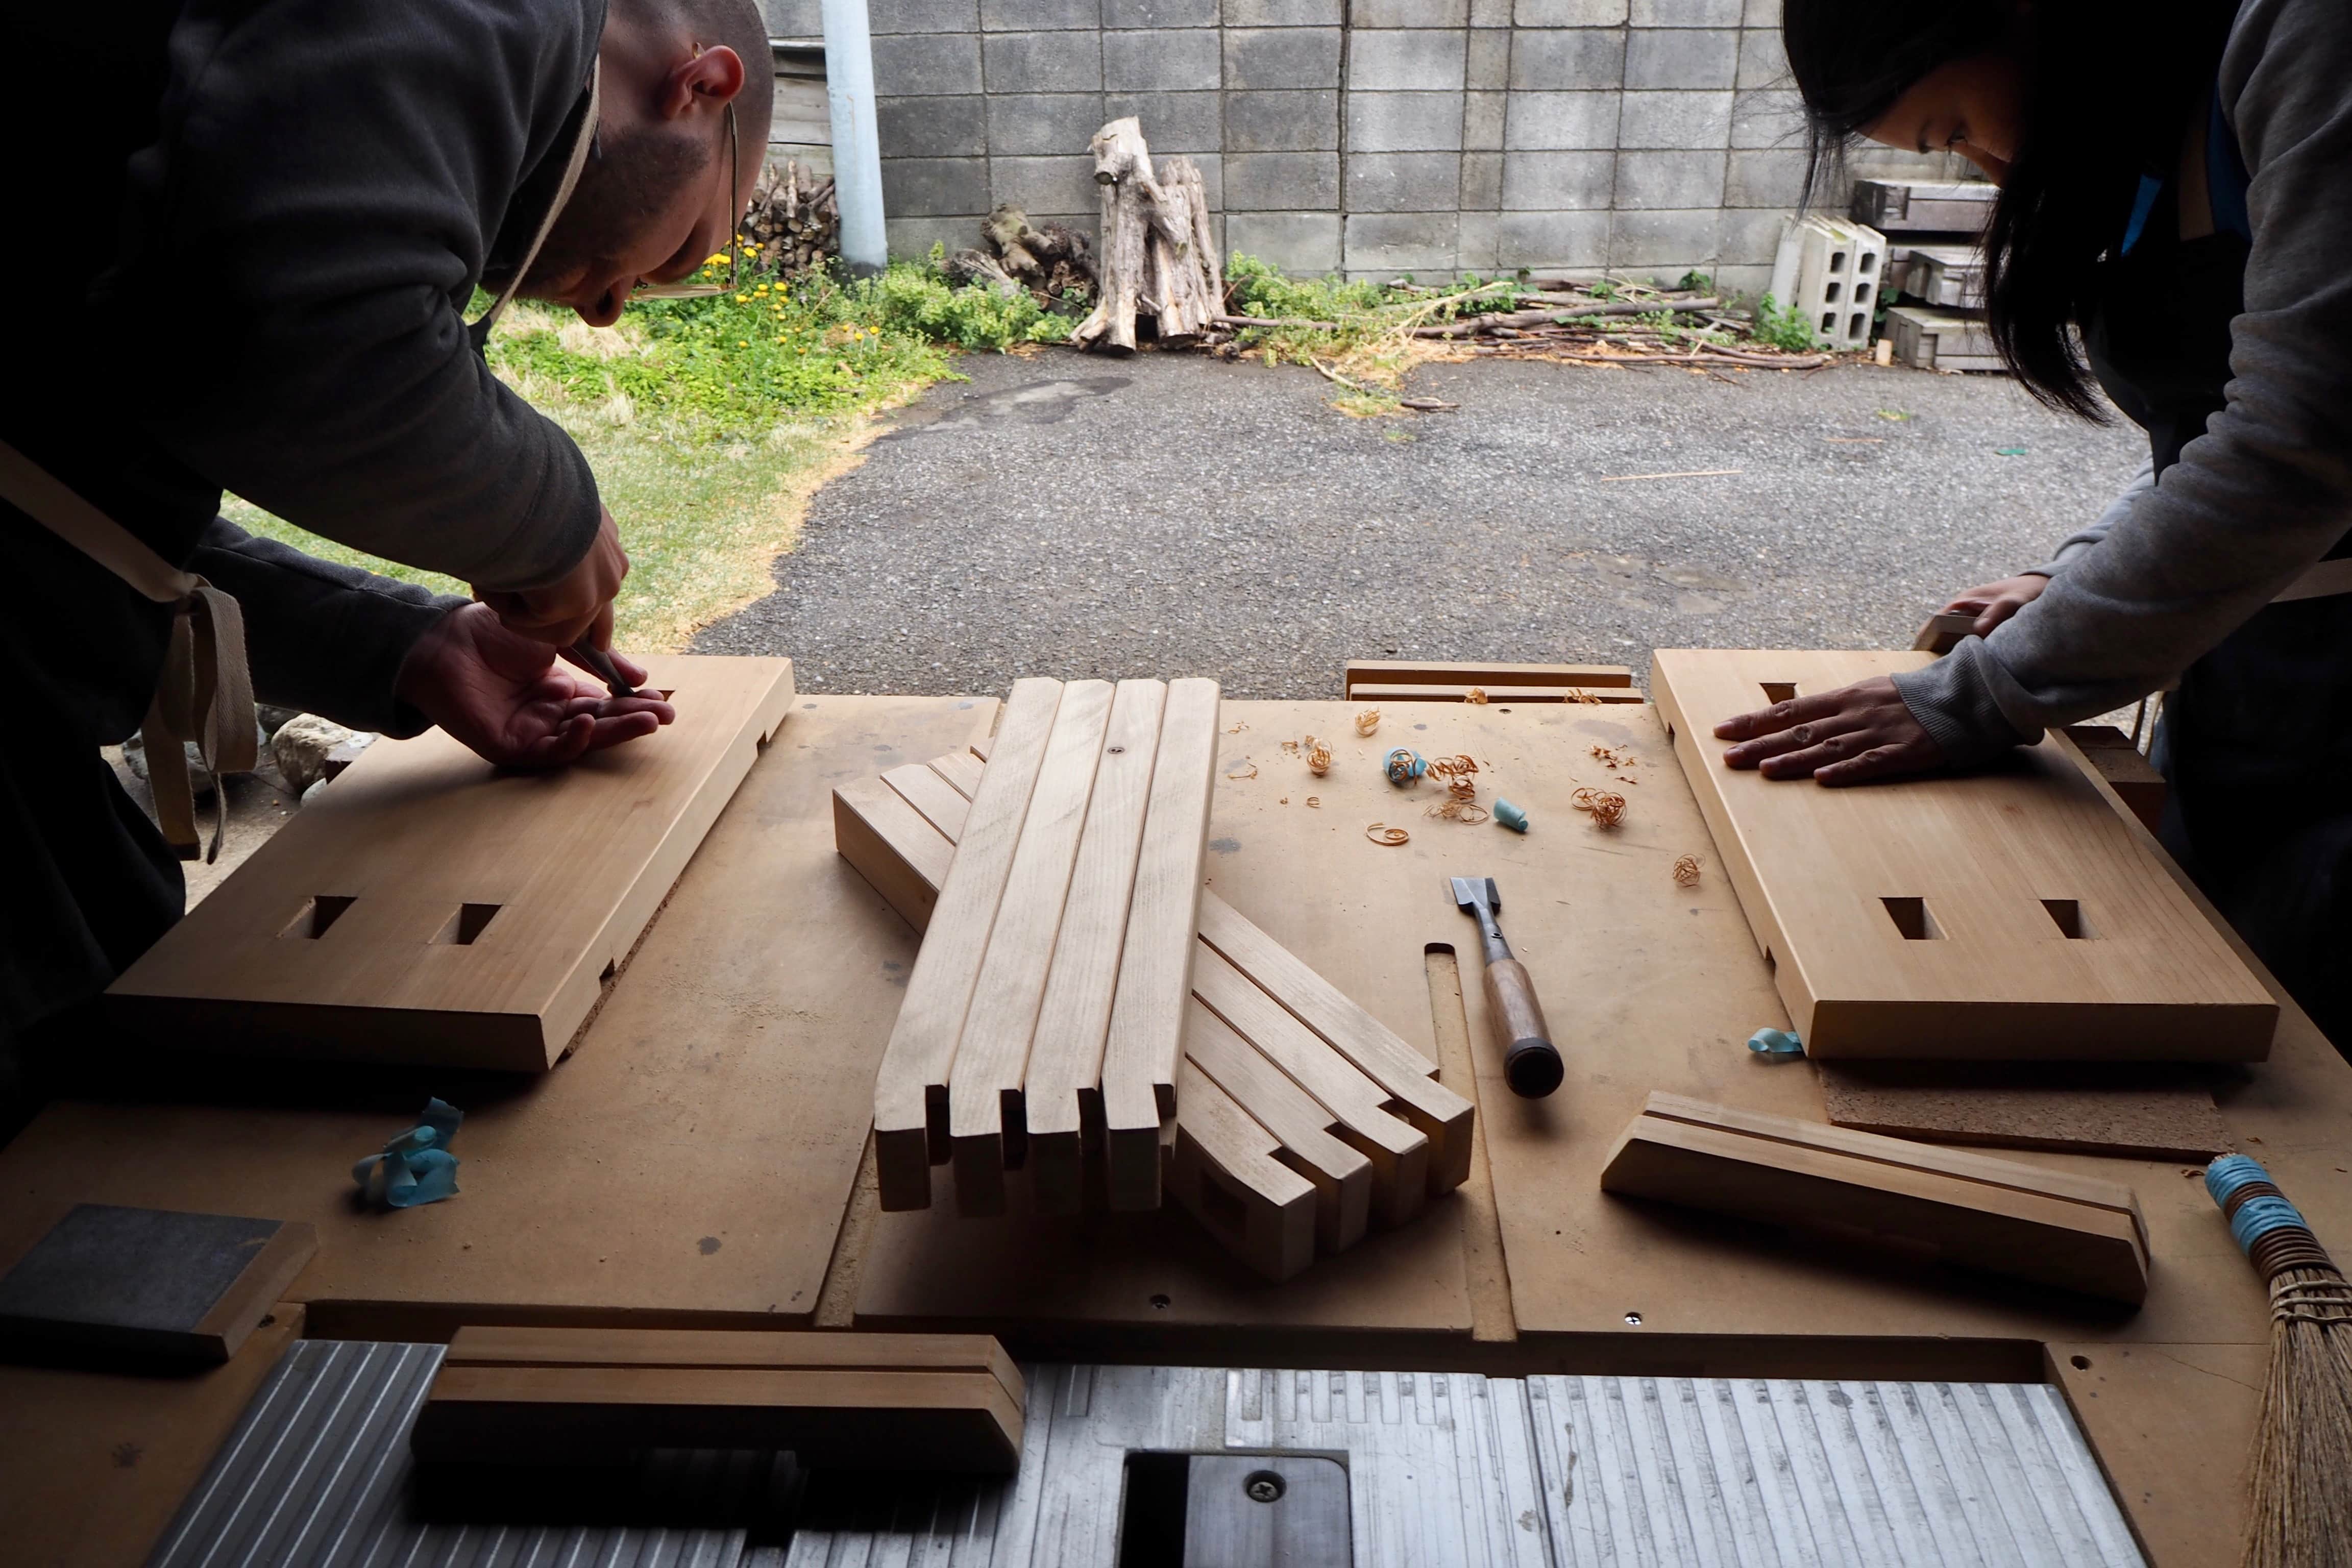
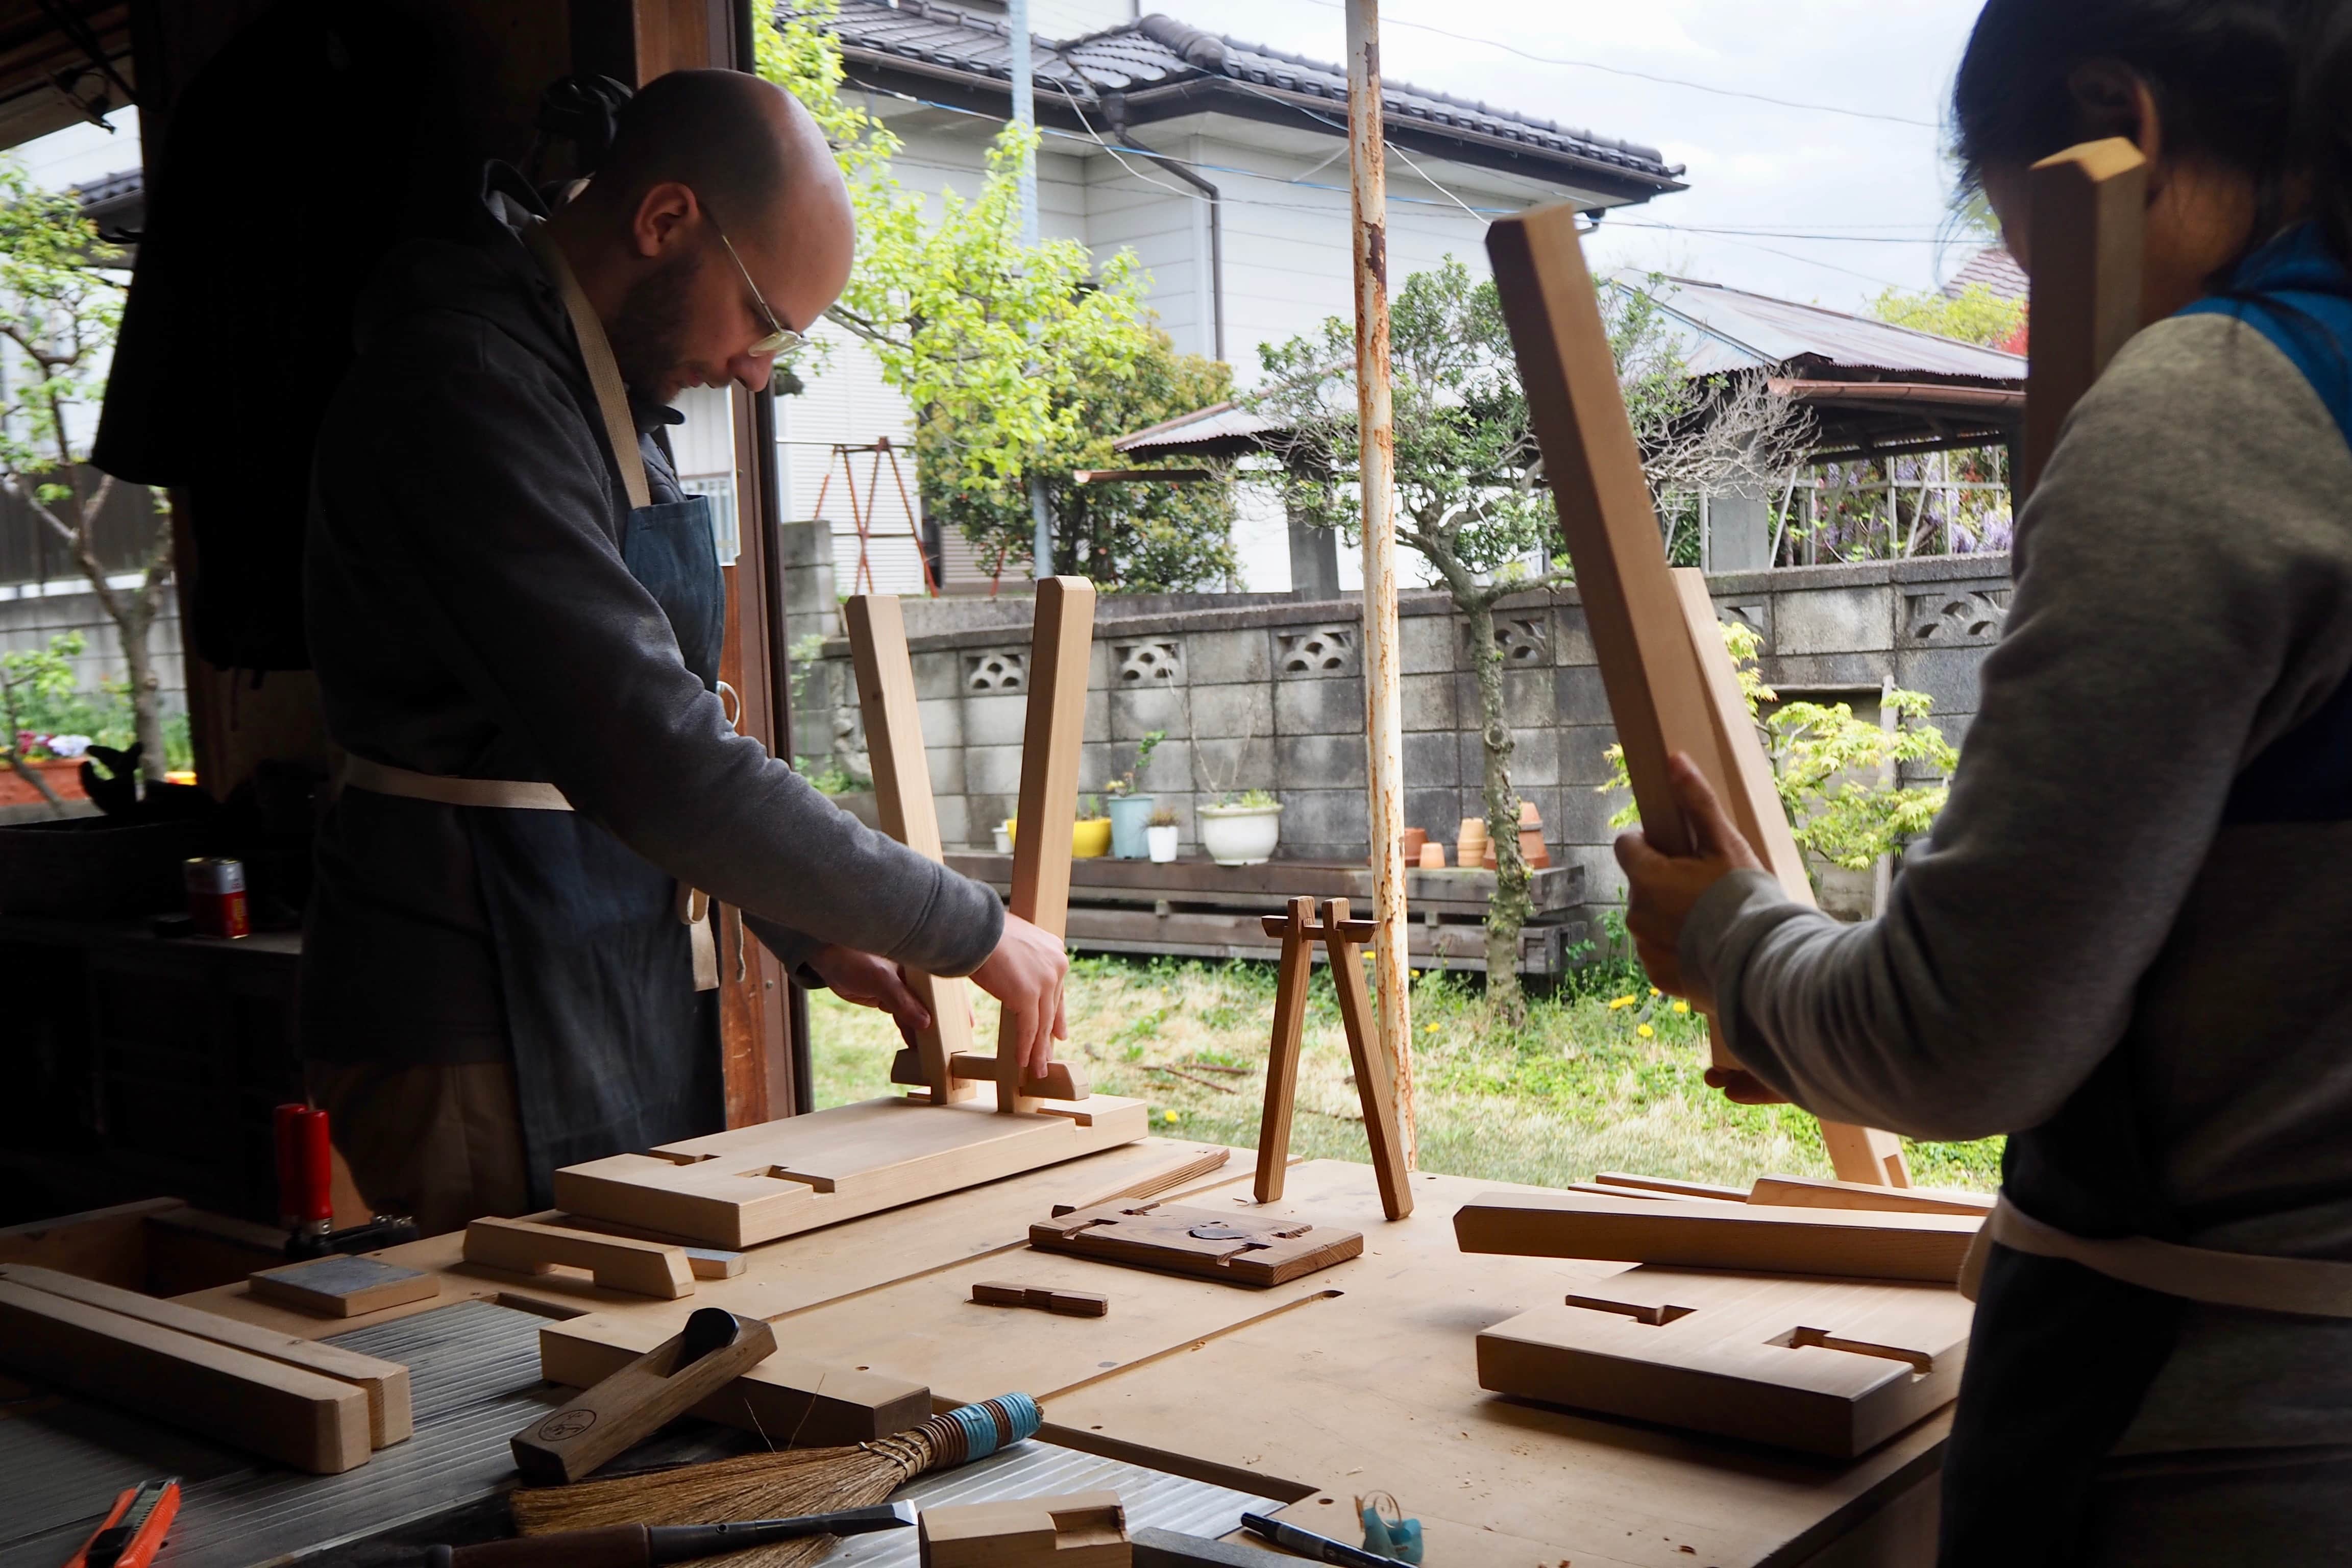
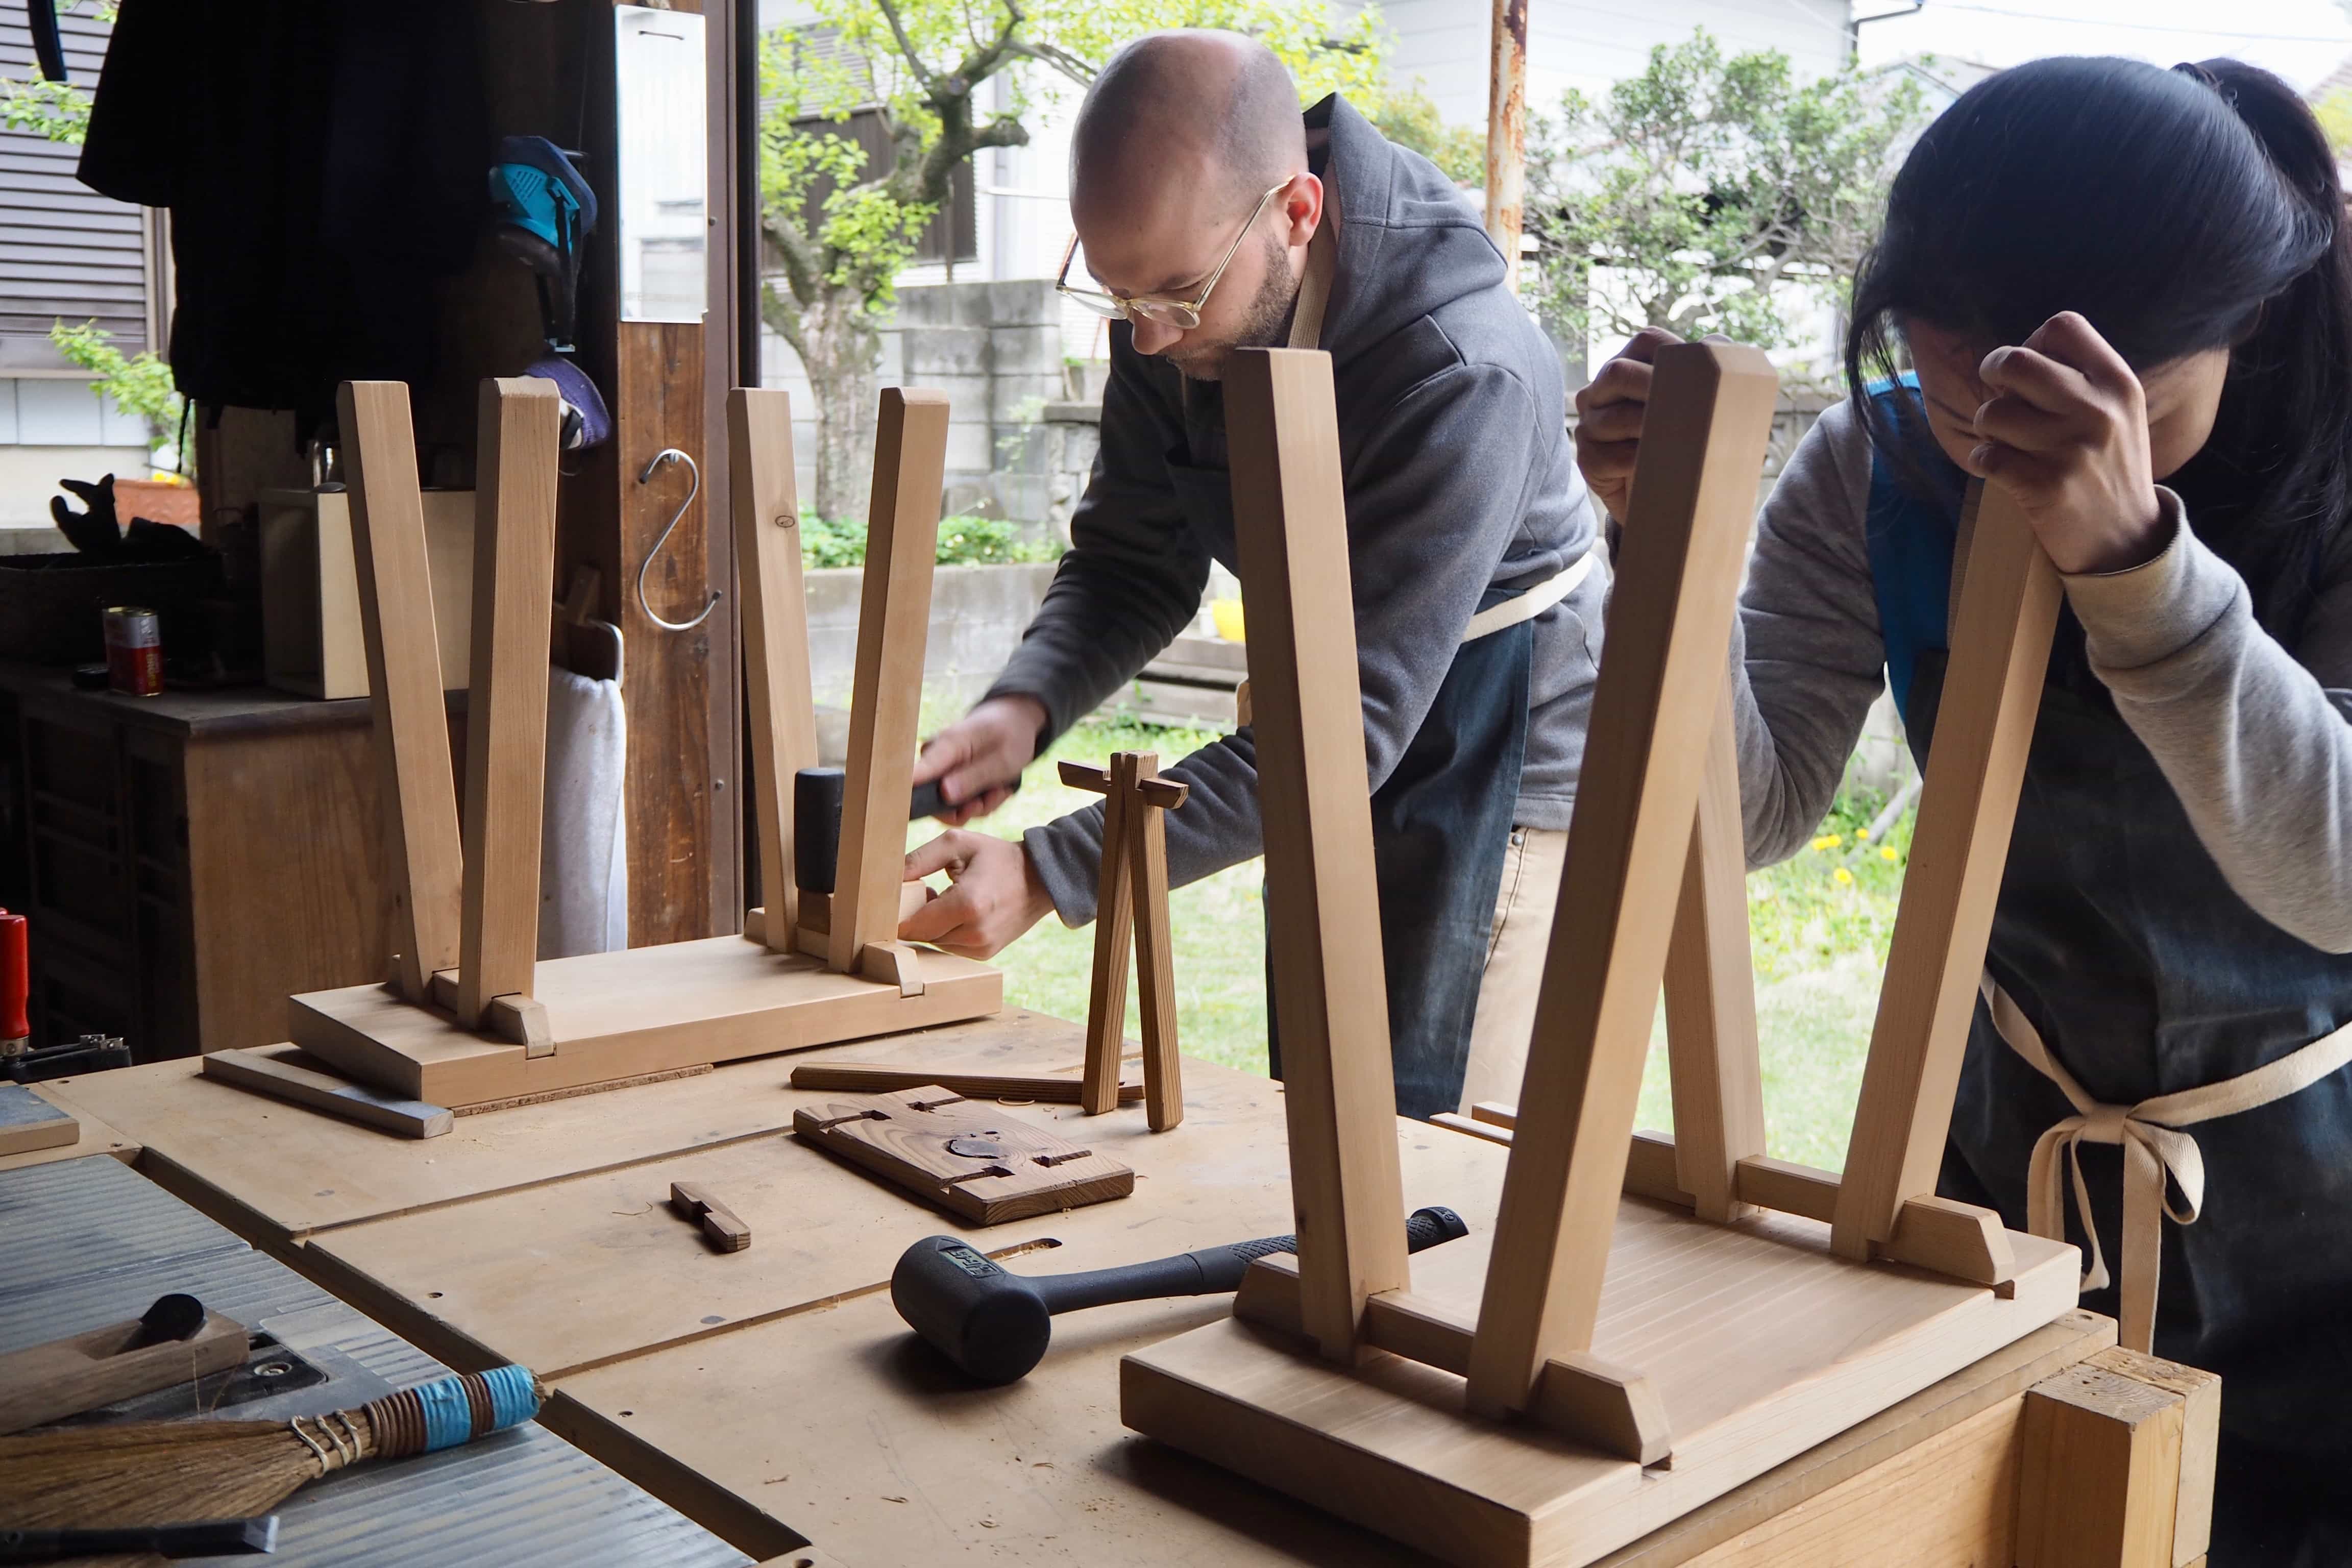
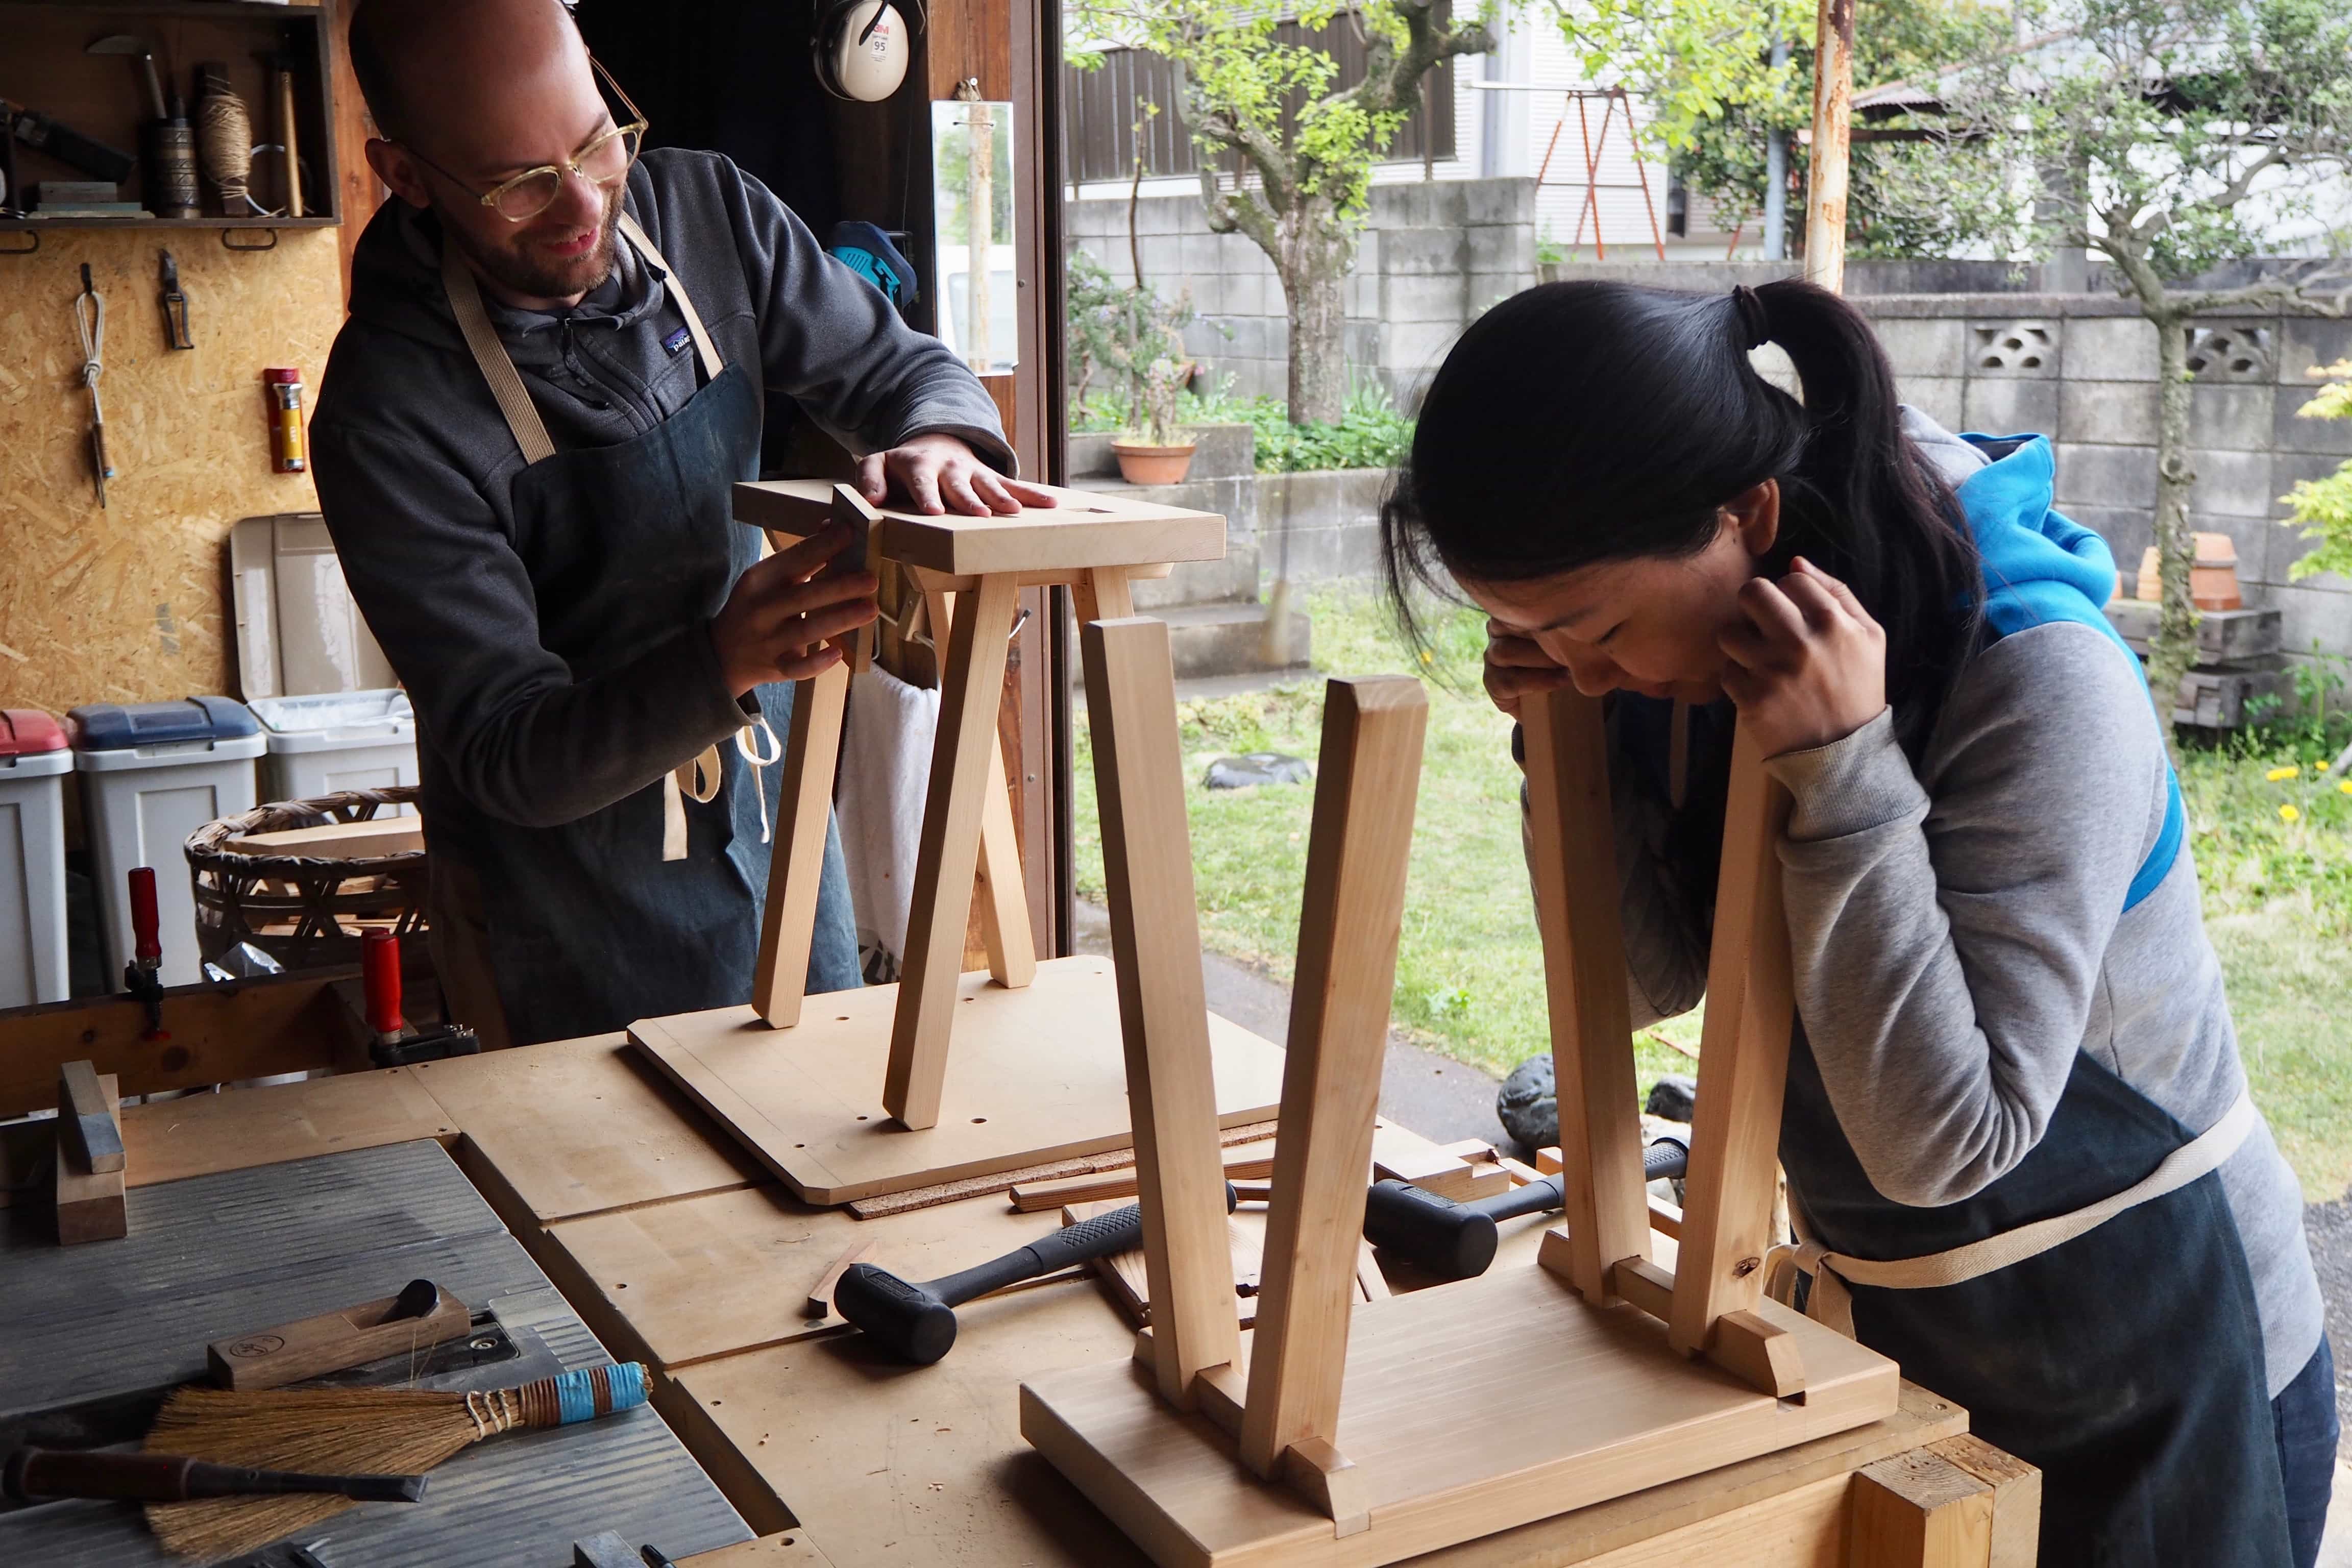
Assembly
After two days of hard work, on the morning of day three, we were ready to begin putting everything together.
Since we were not using any glue or nails, assembly was a case of fitting (and sometimes cajoling) each leg to its respective socket. We carefully shaved down the areas preventing insertion and used a rubberised hammer to drive everything snugly into place.
To finish the stools, we gave them a final light sand and placed cork covers on the leg ends to prevent them
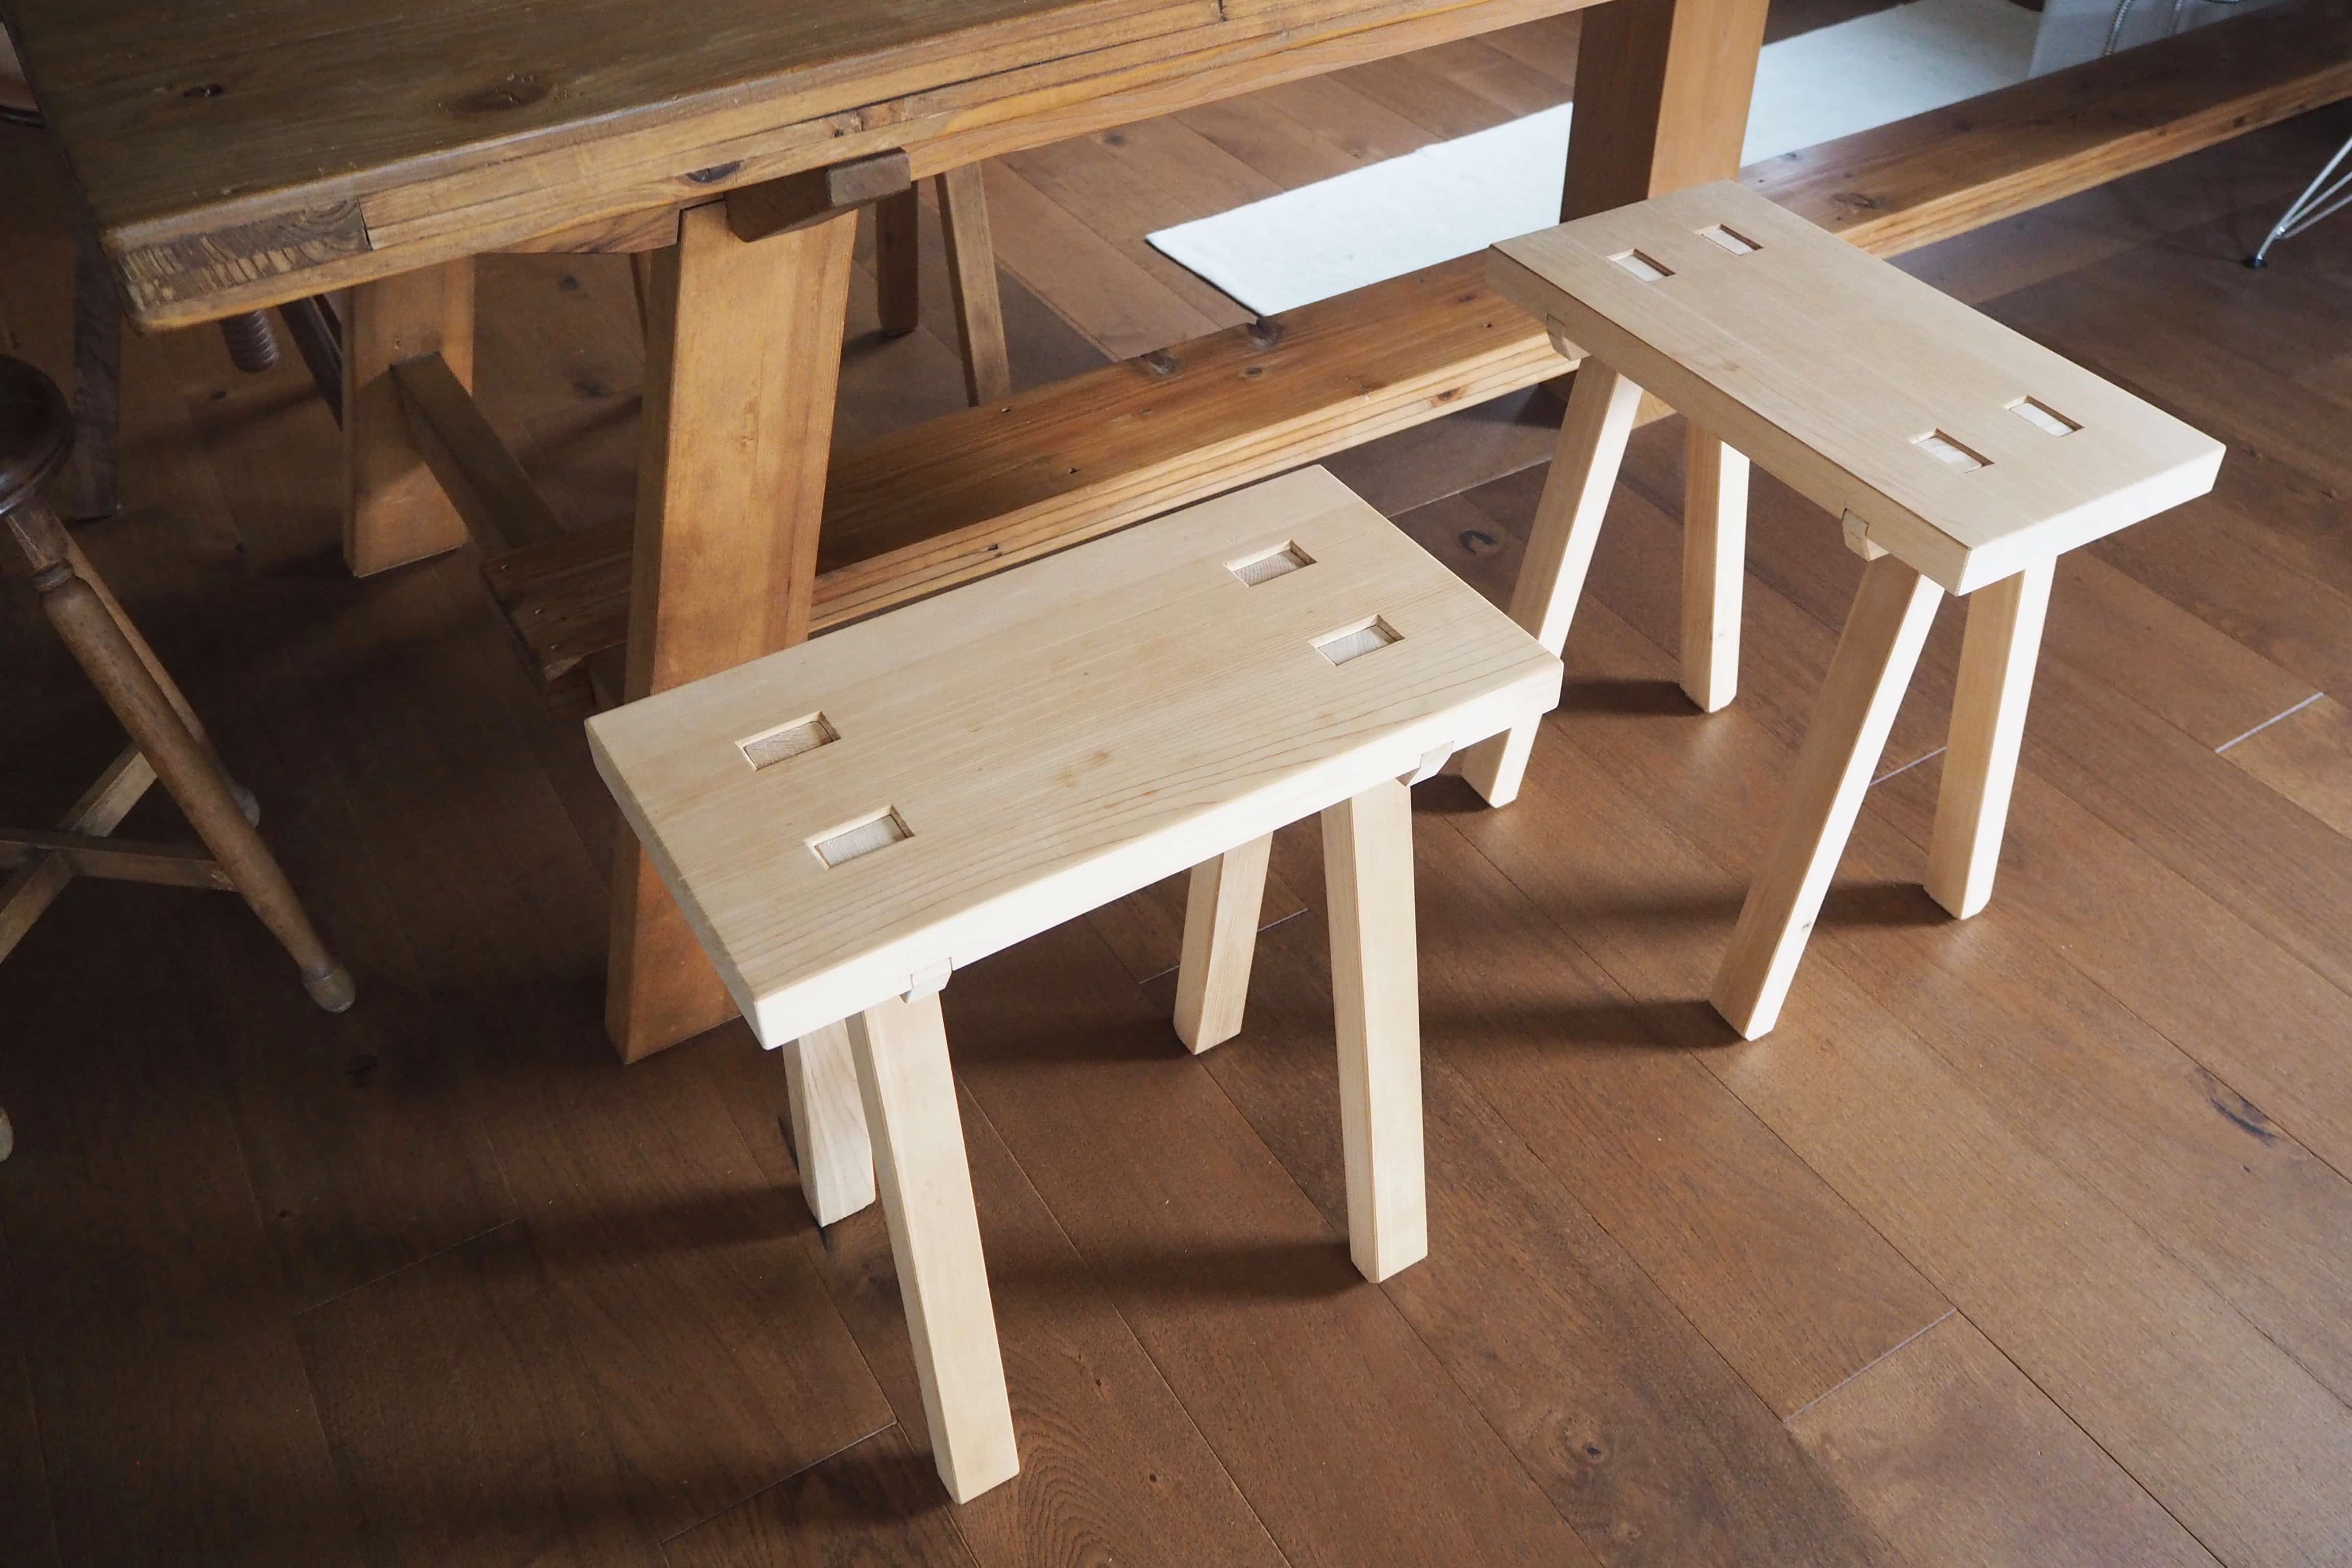
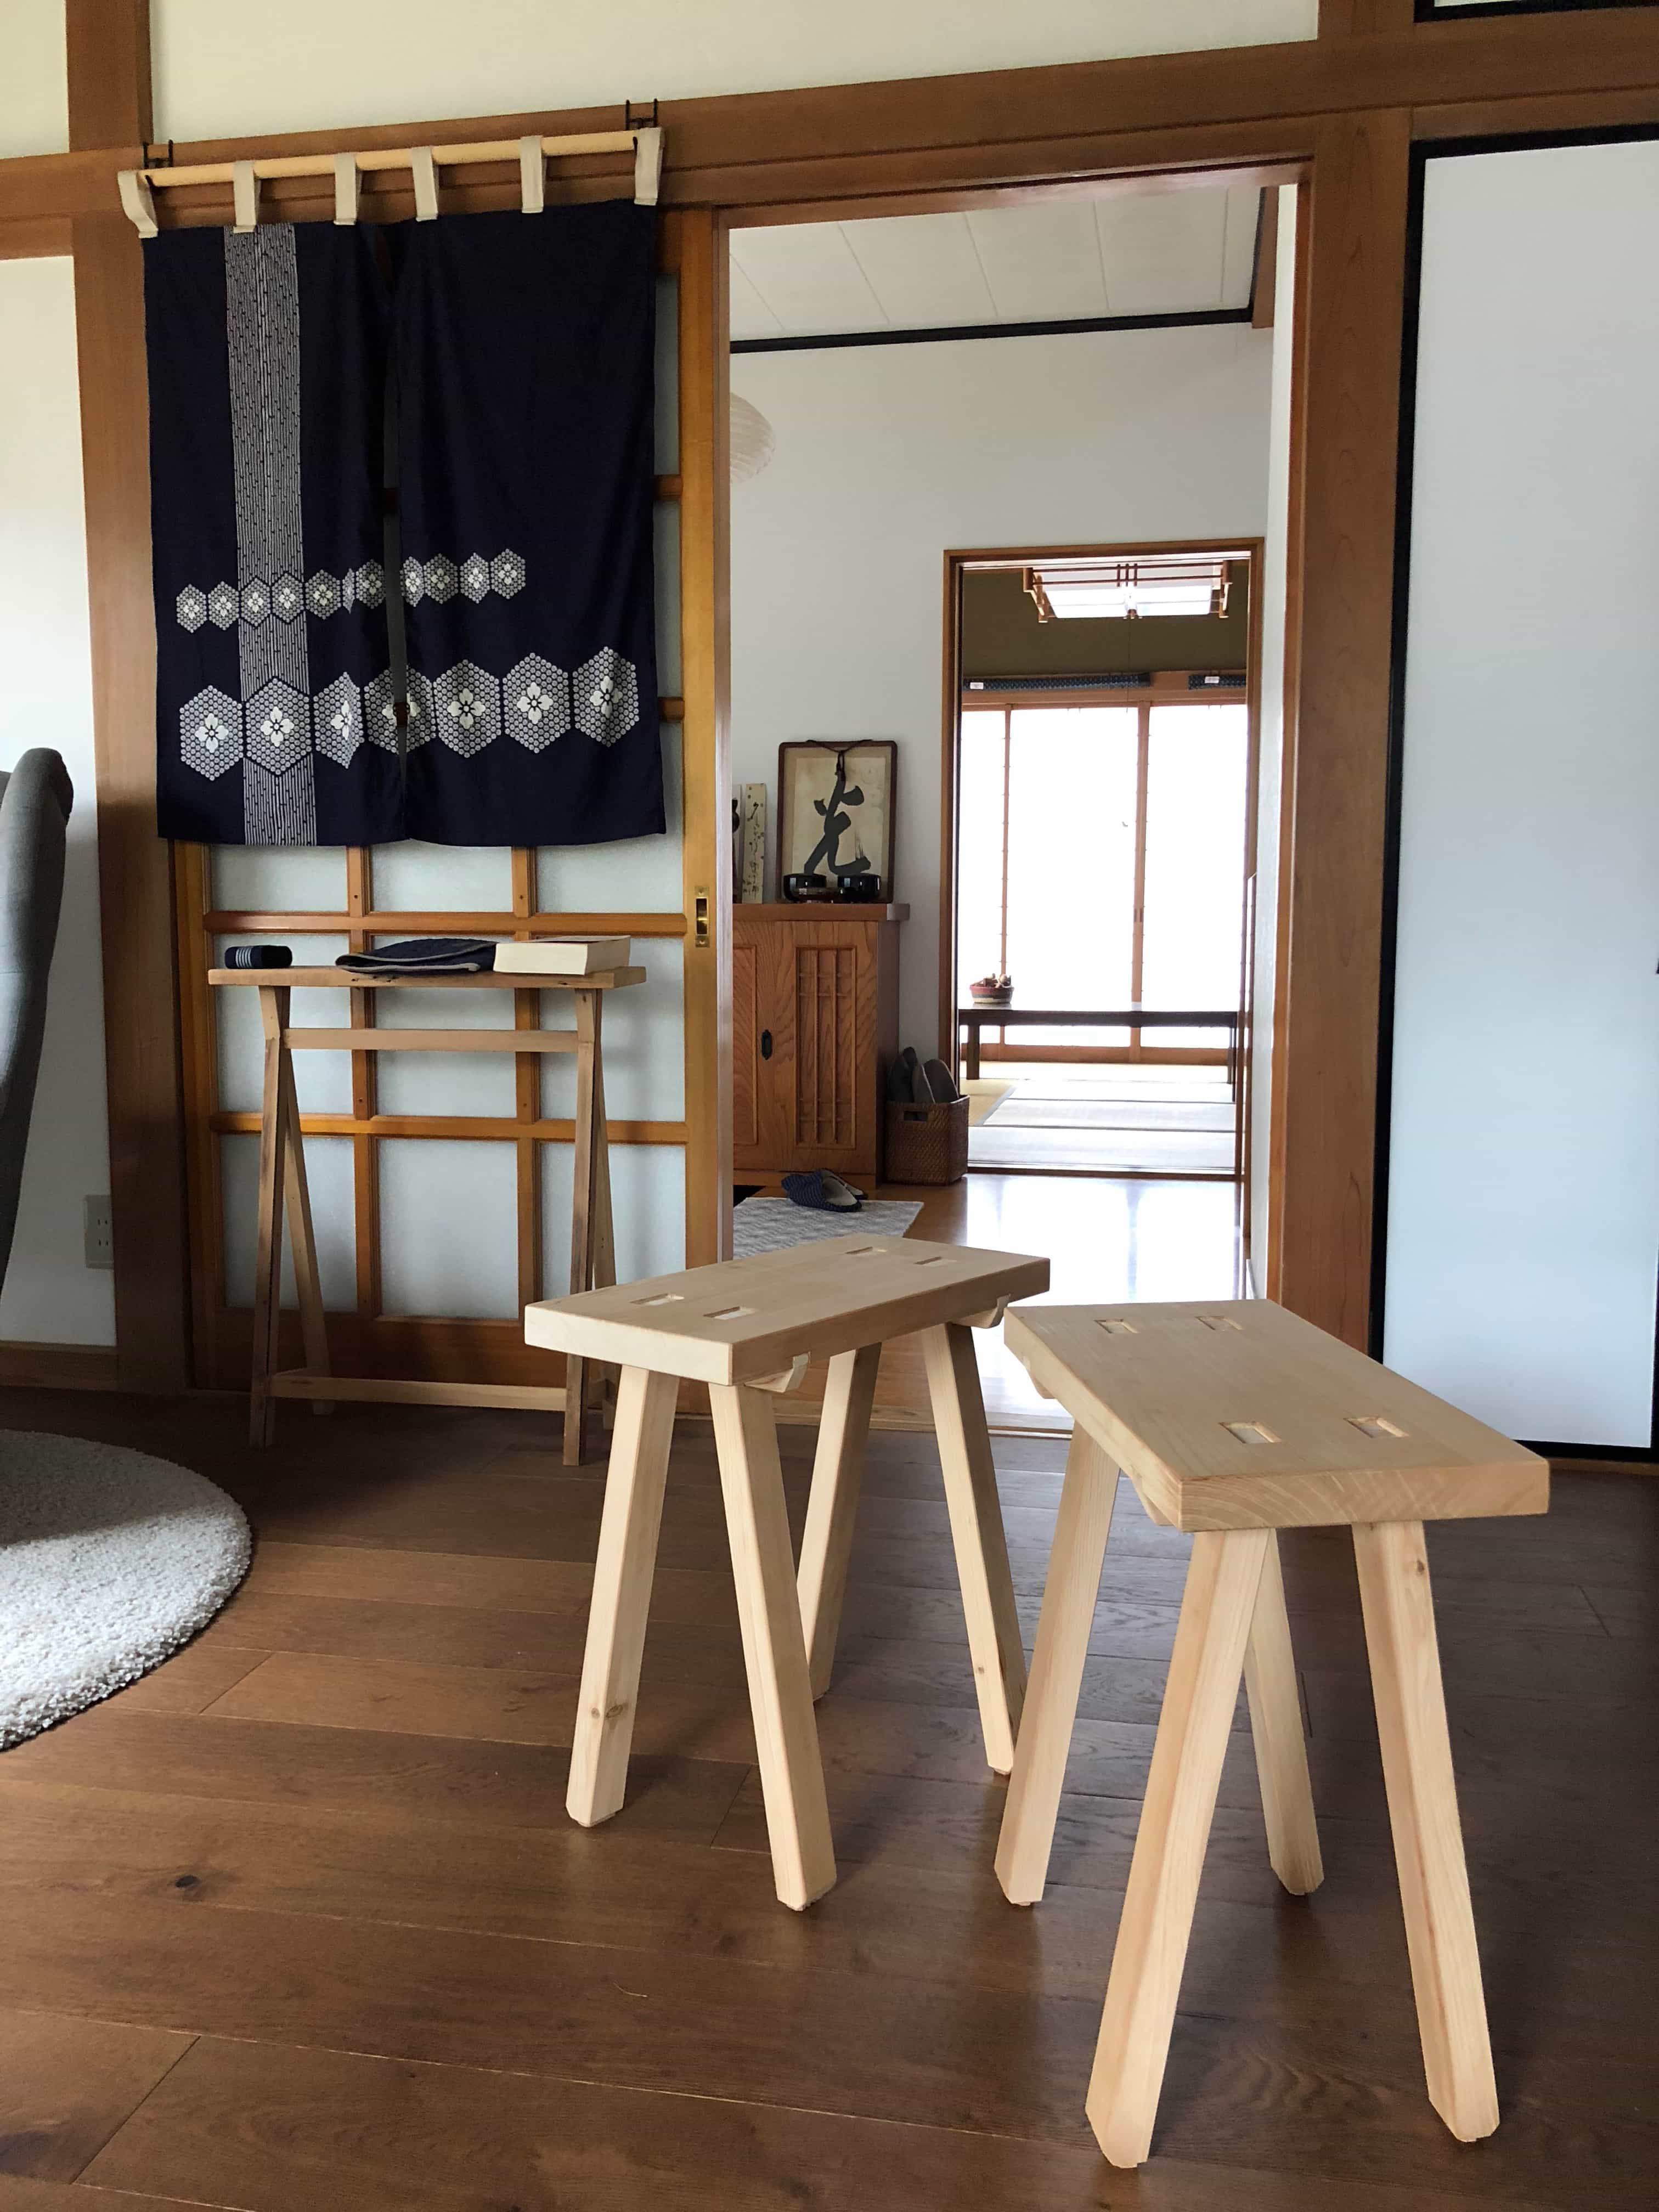
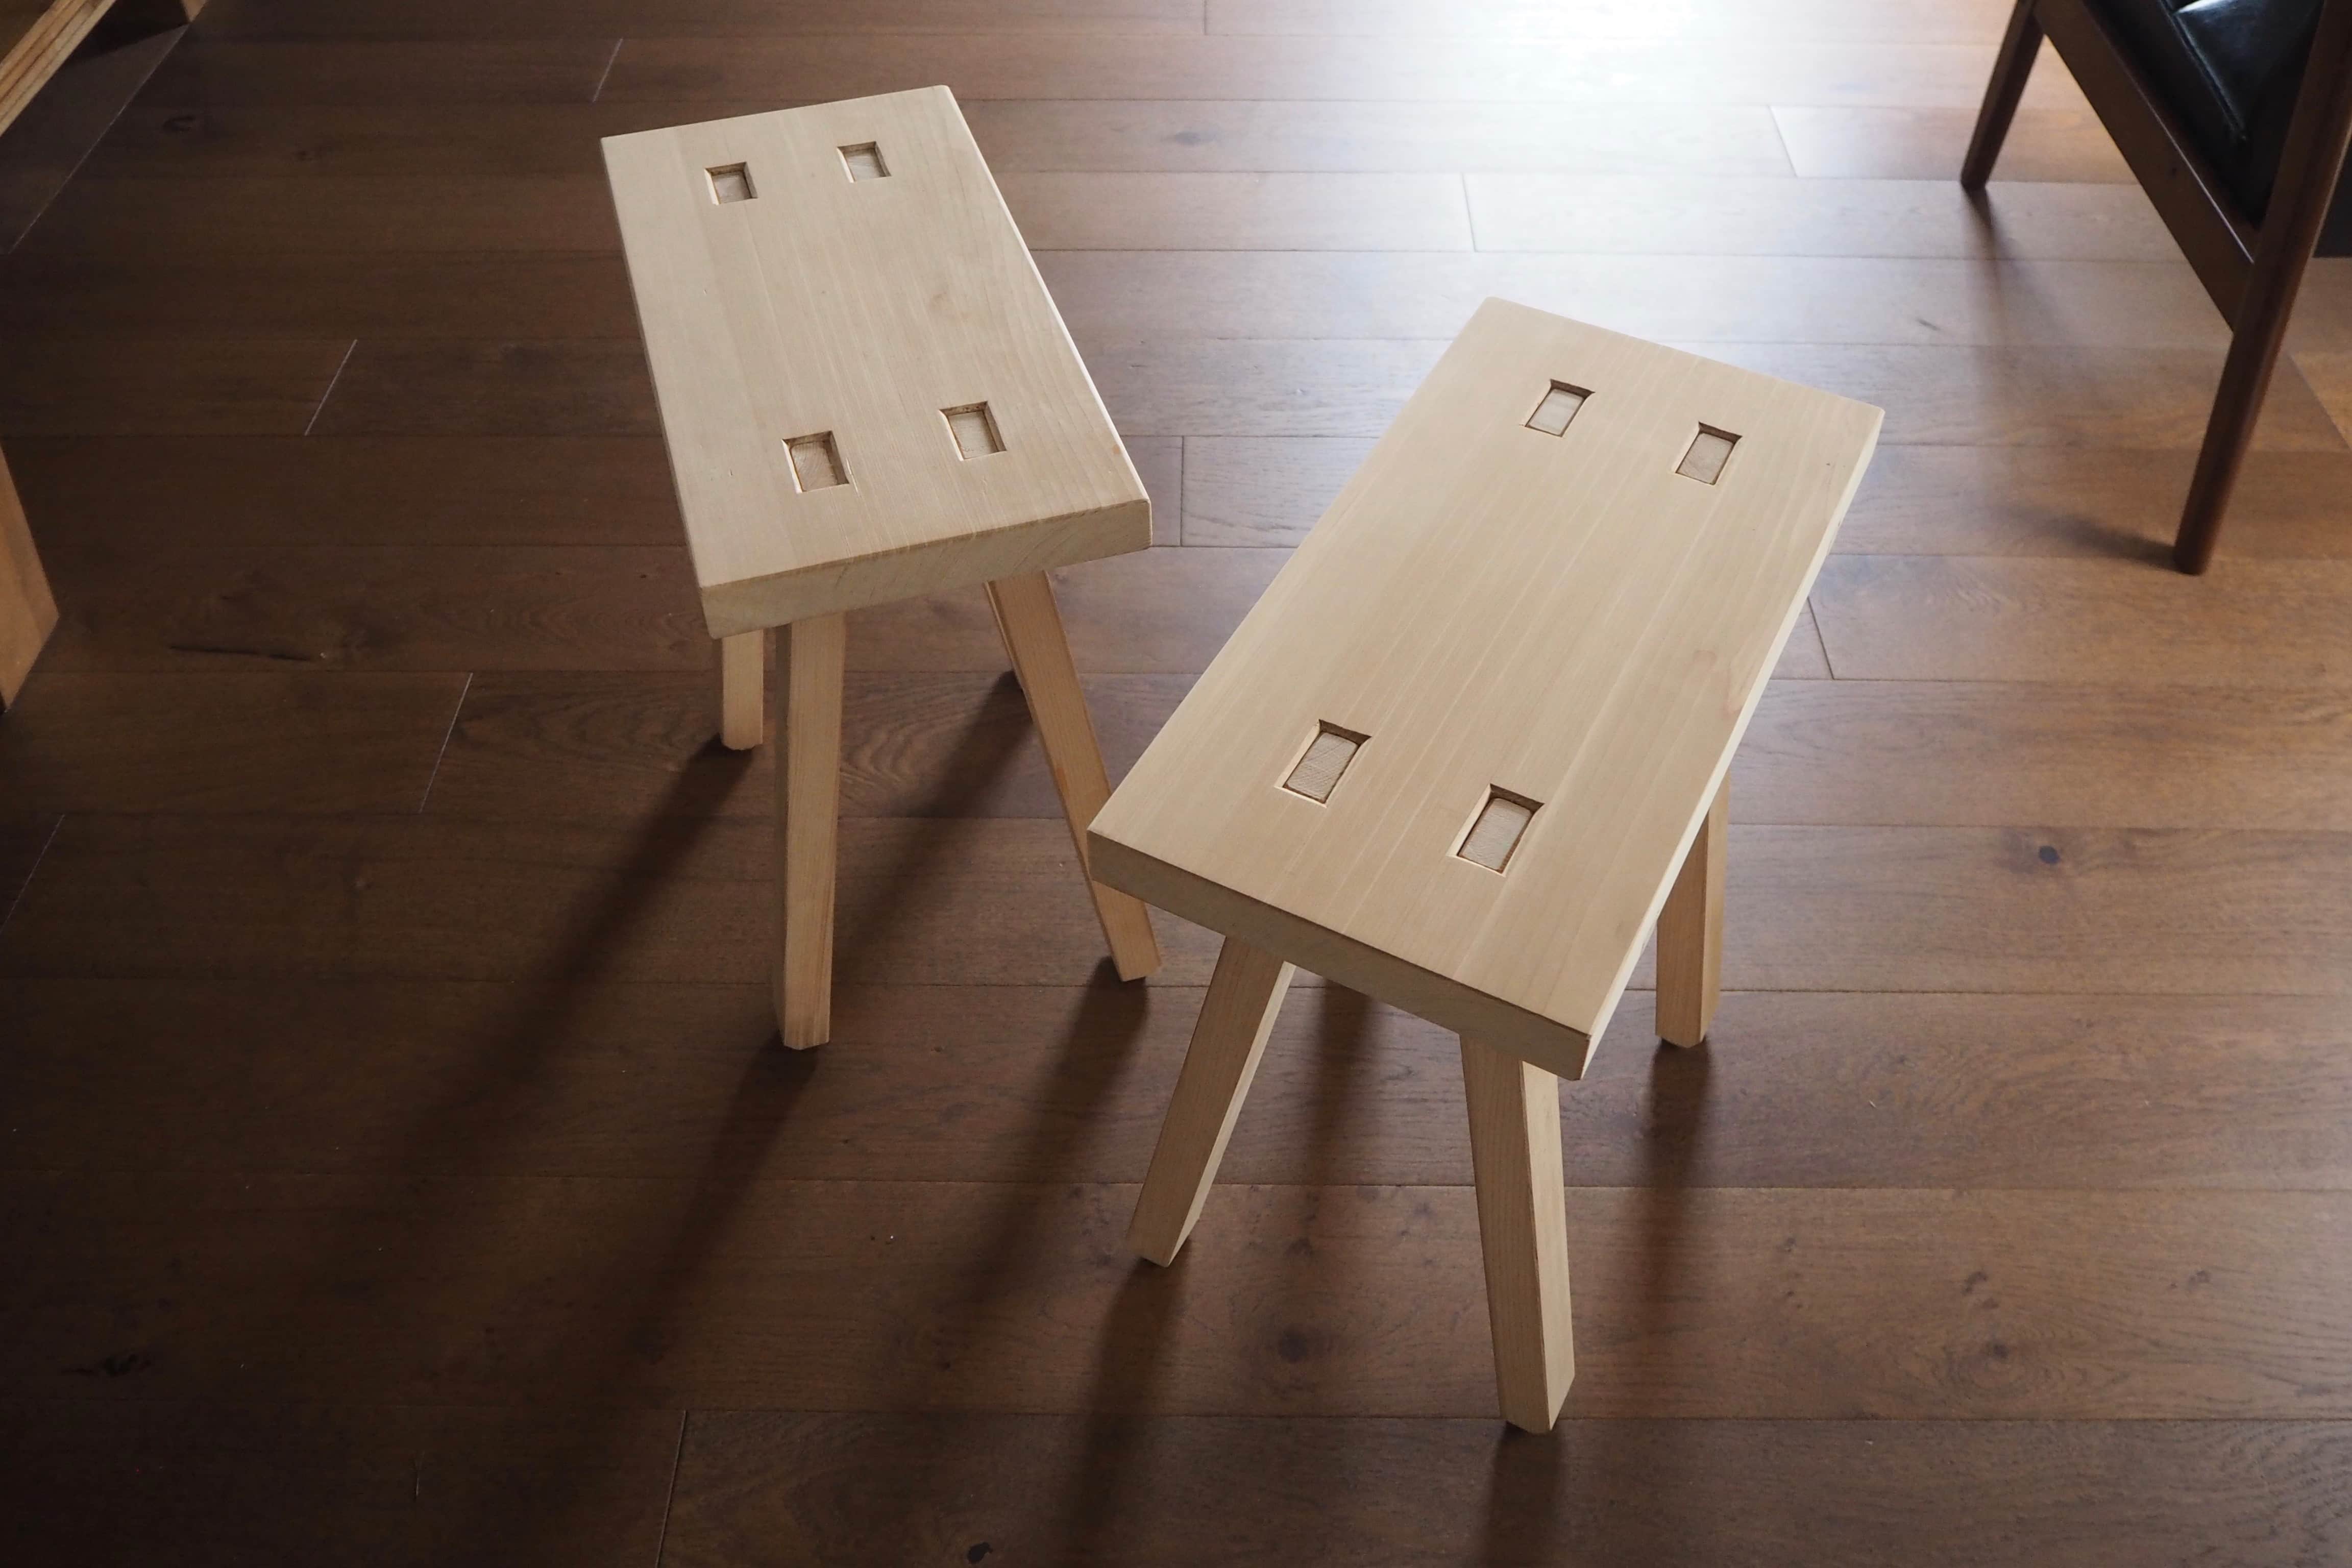
The finished product
My favourite subject when I was at
The essence of the digital medium means the process of designing apps or websites lacks the physicality or tactility which is involved with carpentry. You might be mentally tired at the end of a day working on the computer but not physically.
The sense of satisfaction brought about by being able to physically handle every step of the process was far greater than I had imagined.
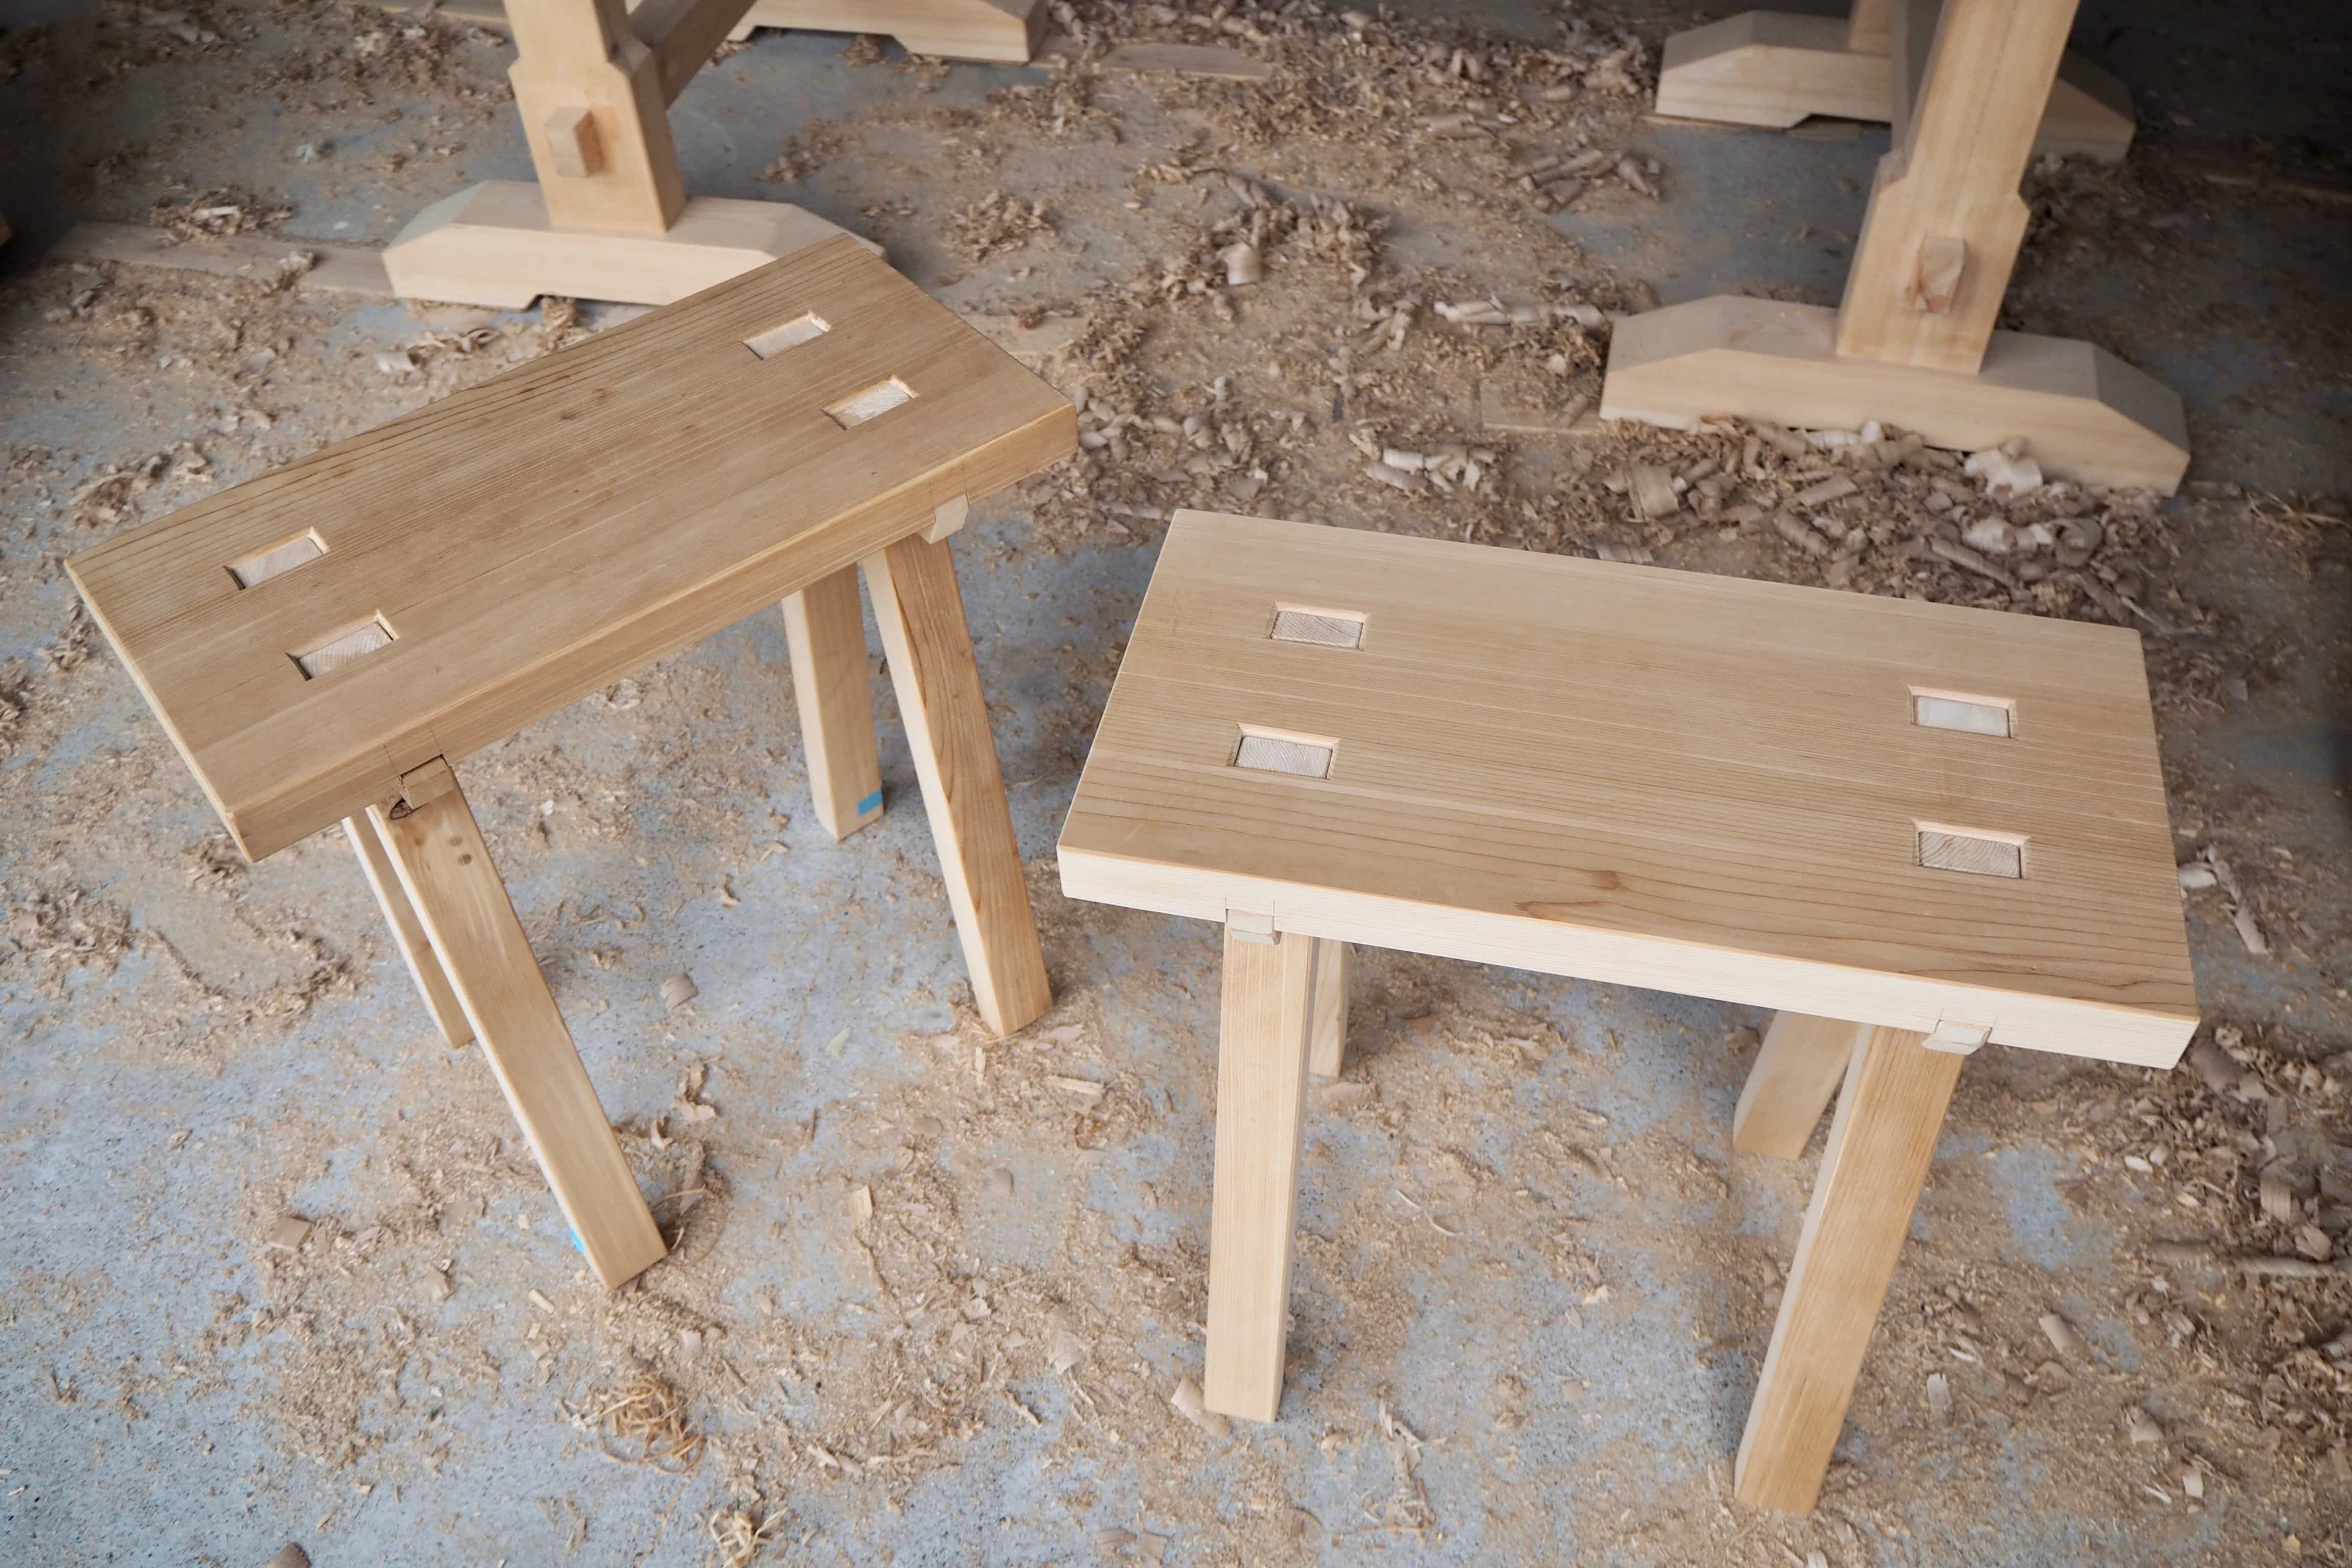
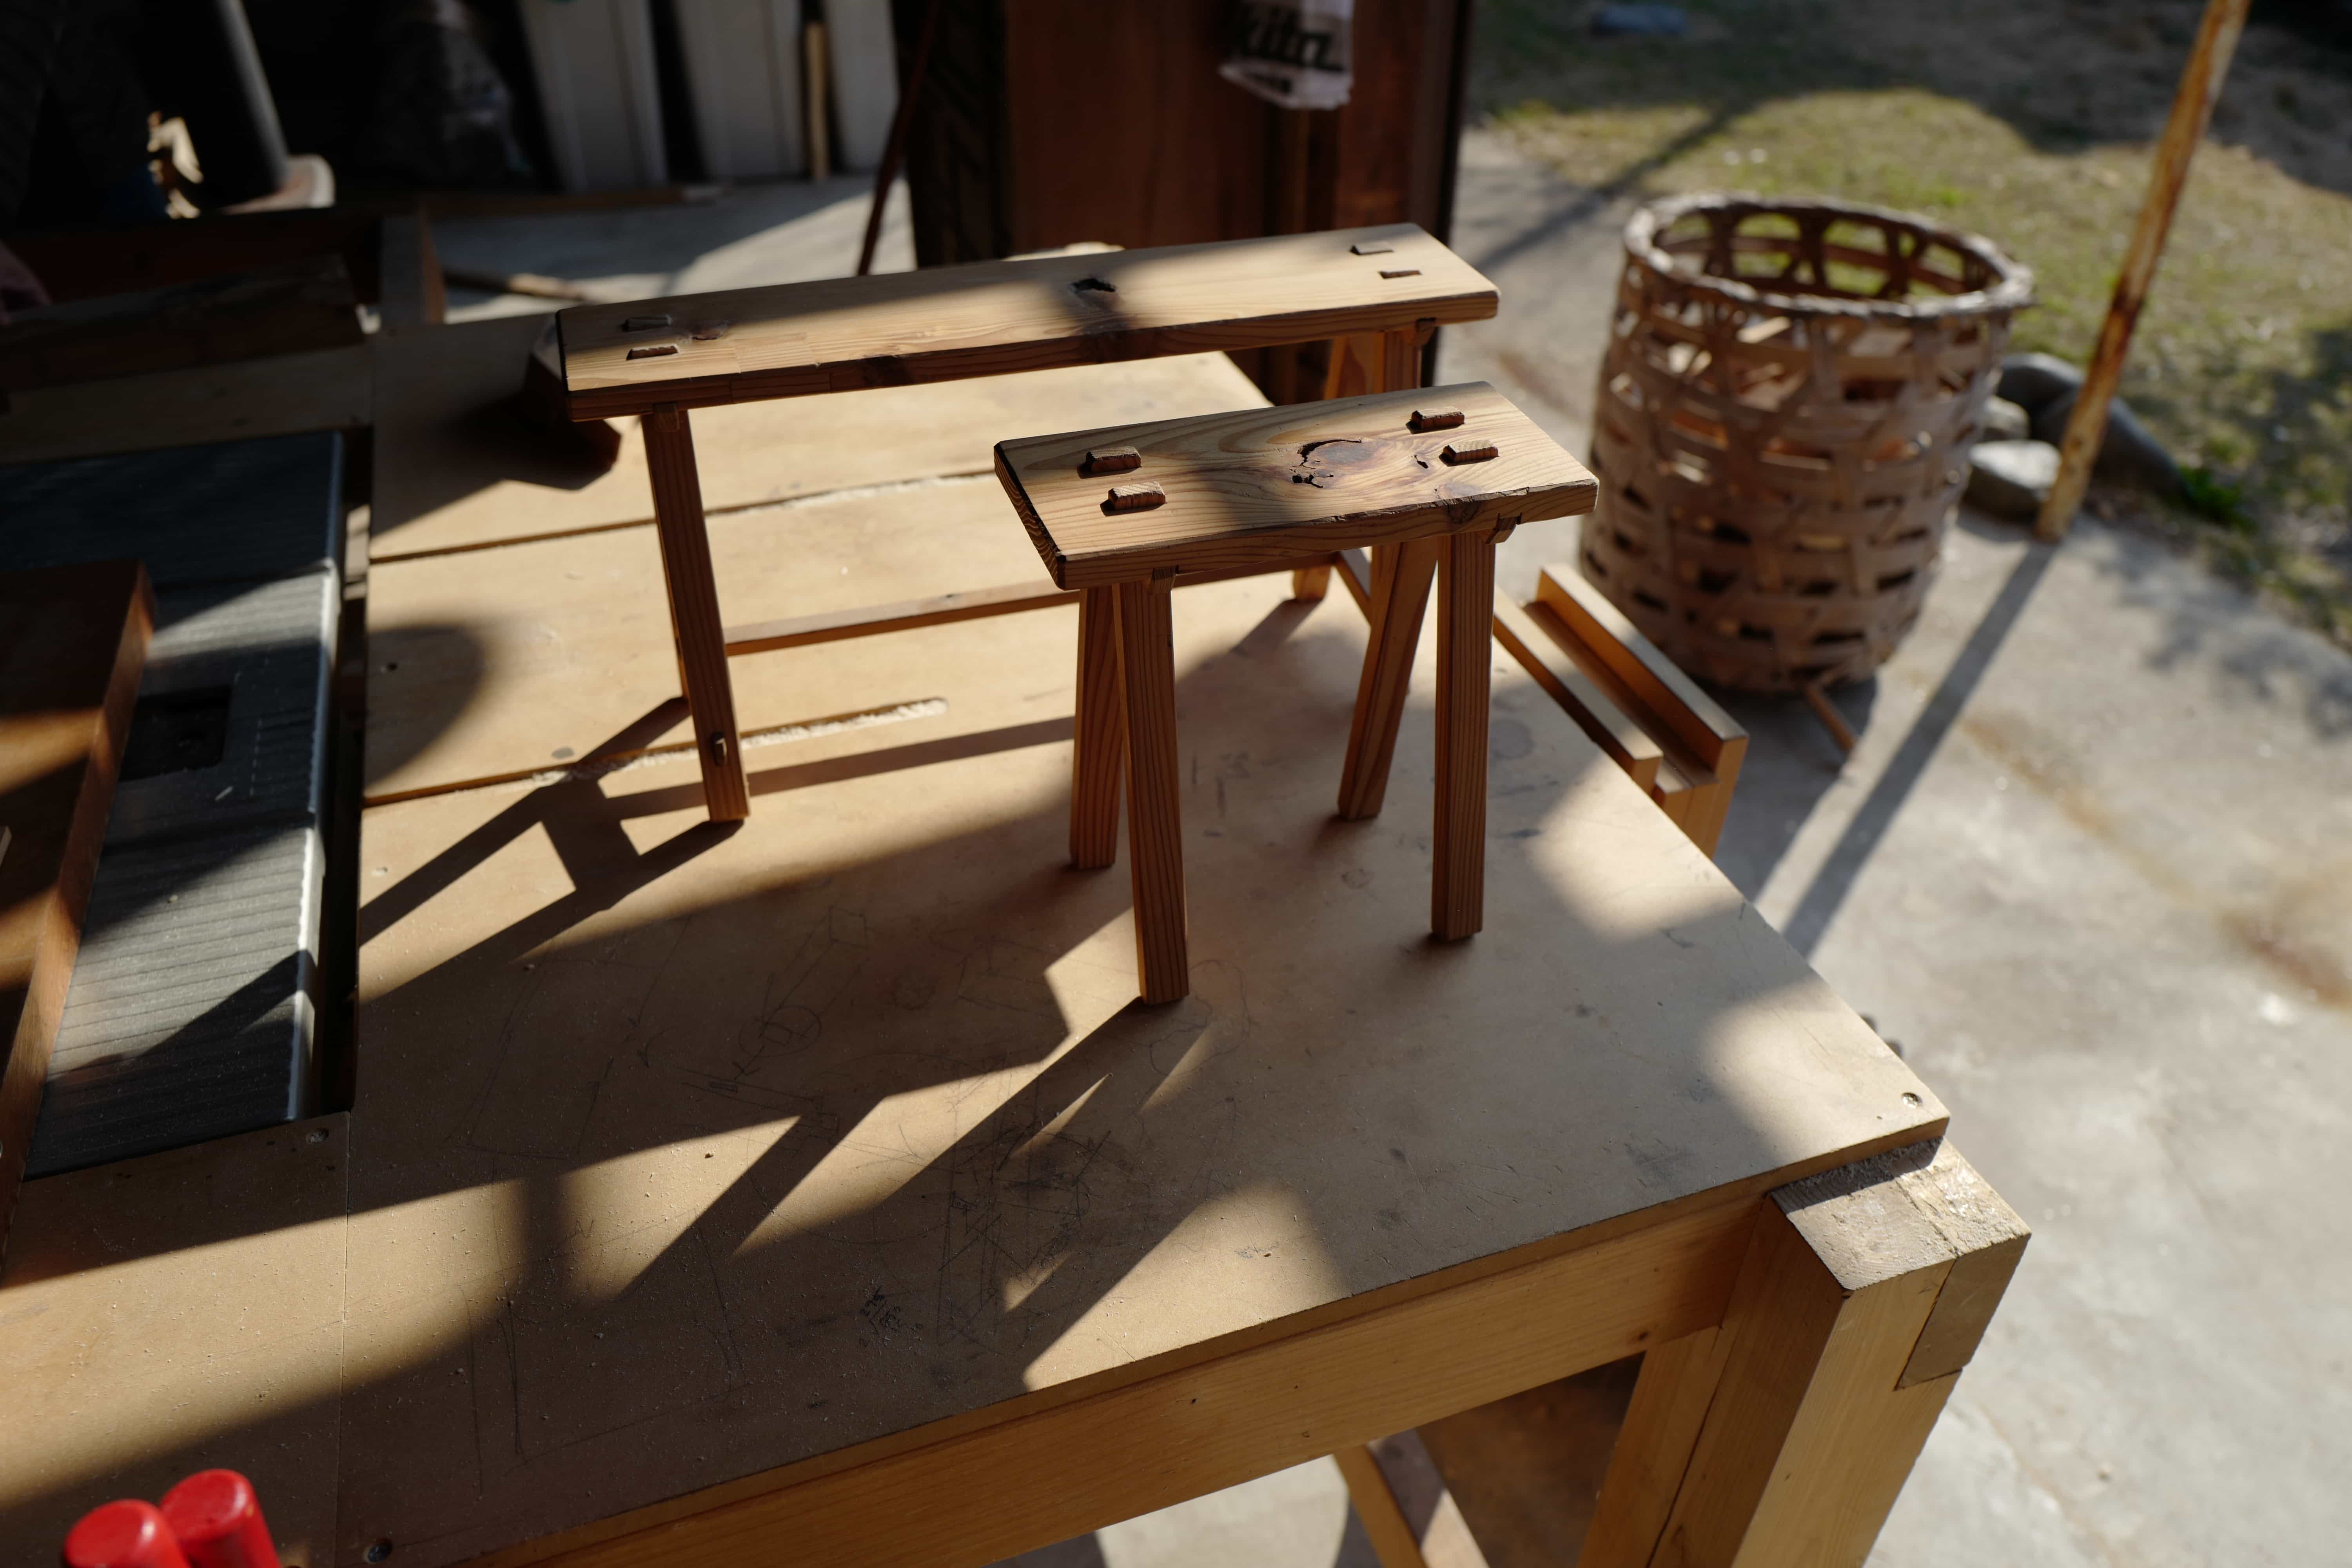
After two and half days of hard work, it was magical to see the finished stools come to life. Each has minor imperfections but this is part of their beauty and something we will treasure for years to come.
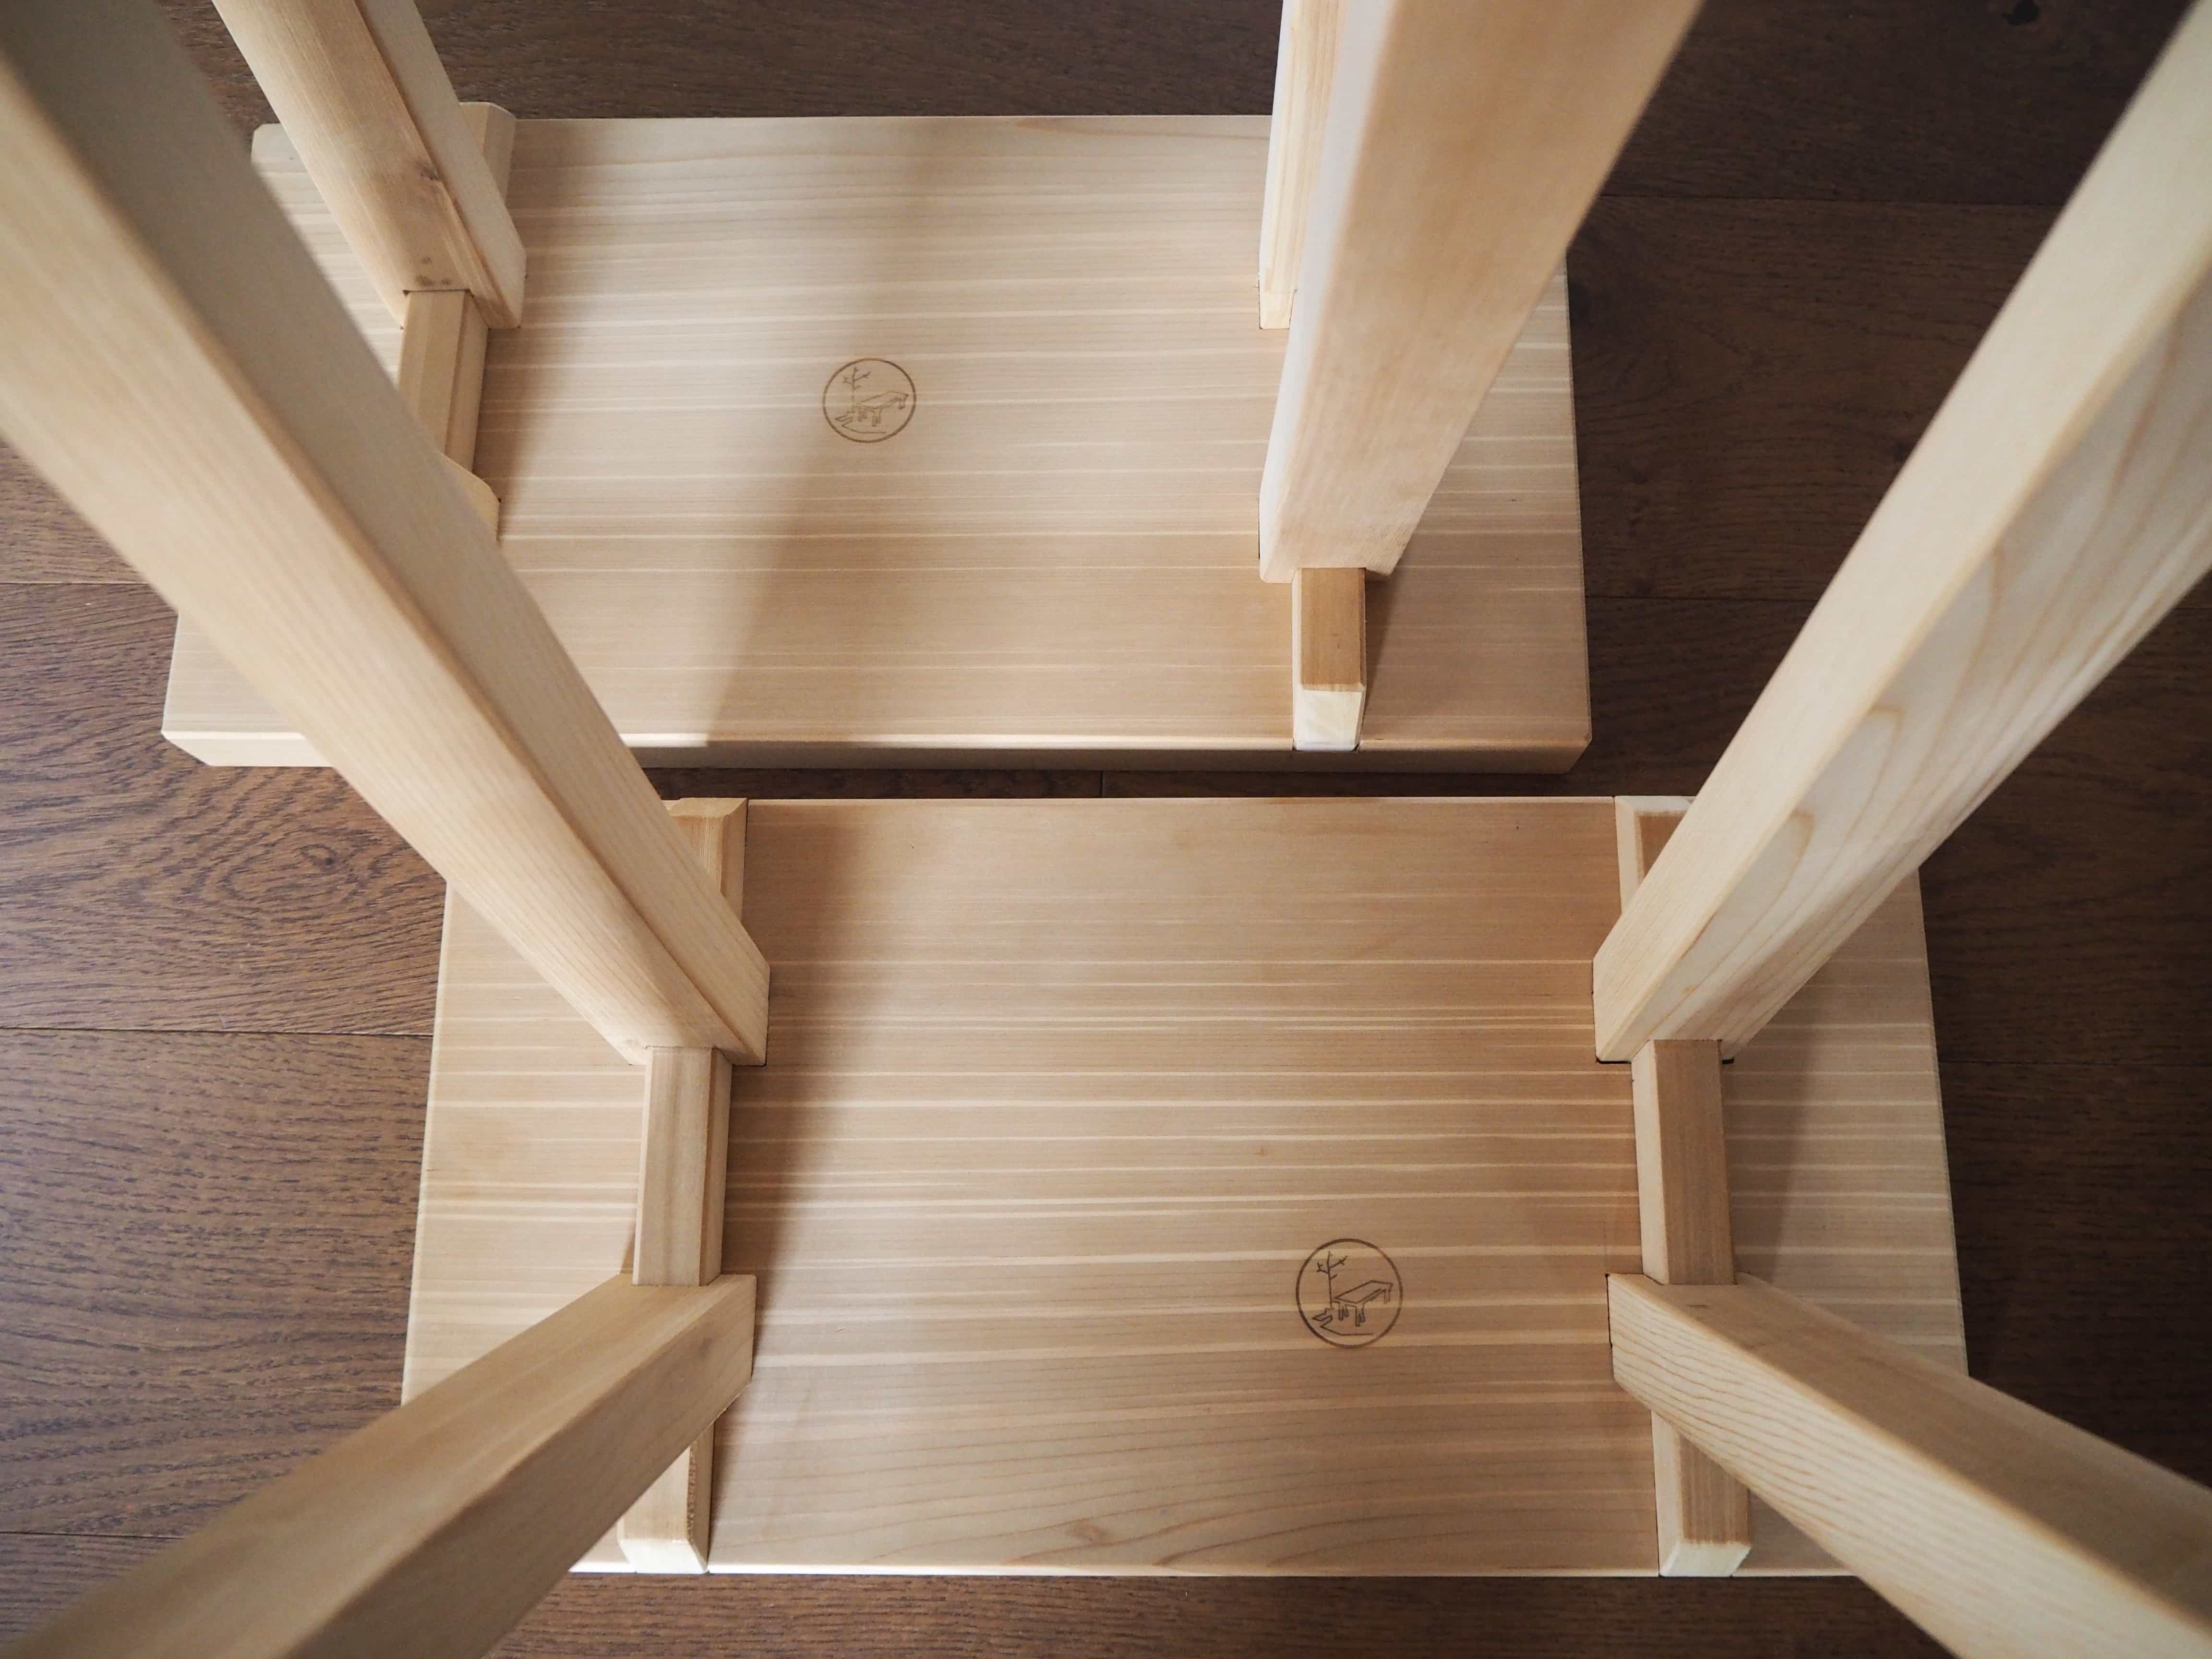
We branded the underside of each seat with the seal of Patio.workshop.
Many thanks to Paco for his generous and patient tuition. Get in touch with him if you’d like to take a workshop or to stay at his beautiful home.
Photo credits: Paco, Chen, and yours truly.
Reply